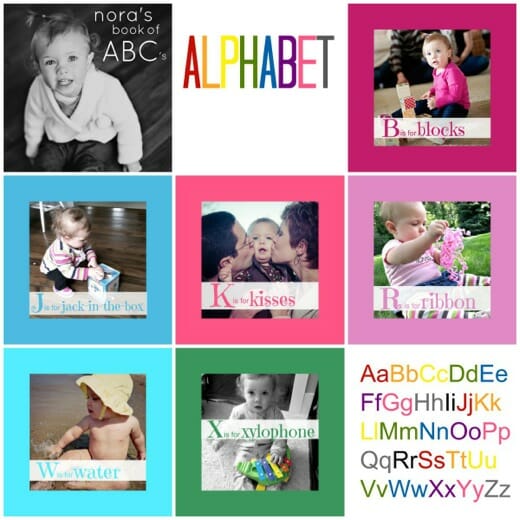
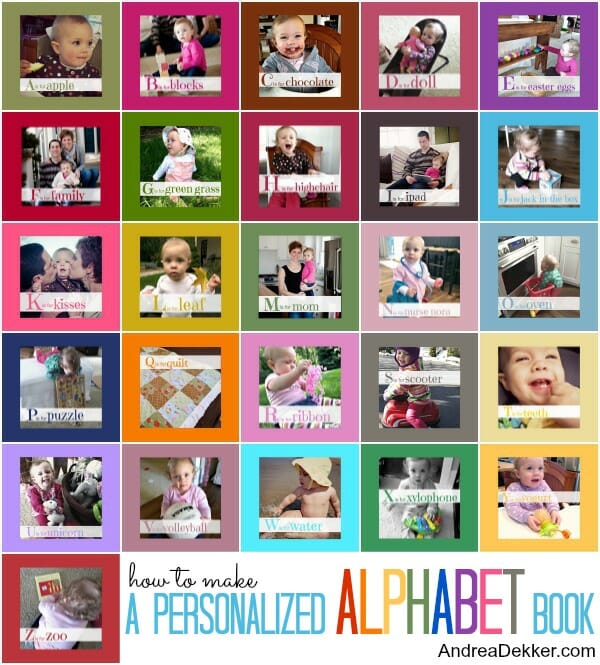
A couple weeks ago, I shared the photo below on my Facebook wall. It’s a photo collage featuring just a few of the pages from the personalized alphabet book I made for Nora.
This book had been on my “To-Do Someday” list for several months, but since I didn’t know exactly how to get started, I procrastinated… and procrastinated… and procrastinated.
Can anyone relate? 🙂
I gave myself the self-imposed deadline of March 31 — and decided that if I didn’t finish the project by then, I would remove it from my to-do list and save it for another time.
So on March 26 I finally sat down to work on my book around 8:00pm. I was doubtful that I’d be able to finish it by the 31st, but I wanted to try. To my surprise, I almost finished the book by 1:00am (no I don’t normally stay up that late, but I found my “photo groove!”) I added a few finishing touches the following day, and sent it off to be printed — less than 24 hours after I started.
Then I silently scolded myself for letting such a quick project hang over my head for months and months! Procrastination gets the best of all of us, I suppose…
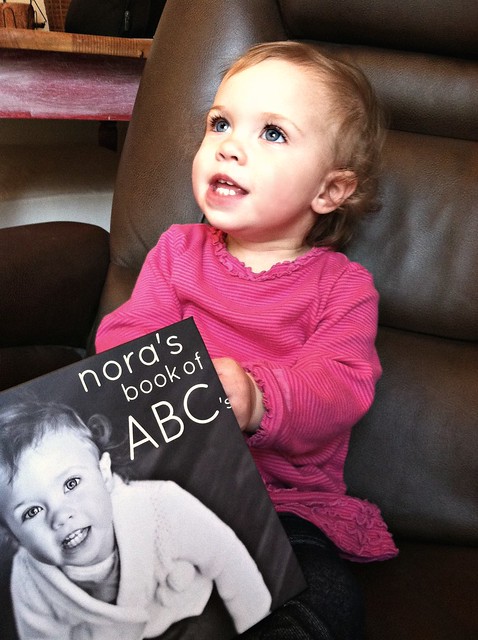
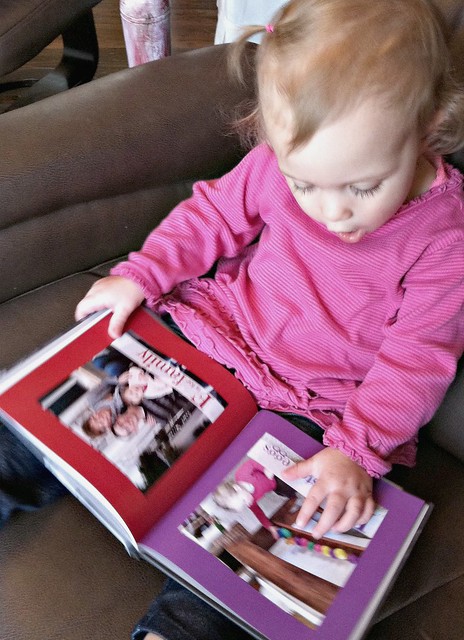
Well, the book arrived about a week later, and Nora LOVES looking at herself in all the pictures.
I’m so pleased with how the book turned out — and I’m thrilled to finally cross this project off my to-do list! It was definitely worth my efforts, and hopefully, it will be a fun educational tool for Nora as she learns her ABC’s, 123’s, colors, shapes, and more!
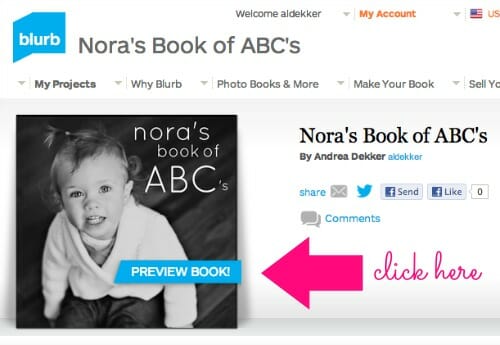
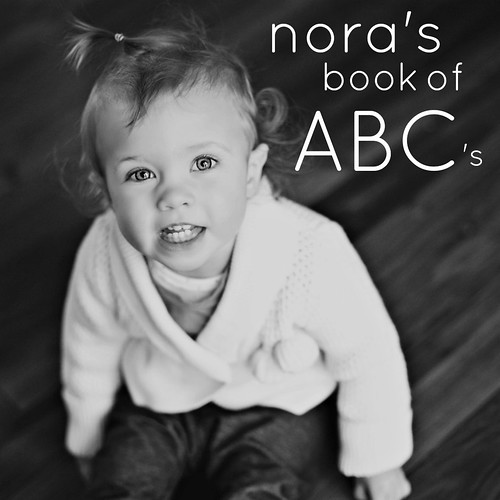
If you’re interested, you can view Nora’s Book of ABC’s here. (click on the cover of the book once you get to Blurb.com)
Ever since I posted my “teaser photo” on Facebook, I’ve been receiving question after question about how I created Nora’s book. I wasn’t quite sure how to go about answering all these questions… except for writing a REALLY long blog post.
So here you go!
It took me many, MANY hours to put this post together, but I’m hoping that the instructions, photos, and screencasts below will serve as a step-by-step tutorial for anyone else interested in creating a personalized alphabet book.
How to Make a Personalized Alphabet Book
1. Make a List
No surprise that my #1 tip is to make a list!
I started by making a list of the entire alphabet and then listing off different nouns that fit that letter.
For example
A = apples, applesauce, animals, art, alligator
D = dog, dad, doll, duck, dreams, dirt
S = scooter, soccer ball, sun, smile, sand
Y = yogurt, yawn, yellow, yak, yummy (not necessarily a noun, but it works!)
Try to think of nouns that you might already have pictures of — and if you can’t think of anything, move onto Step #2 below and start looking through pictures. You might find some pictures that remind you of other nouns.
2. Find Photos
Since all our photos are nicely organized in iPhoto, this process was pretty quick for me. I simply scrolled through our photos of Nora and looked for photos that matched some of the nouns I listed on my A-Z paper.
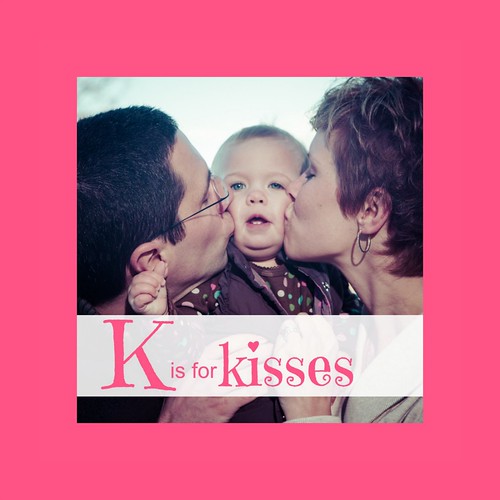
You might need to get creative — for example, I had 2 family pictures I really wanted to use. So I used one for F = Family, and the other for K = Kisses.
As you find pictures for each letter, circle the noun you choose on your list (from Step 1)and then save the individual pictures in a separate folder on your desktop for easy access. This way, you have all 26 pictures in one location and you won’t have to waste time scrolling through all your pictures over and over again.
I also quickly renamed each picture with the letter I was planning to use it for (mainly so I didn’t forget!)
3. Edit Your Pictures {optional}
I always edit my pictures before I import them into the the photo book program (I use Blurb.com). This step is not entirely necessary, but it sure makes the photos look much nicer — especially once they are printed in a book.
Also, as you’ll see in step #4 below, editing the photos before importing them into your book could potentially save you LOADS of time formatting your book.
4. Create Book Pages
One of the MAIN reasons I edit my photos before importing them into my book is because I format the entire page as one picture… that way, all I have to do is import my 26 alphabet pictures into Blurb, drag and drop one picture per page, and I’m finished!
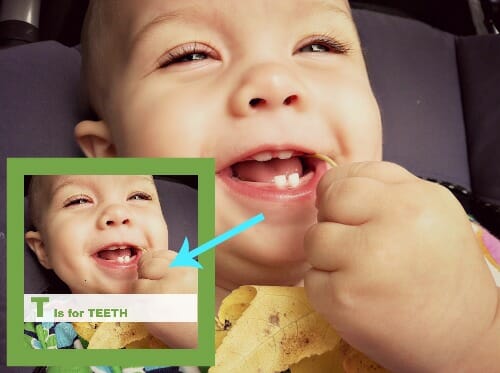
Here are the photo-editing steps I followed to go from a regular picture to a photo book page (see image above)
1. Open the photo in a photo editing program (my favorite free programs are PicMonkey and Ribbet)
2. Crop the photo to a square
3. Resize it to 1000 px wide by 1000 px tall
4. Add text (if you want)
5. Add a border (I used a 100 px. border all the way around in various colors)
6. Save the finished product (back to that folder on your desktop)
Here is a screencast of exactly how I edited each photo (you’ll have to click through to the post to see the screen cast — and you can click here to open the video in a larger screen)
How to Edit Photos for a Photo Book from Andrea Dekker on Vimeo.
5. Import Photo Pages into Photo Book
Once you have your individual photos/pages saved, all you have to do is import them to your photo book program (Blurb, Snapfish, Shutterfly, etc.). Add a front and back cover and you’re finished!
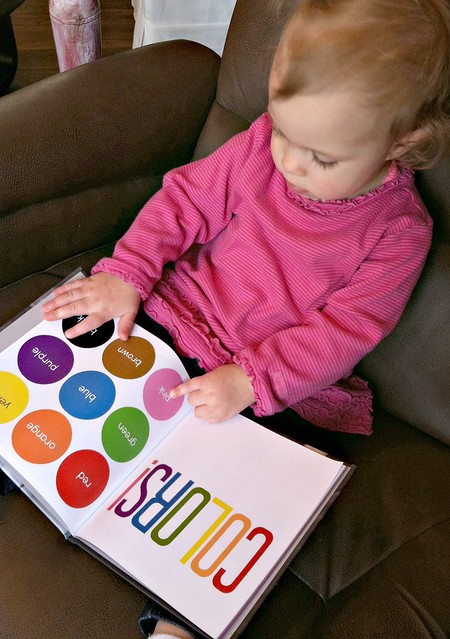
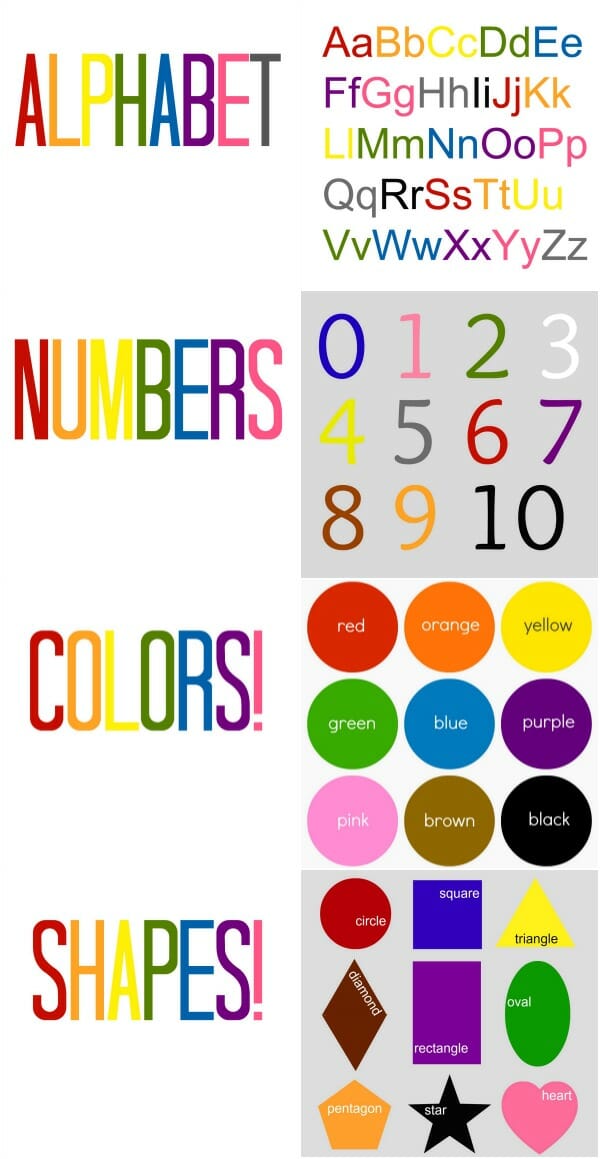
As you may have noticed, I added several additional “educational” pages for shapes, numbers, colors, etc. These pages were in addition to the 26 alphabet pages, and I feel they make the book a little more personalized and special.
And because I figure you might like to use these same pages for your book, I’m offering them FREE on my blog 🙂
Please only use these pages for your personal use!
DOWNLOAD PAGES HERE!
- The photos will download as a .zip file.
- Drag the .zip file to your desktop and double click on it to open
- The photos are saved as individual .jpg files inside the folder
- You can simply upload these photos directly into whatever photo book program you’re using
- These photos/pages are all 1200 px by 1200 px and work best if you’re making a smaller square photo book like I made
I’m so thrilled with how Nora’s book turned out — it was definitely worth one late night of photo editing!
This would be such a fun, personalized, and affordable gift idea for a child or grandchild. You could even use the same concept to create something similar for a teacher (one photo of each student) or a grandparent (photos of all the different grandchildren).
Use your imagination, get creative, and see what you come up with!



Christine says
Are the pages in her book hard like a board book or paper? I’m looking for a way to make a board book. Thanks.
Andrea says
nope, they are regular paper pages — just like any other book.
Michelle says
Thank you so much for this post. I love the look of this book! I am so excited I am going to have a really special gift now for my 2 year old godson for Christmas!
power wheels cars 2 says
I truly love how it is simple on my eyes and the text is well written.
I’m wondering how I could be notified when a new post has
been made. I’ve subscribed to your RSS which must do the
trick! Have a nice day!
Susan says
This is so cute! I have a question about the photo editing. Did you do each individual page this way, or is there a way to make a page template, and just change the picture and words/colors. I’m worried that if I start making each page individually, the bar sizes, etc. will all be different, and the book wont look neat. Thanks!
Andrea says
Thanks Susan,
I just edited each picture individually because there isn’t a way (that I know of) to make a template in PicMonkey — the photo editing program I chose. However, all my boarders are exactly the same because I followed the same “pattern” for every photo. If you watch the video clip I included in this post, it takes you through step-by-step everything I did to make the photo boarders the same.
Also, try not to stress too much about making the book look perfect. Mine definitely has mistakes and small errors but it’s still Nora’s FAVORITE book of all her books. We look at it at least once every day and she calls it her “Nora book”. Your kiddos won’t care one bit if the pages aren’t exactly the same!
Susan says
Thanks!
cheetos says
Hi Andrea this is jorge, I write you to tell that this ABC book it is amazind because it contains a lot pictures you took before doing it. To me it is very useful due to I am teacher and I am teach kids from Kindergarden, elementary and hugh school, I appreciate your talent, thx thx for posting this excellent work.
Katie says
Thank you so much for this idea!! I started this book at 8:00 one night and had it halfway done by 11:00!! Once you get going it is very easy!! What size of a book did you make? 8×8? I was searching on the Internet for ideas of what to use for each letter and ran across your posting and it was so helpful! It is so much easier to edit the pictures and add the text before- I LOVE IT!! I can’t wait to finish the book for my daughter!! Thanks again!!
Andrea says
Yes Katie, our book is 8×8 — perfect for little hands to hold 🙂
You’ll be SO glad you took the time to make your own book, and I’m sure your kiddos will love it too!
Katie says
Hi again Andrea! I have all of my pictures taken and edited them in picmonkey- I followed all of your instructions and I tried using the pictures as the background picture but it’s telling me low resolution- any ideas? Thanks in advance!!
Alphabets Book for kids says
nice……Alphabets Book for kids
Dee says
You did a beautiful job with your daughter’s book! Great idea for all, but the photos and subject are beautiful!
Katy says
Absolutely LOVE this idea and book! It inspires me to make one for my daughter! What font did you use?
KimH says
That is a seriously awesome book Andrea!! Great job! And that Nora is seriously adorable.. She just keeps getting cuter & cuter if such a thing is possible..
Andrea says
Thanks Kim! Nora is pretty cute (but I’m bias) 🙂
Ac says
Um, you rock! Thank you so much for sharing this. I am absolutely making one of these with our 3 yr old!! Came here from MSM. 🙂 Thanks again!
Kathy says
The book is amazing only wished I was on blogs 9 years ago when my son was born. A great way to get more photos off your computer. A great book for Nora
Andrea says
Thanks Kathy! Maybe you could do something similar for a graduation gift some day!
Organize365 says
I remember making alphabet books for my kids! I was a scrapbook consultant and looked for any excuse to make another scrapbook! My kids loved them!
🙂
Lisa
Gail S. says
This is so cute! Wish I had a little somebody special to make one of thesse for! Grandbabies someday! 🙂 I am racking my brain to come up with an idea to make a cute album like this for “my baby” who is graduating from high school at the end of May! Thanks for sharing!
Andrea says
Oh yes — this would be a really fun graduation gift!
Maggie says
You are awesome!
thanks for sharing the pages…
you just gave me kick to start my own book for my son:-)
Love the new web design
Andrea says
Thanks Maggie! I think the hardest part for me was coming up with ideas for each letter — but once I got going, it went really fast.
Michele says
Love this! And love “I is for iPad”. :). My 20 mo. knows her way around it, too. 🙂
Andrea says
haha — I could only think of iPad and ice-cream. I didn’t have any pictures of her with ice-cream, so “iPad” won!
Jill says
Is Blurb safe? I downloaded the program the last time you mentioned it and then my computer was out of commission for several weeks do to a virus? I was not able to tell if the virus came from downloading this website. Thanks.
Andrea says
Well, I hope you don’t think I would promote something I thought was unsafe! I’ve personally been using Blurb for 6 years (on 4 different computers) and I’ve never had a problem. I would have no reason to think the Blurb program caused your computer issues.
Bonnie says
The book is so creative & it is wonderful. Nora is such a beautiful little girl!
Andrea says
Thanks Bonnie! I really enjoy doing the digital albums — I guess it’s one of my few “crafty” hobbies!
Char says
Thanks so much for sharing. A month or so ago at a Creative Memories get together someone suggested the ABC book. I thought that would be a great project to do for my Grandson for Christmas and now I think I better get on it. Your book have started to give me some great ideas on what to do and where to start.
Jennifer says
You did such a great job with this! What a terrific idea. I want to do this for my 16 month old, but I think I would like to include other family members and the pets doing things as well. Love this! Thank you for sharing!
Andrea says
Thanks Jennifer. I actually have pages with all our family members at the end of the book — I just didn’t include those in the letter pages.
Rachel says
If you have a large family I think it would be neat to do an alphabet book of family members with their names and picture. Especially if they live far away. Ex: G is for gma, R is for Rachel, S is for Scott, P is for Peggy. Could even include pets. V could be Visit but the X and Z might be difficult.
giggi says
aaa, love the idea! i think i’ll do this for my baby sister 🙂
Debby says
Love this. I will so do this someday for my great nieces/nephews and really far off future grandchildren. An extremely novice/amatuer photographer is how I dubb myself. I didn’t have digital when my kids were little, but one of my youngest daughter’s favorite books was a little dollar store book with pictures of her. I always got duplicates back then and would put them in that book. I have shared with you before that her personality reminds me so much of Nora. We recently found the book in her closet when doing some remodeling. I left it just like it was and put it in her memory box. What a special book Nora will have to share with her children someday.
Andrea says
Thanks Debby — and I’m right there with you in the “novice photographer” category. Thankfully, Nora doesn’t care how fabulous the pictures look — and I’m sure your daughter doesn’t either 🙂
Melissa says
Thank you Thank you Thank you. I am sooo one of the people who bugged you terribly on facebook. So Thank you so much again! You are awesome! I just love your blog! (And not just because of the photo book help:)
Andrea says
Haha — thanks Melissa. I figured you would appreciate this post 🙂
Suzanne says
I LOVE this idea! I wish I’d seen it while my son was younger, but it is so cute and so personalized Andrea! I also really like your self-imposed deadline (I sure work better having deadlines too) and if you didn’t finish it, to take it off the list for another time (or maybe just not do it in some cases). I am going to do just that with a scrapbooking project of a big trip we took last fall. I have all the photos set up by date already and a scrapbook. I just need to set a deadline and do it! Maybe it will happen quickly like yours too, given that inspiration.
Andrea says
Thanks Suzanne — and yes, I think self-imposed deadlines are a must (especially for the type of job i have). I don’t have a boss to force me to do anything so I have to be pretty good at “forcing” myself to do things if I want to get anything accomplished!