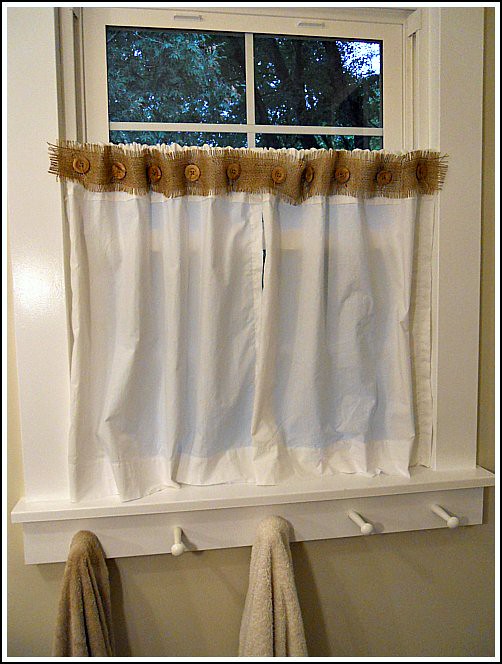
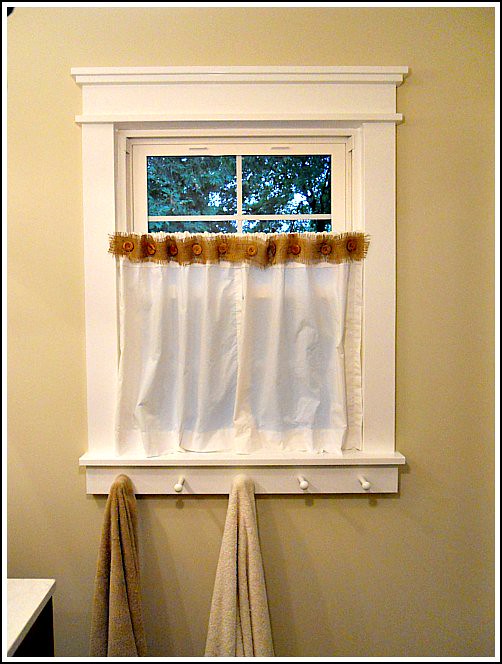
A couple weeks ago, I showed you my super simple curtain makeover in our master bathroom — and I received more comments, emails, and questions about the Shaker Peg towel hooks underneath the windowsill than I did about the curtains!
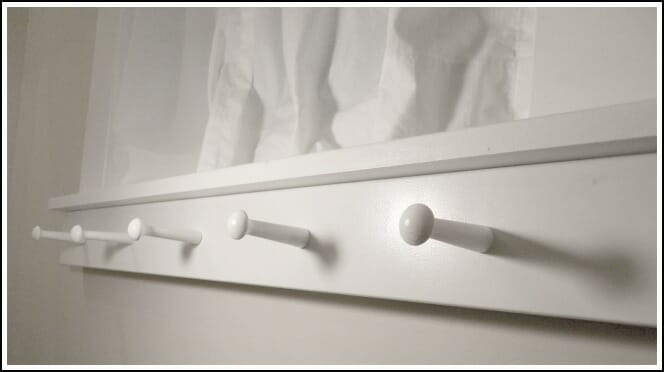
We love these pegs, and apparently so do you… so back by popular demand, here is the mini tutorial on how to make your own Shaker Peg towel hooks!
STEP #1 = Gather Your Materials:
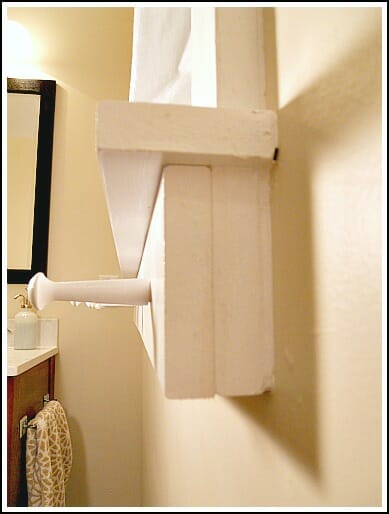
I used 3″ long shaker pegs and a 1″x4″ piece of wood that I painted white to match our window trim exactly. You can use whatever length of board you want, but I usually space out the pegs by around 4″ for shorter boards and around 6″ for longer boards. And if you’re using a shorter board, make sure it fits at least 3 pegs because 2 just looks funny!
STEP #2 = DRILL:
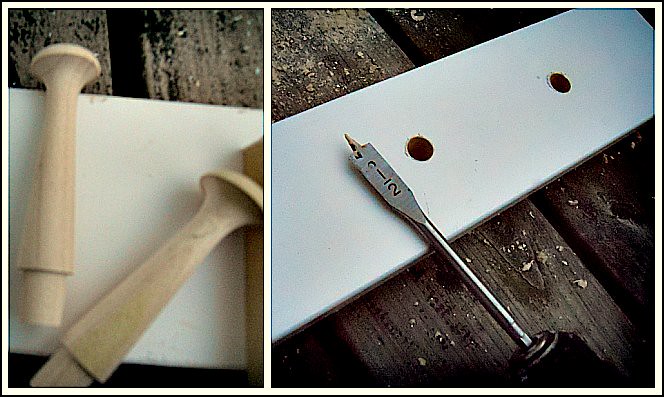
If you buy traditional style Shaker Pegs {available at any hardware store} you will need to drill a 1/2″ wide hole — however make sure you read the packaging before you start drilling.
I always put another board underneath the board I’m drilling because in order to get the hole deep enough for the pegs, the sharp tip of the drill bit will end up going through the back of the board.
STEP #3 = PAINT:
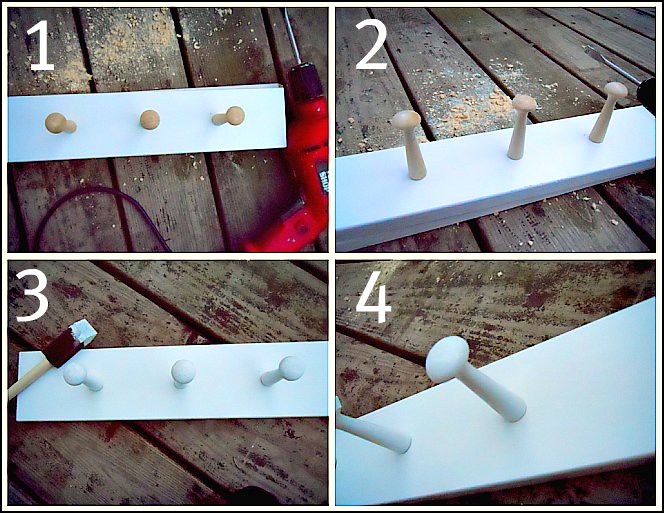
I like to paint the hooks before I glue them in place because otherwise you have the potential to get globs of paint on the board. So I simply hold the pegs by the end that is inserted into the board, paint the peg with 2 coats of paint, and let dry.
STEP #4 = GLUE:
Once the paint is dry, I dab a SMALL about of Gorilla Glue on the bottom of the peg and a little more inside the hole.
Then I press the peg firmly into the hole and hold for a few seconds. This will be an extremely strong bond within a minute or two, and unless you have children hanging on these pegs, they should hold just about anything!
STEP #5 = HANG:
We used a nail gun to attach these pegs directly over top of our existing window trim — I think that gives it an extra custom look.
You could also counter-sink holes and then screw the board into your wall. Either way, you’ll want to make sure to nail/screw it into studs so it doesn’t pull away from your wall.
STEP #6 = CAULK
If you are going for a totally custom look, you’ll want to caulk or puddy any nail holes and any visible cracks/seems. Once the caulk dries, do a quick sand over those areas, and apply one final coat of paint.
That’s it — you’re finished!
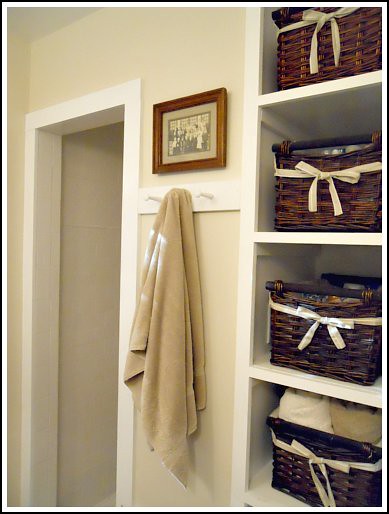
I was actually so pleased with the first set of hooks that I made a second set for another wall in our bathroom. This one only has 3 pegs but is great for hanging our robes, PJ’s, or extra towels when we’re taking a shower or getting ready.
This entire project cost less than $5 to make since I already had white paint and a few extra pieces of 1×4 left over from our trim. However, even if you had to buy the wood and the paint, it will still be a really inexpensive project — and it just looks SO much cuter than traditional towel bars cluttering up every wall!

Heidi of Operation Organization says
This is great, Andrea!! You can’t beat a super simple DIY project at only $5!! Looks great and is SO super functional as well. I think I’ll be trying this…
Happy weekend to you!
-H
Jennifer says
Agreed, these are gorgeous and beyond Pinterest worthy. I love the custom, authentic look of them. I’ll definitely have to try this. I wish my bathroom had built in shelves like that too. Great storage.
Tammy says
LOVE these 🙂 Going on my pinterest boards now. Love where you put the one by the shelves too.