Want to track your children’s growth but don’t want to mark up a door frame or wall? Follow these simple instructions to make a beautiful growth chart you can take with you if you move!
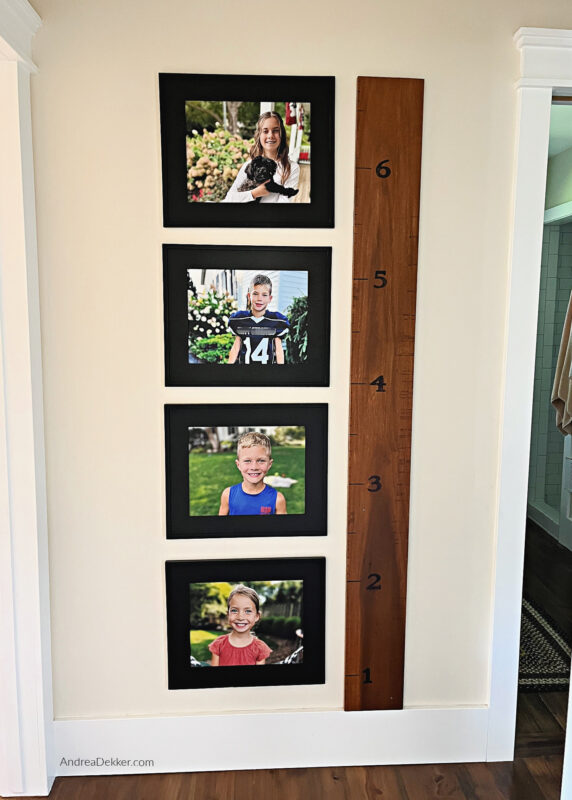
Way back before we had kids (and before Pinterest) I had the idea of creating something that would hang on a wall in our home and could be used to measure our children’s heights at each birthday.
Basically a growth chart.
I didn’t know exactly what it would look like, but I wanted it to be something we could take with us if we ever moved and something that could withstand years of use without getting ruined.
I was also hoping it would tie in with our “farmhouse decor” and that I could make it myself (preferably for cheap!)
One day during our 2012 kitchen renovation, I uncovered a very old board in excellent condition (our home was built in 1890) and decided it was THE board for my growth chart.
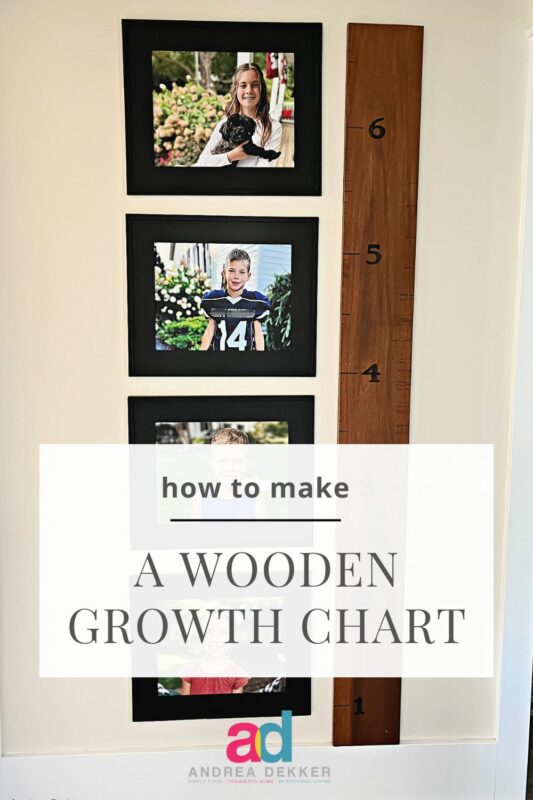
After a little sanding, a couple coats of stain/lacquer, and some Sharpie markings, my growth chart was ready to hang… just in time for Nora’s first birthday.

Now, over a decade later, I’m so glad I took a couple of hours to make this project happen!
It’s sort of our birthday “thing” now — everyone needs to get a picture in front of the growth chart, preferably while holding up their age.

Why We Love this Growth Chart
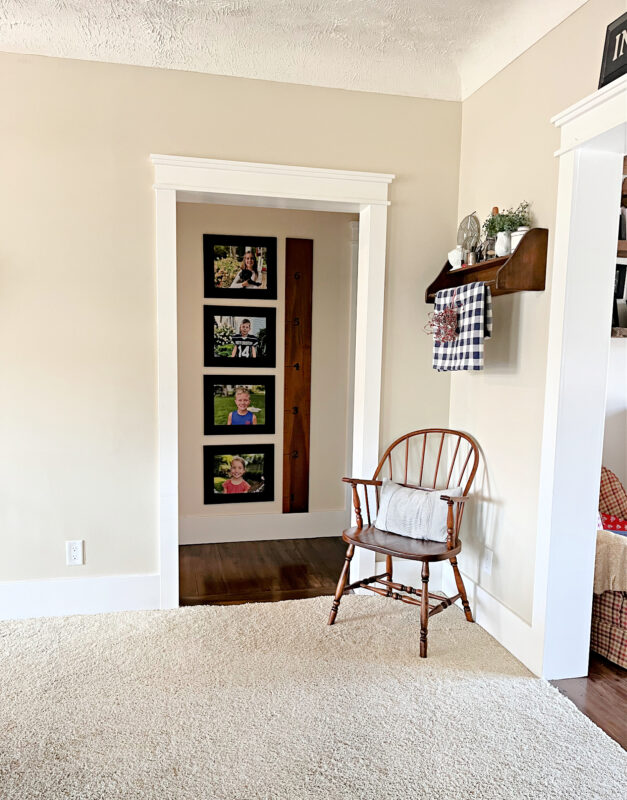
For starters, it just looks cool hanging next to our kid’s pictures in our hallway (an area that is instantly visible whenever you walk into our front door or our dining room).
Also, it’s super sturdy and durable since it’s a solid wood board.
And… we can take it down in a minute if we ever move to a new home, repaint the hallway, or just put it somewhere else in our current home.
It’s also a fun conversation piece as people always ask about it. The kids love pointing out how tall they currently are or how much they’ve grown since the last time they were measured.
Weirdly enough, I also love how imperfect it is. The markings are not 100% perfect, the writing is a bit scribbled, sometimes 2 kids are the same height at a certain age so we need to get creative with those markings, and there are even a few “oops” where we made the mark in the wrong spot.

If you’re looking for a fun, frugal, relatively simple project to do for your kids/grandkids or even WITH your kids/grandkids, this growth chart might just be it.
And don’t worry if you aren’t starting from the beginning — just start now and move forward! You won’t regret making this fun and easy keep-sake that your kids and grandkids will enjoy looking back on for years to come!
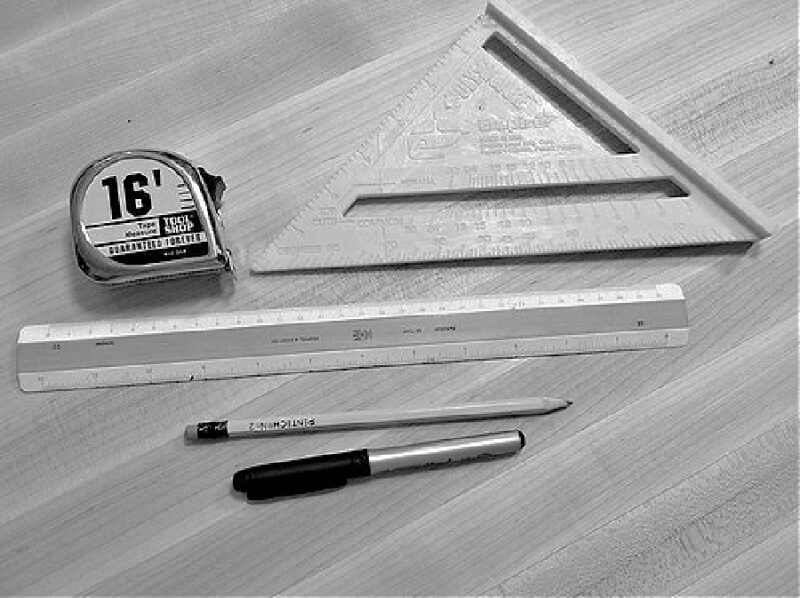
Supplies for a Wooden Growth Chart
- wooden board (mine is 1″ x 8″ x 7′ long)
- stain or paint — we stained ours with leftover stain from our floors
- polyurethane (optional if you want to seal the finish)
- number stencils — a blog reader made me stencils with her Cricut… thanks Becky!
- pencil and black Sharpie for the inch lines and numbers (or paint if you prefer)
- tape measure and ruler to get the numbers evenly spaced
- carpenter’s square to make sure the lines are straight
- nails or screws to fasten it to the wall
How to Make a Wooden Growth Chart
1. Stain or paint your board and let it dry.
2. Do 2 – 3 coats of polyurethane (if you stained the board) lightly sanding between coats.
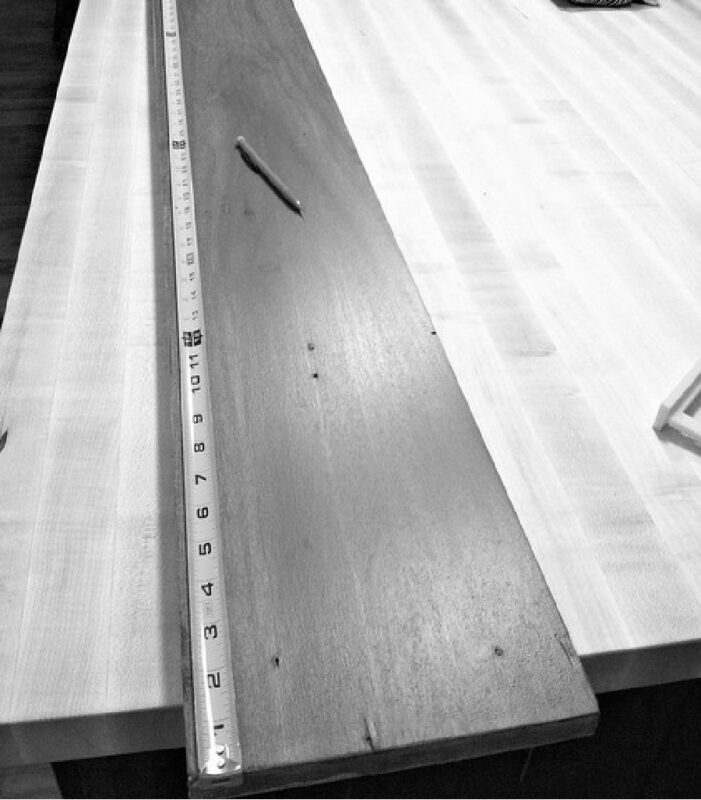
3. Decide where you will hang your board (this is important for figuring out the inch markings)
4. Use your tape measure and square to mark the foot “lines” in pencil (based on how high you will hang it on the wall).
5. Use the ruler to measure the inch lines with pencil.
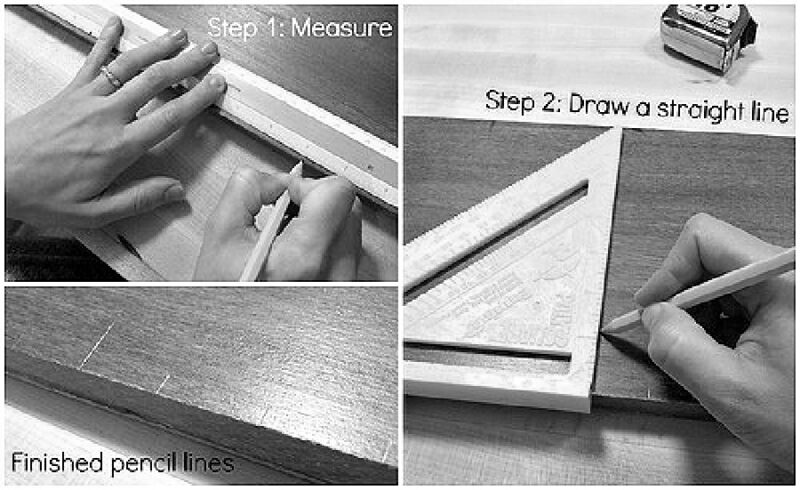
6. If you are satisfied with the look of your lines, use a Sharpie (or black paint) to darken these lines and make them permanent.
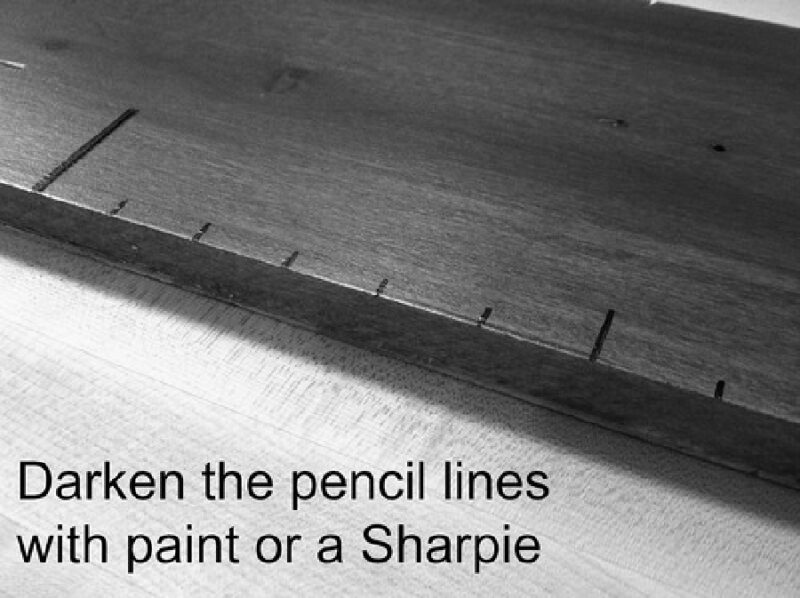
7. Use stencils to trace numbers with a pencil, then color them in with a black Sharpie or paint (you may also free-hand them if you have nice handwriting).

8. Hang the finished growth chart on your wall at the correct height and enjoy measuring all your kiddos on their next birthday!
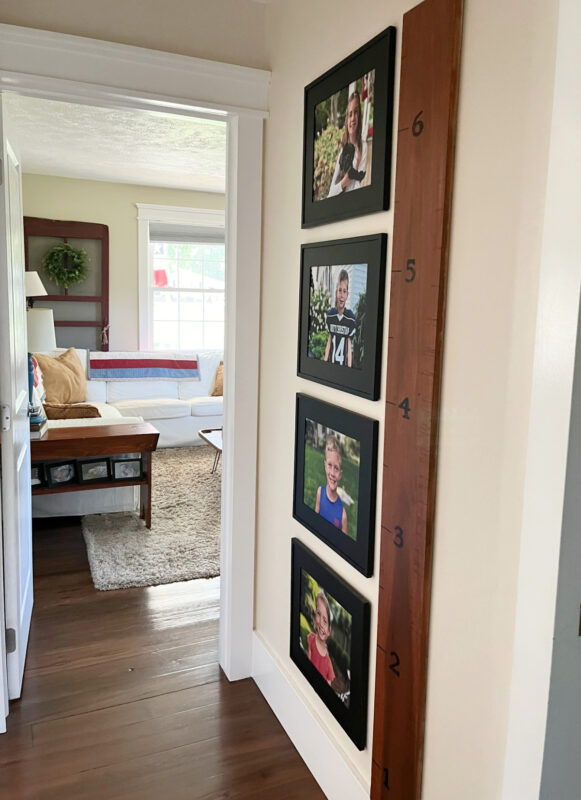
DIY Wooden Growth Chart
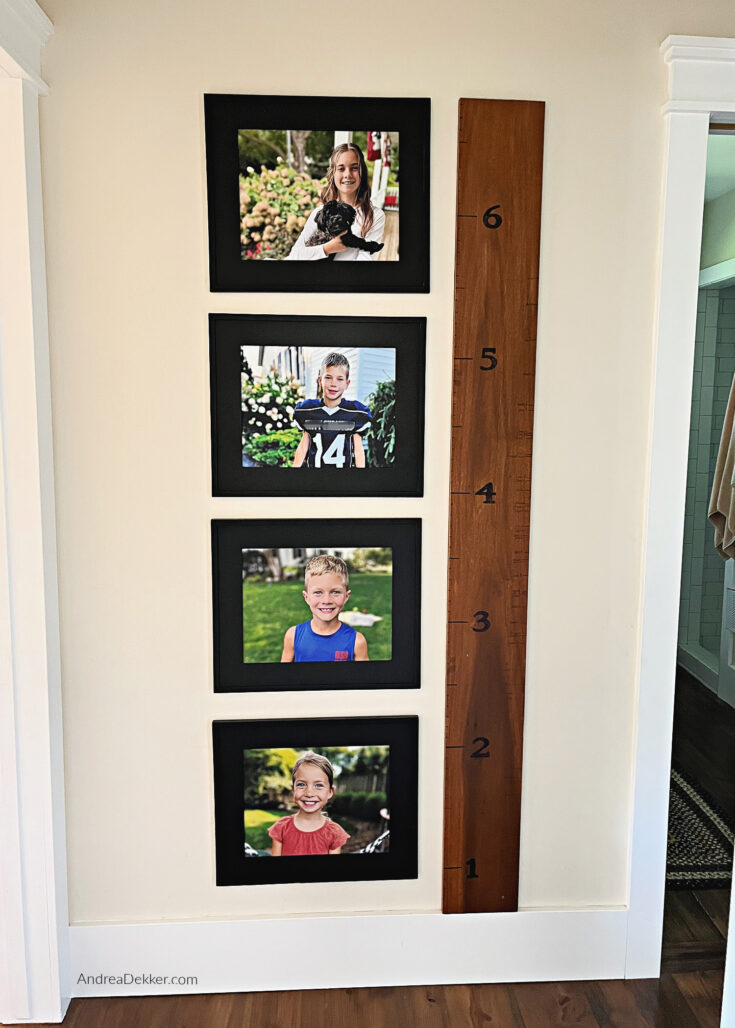
Follow these simple instructions to make a beautiful growth chart you can take with you if you move!
Materials
- wooden board (mine is 1″ x 8″ x 7′ long)
- stain or paint
- polyurethane (optional)
- number stencils (optional)
- pencil
- black Sharpie or paint
- tape measure
- ruler
- carpenter’s square
- nails or screws
Notes
- Stain or paint your board and let it dry.
- Do 2 – 3 coats of polyurethane (if you stained the board) lightly sanding between coats.
- Decide where you will hang your board (this is important for figuring out the inch markings)
- Use your tape measure and square to mark the foot “lines” in pencil (based on how high you will hang it on the wall).
- Use the ruler to measure the inch lines with pencil.
- If you are satisfied with the look of your lines, use a Sharpie (or black paint) to darken these lines and make them permanent.
- Use stencils to trace numbers with a pencil, then color them in with a black Sharpie or paint (you may also free-hand them if you have nice handwriting).
- Hang the finished board on your wall at the correct height and enjoy!
I’m thrilled with how this simple project was, and how much fun we’ve had using it over the last 12+ years.
It’s such a fun tradition for our family — one I hope we can even continue with grandchildren some day!
Do you have any yearly family traditions?

Catherine says
I love the ways you help your kids feel special and part of your family.
Andrea says
Thanks Catherine!
So often, it really is the “little things” that they end up loving!
Kelynn says
Hey Andrea, love the growth chart. How big are the number stencils you used?
Andrea says
They are about 3 inches!
Rosanna says
Hi there! Stumbled across your blog and love it, especially love how your DIY growth chart turned out! Especially using such old wood with character! Awesome.
A few months back I asked my husband to help me make one for our boys and we had fun preparing the board, but got stuck on creating a neat, professional way to put on numbers and tick marks. We tried numerous methods, and weren’t happy with any of them, so decided to design a DIY vinyl decal that you can just transfer onto the board and were finally happy with it!
Since then, knowing how popular this project is, we actually opened a shop on Etsy to sell the decals for other DIY-ers who wanted to make a board but didn’t have the creativiy or time to hand draw out or stencil numbers and tick marks. If you’d like to take a look, or recommend the shop in your post as an option to others who might be frustrated by the same step, it’s: http://www.etsy.com/shop/LittleAcornsByRo
Maybe it will be a help to others out there!
Thanks and best wishes!
Ro
skottydog says
This is such an awesome idea! I’m totally doing this! Thank you for posting it!
ivy says
This is a wonderful idea! We always did ours on the back of the basement door and my grandparents house. I was very very upset for a long time because it got left at the house when they sold it.
Happy Thanksgiving and Happy Birthday to Nora!
Lora says
Looks great 🙂
Nice work!!!
Stel says
Aaaah it’s nice. I saw the same, have the board ready, it’s stained, I just need to put up the numbers and hang it up!
*Ashamed*
It’s been lying around for 8 months now. THIS weekend I will finish it.
Paulette says
This child is SO stinkin’ cute!!!