It’s been 3 weeks since I shared our exciting plans for a new Trex deck here on the blog… however, we didn’t actually start working on the deck until last week Friday as all the supplies were delivered the day before.
And as of today (less than a week later) we’re ALMOST finished!
We’re actually hosting a 4th of July party here tomorrow — but I can’t show you the official before and after pictures yet as we still need to complete the stairs as well as several other “finishing touches”. Plus, we should probably get some furniture out there!
However, since I got a lot of questions about the Trex products after my last post, I wanted to take a few minutes to talk about how the Trex products work, how they are installed, and a few of our opinions after working with the materials for a week.
.
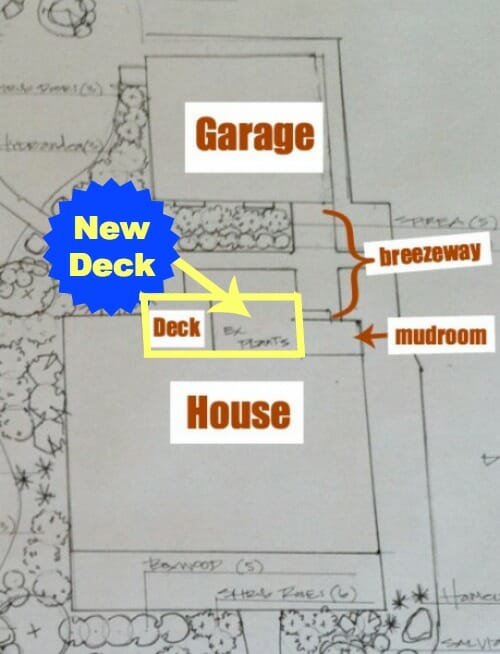
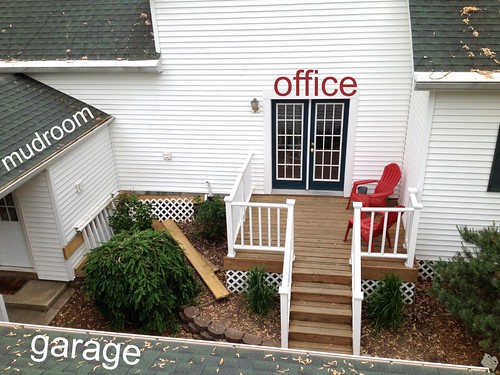
Just to refresh your memory, here’s a bird’s-eye view of our deck plans. We took the small 8′ x 9′ deck off and are replacing it with an 8′ x 20′ deck!
And here’s the color we’re going with: Saddle (with white posts and railings)
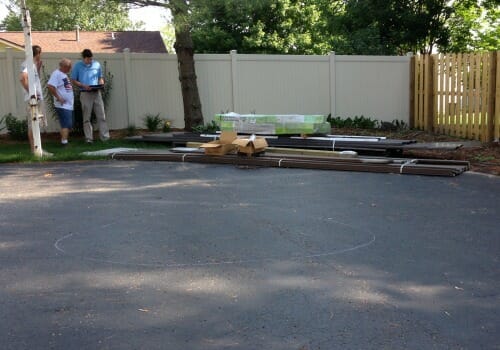
As I mentioned above, the materials were all delivered last week Thursday. Then on Friday, a Trex representative, Jeff, came out to talk us through the installation process as well as answer any questions we might have.
Jeff gave us a bunch of information and the Trex installation guide. He also encouraged us to visit the Trex website to view some of the extremely helpful installation videos.
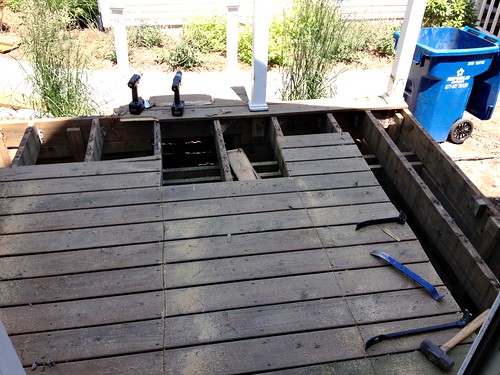
After Jeff left, we started demolition on the old deck (we purposely waited to do the demo. so we could use our back entry door and our old deck as long as possible). First the railings came down… and then the deck boards.
Meanwhile, Simon was sleeping and Nora was “washing her bike” with an old paint brush (that girl LOVES playing with water!)
We THOUGHT we would just be able to unscrew the old deck boards — and then hopefully reuse them for raised garden beds we want to build this fall. Unfortunately, all the screw were rusted, warped, or stripped so it was basically impossible to pull full deck boards off.
We ended up cutting the boards into 2 foot chunks and prying them off with a pry-bar — and yes, this took MUCH longer than we were anticipating 🙂
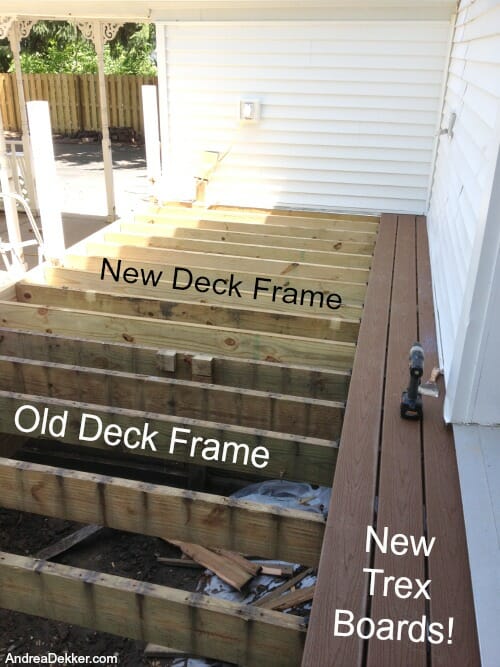
The good news — after we pulled all the old deck boards off, we realized that the old deck foundation was EXTREMELY solid and sturdy! We were able to leave the foundation “as-is” and simply add onto it for the new portion of the deck.
This saved us a ton of time, as well as a bunch of extra materials!
Once the framing was finished, it was time to lay the actual Trex deck boards.
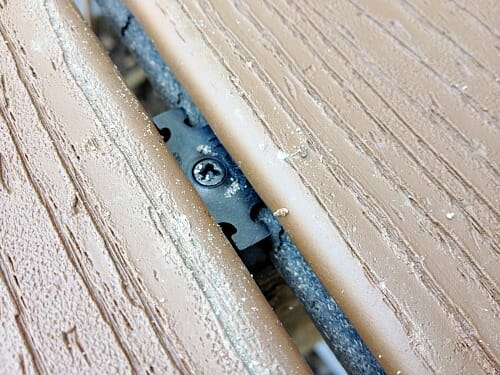
This process went fairly quickly because the boards are 20 feet long — just like our new deck. We had to cut about 1″ off the end of each board and then just screw them in place using the Trex fasteners (see that tiny black clip + screw in the image below).
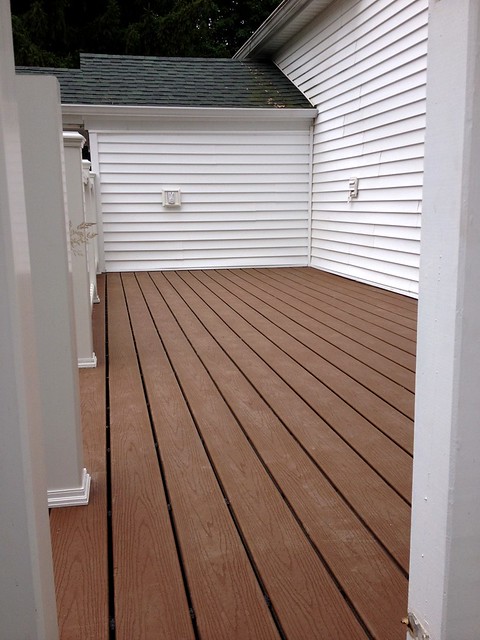
These fasteners are really cool. They make it possible to install an entire deck without putting any screws into the boards!
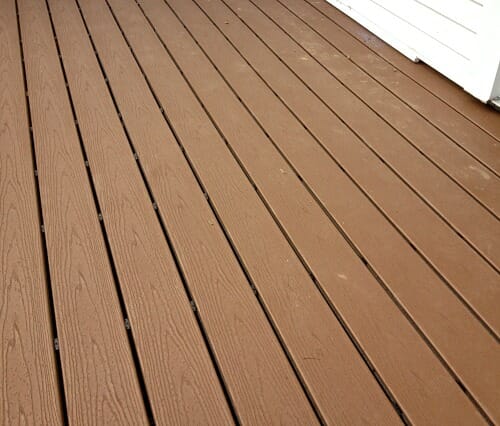
The clips are basically invisible once the deck is finished. Can you see them in the photo below?
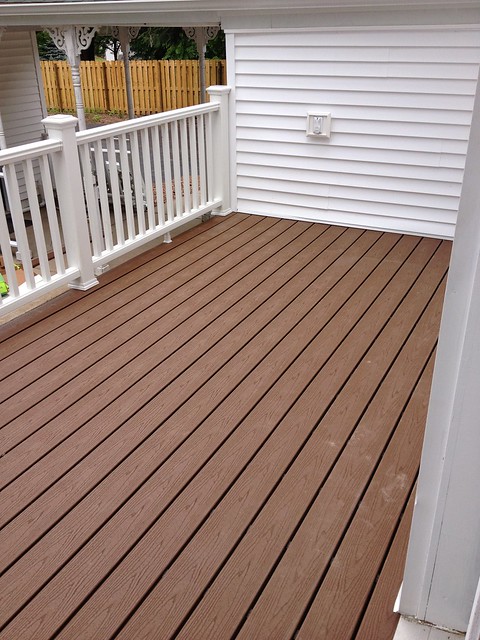
The end results (without screw holes in the tops of the boards) are really fabulous. Plus, since we could simply use the full-length 20-foot boards all the way across, we don’t have ANY seams in the entire deck. Just long planks from one side to the other!
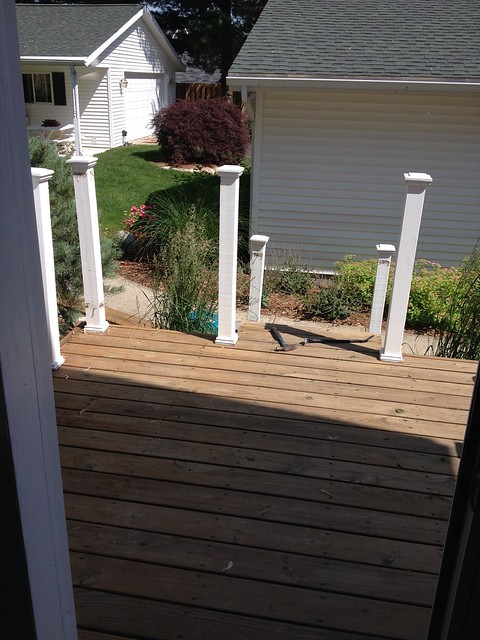
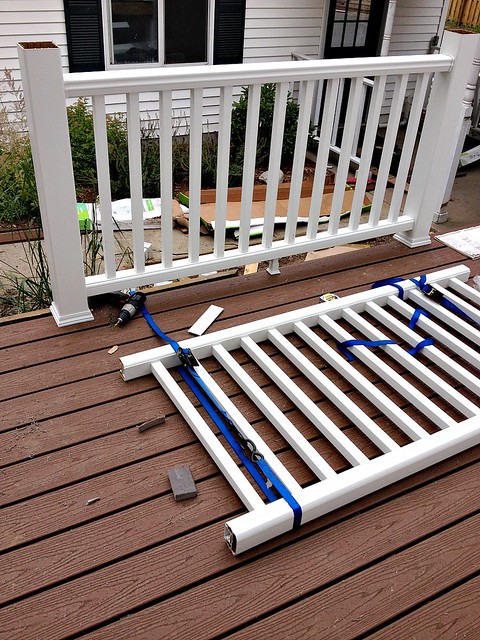
After the deck boards were in place, it was time for the Trex Transcend Railings. I was worried these would be really complicated — but they weren’t too bad.
Since our deck is surrounded on 3 sides by our mudroom, our office, and the nursery, we only needed railing on one side. We watched the railing installation video and then got to work. Within an hour, the rails were in place!
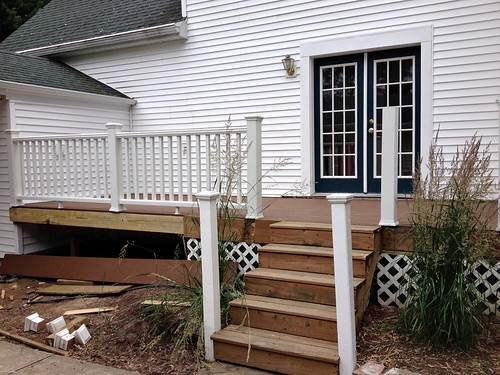
Now we “just” need to finish the stairs and then put the deck “skirt” across the front of the new deck. Then it’s time for a bit of landscaping and new furniture (yes, I’m already scouring Craigslist!)
.
I’ll be honest… I was a little nervous thinking about installing this deck. We have never built a deck before — and although my dad is helping us (and he has built decks before), he has never used material like this. I wasn’t sure if we’d have the right tools or if we’d run into any surprises… but so far, we’ve been VERY impressed with Trex customer service, their website support, their products, and the ease of installation.
Everything has gone smoothly up until now — knock on wood… or knock on “Trex” 🙂
We’re hoping to be fully finished within the next couple weeks — at which point I should have a pretty fabulous “before and after” post to share with you!
Here’s the link to my previous Trex post (sharing all the details of why we’re expanding our deck). And here are a few more places you can find Trex on the Web:
Website: www.trex.com
Facebook: Trex Company
Twitter: @Trex_Company
Pinterest: Trex
YouTube: TheTrexCo
.
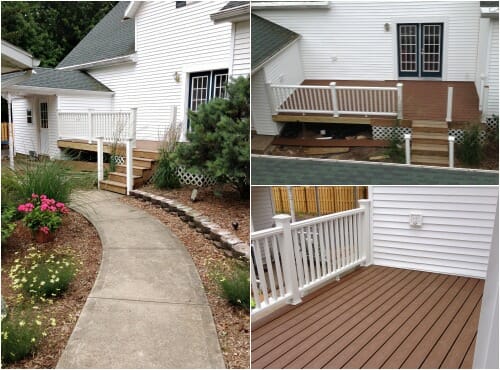
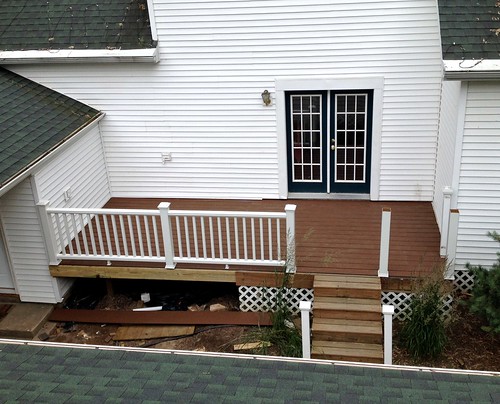
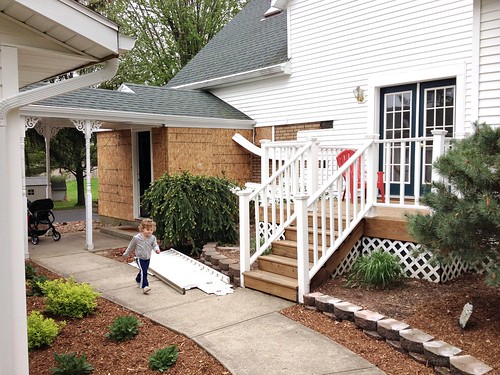
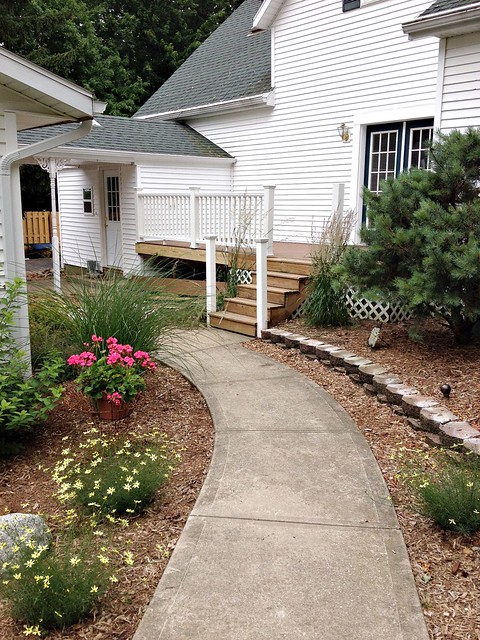
Just for fun, here are some “before and progress” photos.
The view looking from above…
And the view looking towards the mudroom and driveway.
As you can see, the mudroom has also come a LONG way and has totally changed the look of this space.
I’m so excited to have this extra 200 square feet of outdoor living space to use all spring, summer, and fall. Who knows, maybe we’ll even figure out a way to use it in the winter!
Have any of you worked with Trex products? Did you also find them relatively easy to install? Are there any tips or tricks you would suggest?
Disclosure: we received free products from Trex in exchange for this blog post; however, all opinions are my own!



Speattle says
I enjoyed looking at this. We have a HUGE deck on the back of our home built 14 years ago and would like to replace the decking with this product. Yours looks great!
Andrea says
Thanks — so far, so good! We are really liking the deck (and how easy it is to sweep/spray off when it gets dirty).
Jenni says
Wow – that looks wonderful, and it’s great how the deck was able to be enlarged and enclosed because of your mudroom. It must be so fun to do these projects knowing that you will be there for awhile and enjoy them!
Andrea says
Thanks Jenni! and yes, it’s definitely a lot more fun to make improvements when we know (or at least plan) to stay living here for a long time!
Shareen says
I absolutely love it! Congratulations! Happy 4th!!!!
Andrea says
Thanks Shareen!
Linda says
It looks so nice! I enjoy following you along on each of your projects. I look forward to seeing the finished project with furniture.
Marie says
Yes it is low maintenance but just be very careful of what you put on the deck. We have several spots that have been scratched or marred from lawn chairs, toys, and our grill.
Andrea says
Good to know — thanks!
Beatriz says
WOW! That look so good! I love the idea because it won’t warp like wood or need as much upkeep. Looks great!
Andrea says
exactly — we’re excited for the low-maintenance part of this deck 🙂
Debbie says
Loving the progress and I’m guessing you’re done with the deck since July 4 is tomorrow. I’m glad it was an easy installation. Our future deck will be Trex. Off topic, it looks like your door is a French door. We’re thinking of replacing our patio sliding to a French door swinging out. Do you have a screen door to keep bugs out?
Andrea says
No Debbie — I actually took the pictures yesterday, so we’re not done yet. We still have to finish the steps, the front “skirt” and the landscaping. But the actual deck and rails are finished so that’s good enough for our party 🙂