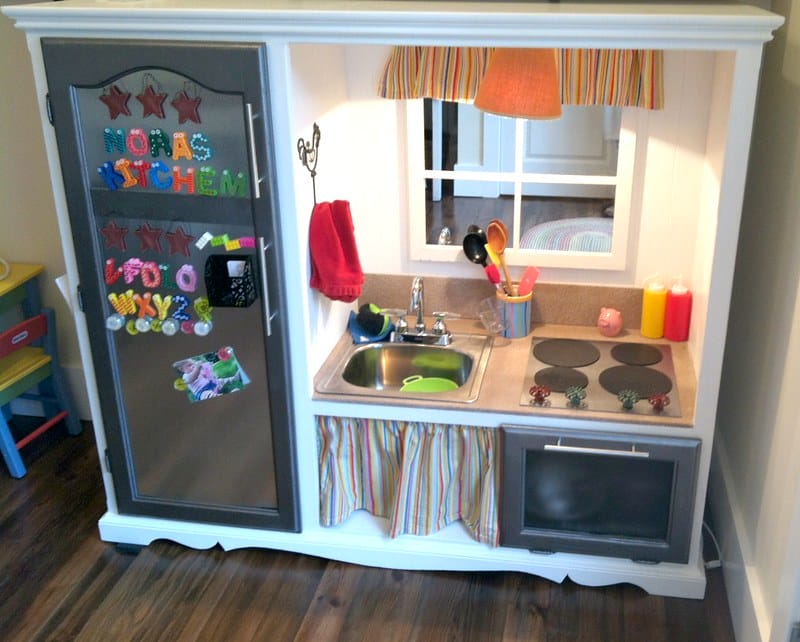
Looking for a way to upcycle an old TV cabinet? This fairly simple DIY Play Kitchen tutorial is such a fun project that will delight the children in your life for many years to come!

Way back in 2013, I purchased an outdated TV cabinet from a local thrift store, with the hopes of creating a DIY play kitchen for our oldest daughter’s 2nd birthday.

Little did I know how much fun I would have with this project, how cute it would turn out, and how this play kitchen would become one of our children’s most beloved “toys” for the next 10+ years. 🥰


Our play kitchen made its way throughout our home, in and out of various bedrooms, the landing area, up and down stairs on occasion, and even in our outbuilding for a time, as we continued to move it to where it got the most use… and wow, did it get used!
Although all 4 of our children absolutely loved our play kitchen, we did eventually pass it along (to blog readers) in 2024, but the tutorial lives on via the internet!
If you’re looking for a fun way to upcycle an old TV cabinet, a fairly simple DIY project, or a creative gift for special children in your life, consider a DIY Play Kitchen… I’ll walk you through exactly how I did this project below!

Supplies To Make a DIY Play Kitchen from a TV Cabinet
Obviously, the necessary supplies will vary, depending on what type of cabinet you have and what type of kitchen you want to create — but here is a general list of the supplies I used to help you get started.
An older TV cabinet. Ideally, it would be solid wood with a full-length door on one side for a fridge. Look for them at thrift stores or on Facebook Marketplace.
Screwdrivers (electric or manual) to remove hardware, doors, drawers, etc.
Sandpaper and some wood putty to fill holes, smooth scratches, etc.
Some type of project saw to cut a hole for the sink and to cut out the center of the oven and fridge doors.
Denatured Alcohol (or something to clean the wood well before painting)
Primer (either spray-on or brush-on), I like the Kills brand, but any brand should work.
Paint (any color is fine — I used leftover paint we already had in the house)
Spray paint — I use metallic for “stainless appliances” and stone for a marbled counter look.

A very small sink (like a bar sink) — you can also likely find these at thrift stores or Marketplace.

Magnetic paint or a thin metal sheet for the fridge (we had a sheet of metal cut from a local heating and cooling place — it’s what they use for the ductwork).
A small piece of plexiglass for the oven door (totally optional — but it makes it possible to see into the oven).

Small round wooden disks to use for the stove burners (I used sports ball wall decals from the craft store).

Thin piece of wood and knobs for the stove (I used a piece of 1/8″ scrap wood and 4 water spigot turnoff valves that I found at the thrift stores)

Hardware for the oven and fridge (I purchased 3 long skinny drawer pulls).
Lights (optional but fun). We used motion-sensored rechargeable lights inside the fridge and oven, and a small lampshade connected to a corded hanging bulb socket over the sink/stove.

Various kitchen decor items, dishes, food, curtains, linens, pot holders, hooks, baskets, magnets, etc.
This is the really fun part because you can tweak the colors, fabrics, and decor.

Here are a few ideas to get you thinking about “accessories”:
- Mirror or window above the sink/stove
- Valance or curtains
- Skirt for under the sink
- Towel hooks
- Towels, washclothes, and pot holders
- Youth oven mitts and apron
- Small pots, pans, and baking dishes
- Mini collanders
- Wooden spoons, mini spatulas, and other small kitchen utensils
- Play dishes, cups, and cutlery
- Magnets for the fridge
- A corded phone for the side of the cabinet
- Play food (or just save some of the boxes and containers your food comes in)

How to Make a Play Kitchen from a TV Cabinet
Again, there are many ways to do this project, but here’s how I did it…
1. Remove everything that can be removed from your cabinet (shelves, doors, hinges, knobs, backing, etc.)

2. Wipe down the cabinet (and the removed doors) with denatured alcohol and a soft rag to remove any dirt, oil, or residue.
3. Prime the cabinet (and removed doors) — I like Kills Primer (either the spray or brush-on version) because it has great coverage and hides stains and also wood grain better than other primers.
4. Paint everything with at least 2 coats of paint (I used white for the entire cabinet, except for the inside of the oven, which I painted black).

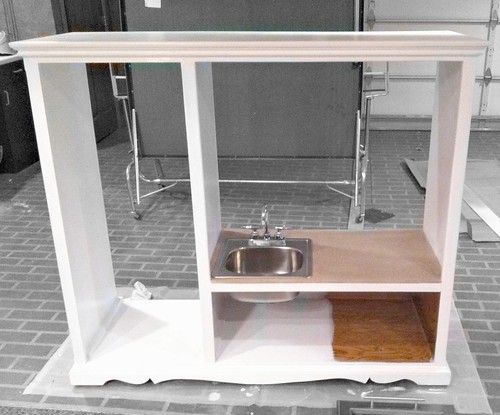
5. Cut a hole for the sink based on the sink you find.
6. Cut out the inside of the fridge and oven doors (this is optional, but fun if you can put a magnetic panel or plexiglass in the doors).
7. Use accent spray paint to spray the counters, appliance doors, stovetop, burners, and anything else with metallic, stone, or black accents.

8. Install the sink. We just used some caulk on the underside of the sink to “stick it” to the counter.

9. Attach metal sheet to the fridge door and plexiglass to the oven door (if using) and reattach the painted doors to the cabinet.
NOTE: I reattached the oven door with the hinges on the bottom instead of the side so it would actually open like an oven.

10. Add lights (optional). We used motion-censored rechargeable lights in the fridge and oven that the kids loved. We also hung a corded hanging bulb socket with a little lamp shade over the sink/stove.
11. Create the stovetop and burners. I used a piece of 1/8″ thick scrap wood for the stove top and 4 craft circles for the burners. The smaller ones are 4″, the larger ones are 6.5″. The “knobs” for the stove are water spigot valves so they actually twist!

12. Put a back on the cabinet. I used leftover beadboard from our kitchen project (painted white). I just used a staple gun to nail it to the back.

13. Add decorative details. I added a mirrored window above the sink, then used a thrifted tablecloth to make a valance for the window and a skirt for under the sink. I used a wooden dowel for the valance and a tension rod under the sink.


I found all the other “accessories” via thrift stores and/or around our house — it came together nicely and looked like a real kitchen! We even had friends who thought the sink actually worked!

DIY Play Kitchen Costs
Over the years, so many people have inquired about the cost of this cabinet — and honestly, it would likely cost a lot more now than when I did the project back in 2013…
However, here’s my price breakdown (my goal was to spend less than $100!)
- TV Cabinet = $18 from local thrift store
- White / Black Paint for cabinet = FREE — we had leftover paint from previous projects
- Bar Sink + Faucet = $10 from Craigslist
- Small Tension Rod to hold skirt under sink = $2
- Bead Board for back of cabinet = $0 (leftover from our kitchen reno the year before)
- Hardware for refrigerator and oven = $6 (an amazing deal from our local Habitat For Humanity Re-Store.)
- Plexiglass for inside the oven door = $2.50 (This was also an amazing find by my dad. He found a big piece on clearance at Menard’s because it had a chip off one corner. It was only $2.50 and we could cut the size we needed and trash the chipped part.)
- Magnetic Sheet for inside the refrigerator door = FREE Thanks to knowing someone who works for a heating and cooling place. 🙂
- Spray Paint = $12 for 4 cans (2 cans of “dark steel metallic”, 1 can of “stone”, and 1 can of white.)
- Burners for stove = $3 from Hobby Lobby
- “Knobs” for stove = $4 from a local thrift store
- Window and lights = FREE — we already had them in the house
- Chicken Towel Hook = $4 from Hobby Lobby — this was my little “splurge” as it’s a baby version of the chicken towel hook I have next to our sink. Nora LOVES it!
- Wooden Peg Hooks = FREE — I used scrap wood and extra pegs we already had (see how I made it here)
- Fabric for curtains = $1 — tablecloth from a thrift store. I gave the extra fabric to Dave’s mom and she made a tiny apron, pot holders, oven mitts, and dish towels!
- Random scrap wood for the stove and the back of the refrigerator door = FREE
- Food = FREE — I saved our boxes for a while!
- Dishes, accessories, pig timer, pans, strainer, etc = $8 from Goodwill
- Child Size Table and Chairs = $10 on Craigslist
GRAND TOTAL = $80.50
Pretty good, I’d say!

This project took me about 3 weeks to finish — keep in mind, I only had one toddler at the time, and my dad helped me with some of the cutting. 😁
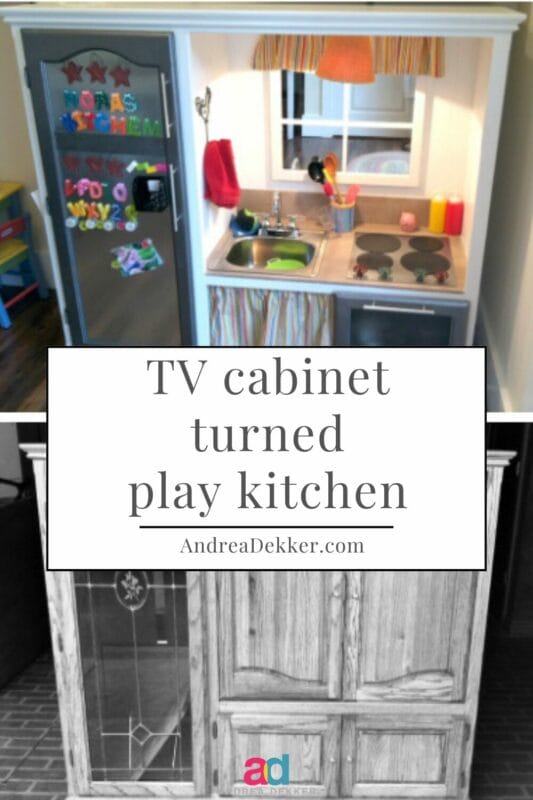
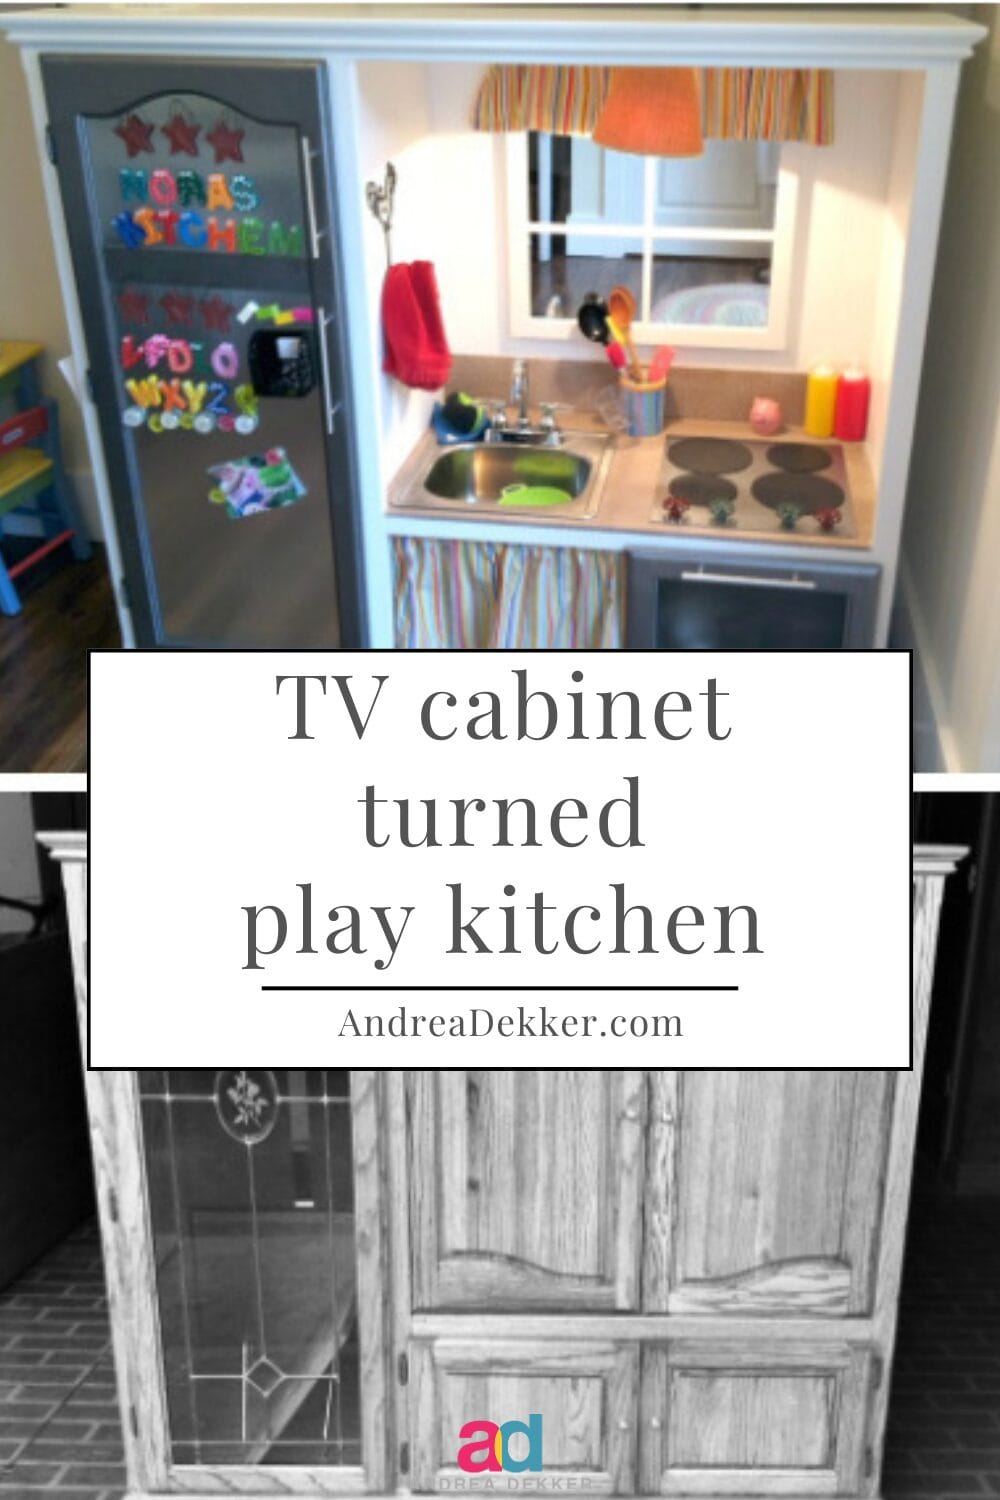
DIY Play Kitchen BEFORE

DIY Play Kitchen AFTER

I’m certain there are many more play kitchen tutorials online, but I’m thrilled to have this fun project on my blog — a little nod to the memory of one of our most favorite “toys”.
I only hope the new owners are enjoying it as much as my kids did!


Carlee says
I never ever post comments on other people’s posts but when I saw this I couldn’t resist !
This is the most adorable kitchen ! We are doing one for my niece and I plan on using most of ur ideas ! I love it !!
Andrea says
Thanks Carlee — it’s been over 3 years since we made that kitchen for Nora and it’s still our kid’s favorite “toy”. They all 3 play with it EVERY day!
Betsy says
This is adorable and we’re going to make a similar kitchen for our daughter! Seriously one of the cutest I’ve seen on Pinterest and budge friendly! What are the dimensions of the sink you found?
Andrea says
Thanks Betsy, It’s just a traditional “bar sink” — about 12″ x 12″ I think
sarah says
Your kitchen project for your daughter came out amazing.
you definitley have a skill for repurposing and a creative flair.
it looks awesome!
Thanks for sharing.
Ingrid says
Awesome job! I would love to do something like this for my daughter when she’s older to play with.
Andrea says
You SHOULD be proud!!! That is an AMAZING kitchen set!!!!
Lindsey says
I LOVE the play kitchen! You did an amazing job! We’re using your instructions to make our little girl one for her 2nd birthday too! We even got an entertainment center just like yours! We are stumped though on what tool you’d use to cut the hole for the sink. Would you mind sharing what you used? Sorry to be a bother! I just hope mine turns out half as good as yours! It looks amazing!
Denise says
I teach @ a preschool an am thinking about making one of these for my classroom. What are the measurements of your cabinet?
Lady says
That kitchen is absolutely beautiful and better than anything you could of bought. Thank you for showing the steps I can’t wait to make one for my own daughter!!
Debra says
Wow! What a great job, and sooo much detail — great imagination, Andrea! Very cute! I’m sure she will get quite a few years of fun with that kitchen.
BTW, I love that black filing cabinet with the lock in the picture …I’ve been looking all over for a wooden filing cabinet with that look that locks. You wouldn’t happen to know where I could find one like that, would you? Thanks!
Andrea says
Thanks Debra,
And about the filing cabinet — it was $15 from Craigslist 🙂 I painted it black and spray painted the hardware. Also, the lock is just for show!
Debra says
I KNEW you were going to say Craiglist! 🙂 I was going to add — My luck,you got it on Craigslist, then I thought “that was negative” and didn’t type it. Oh, well, that is a great find. I’ll keep looking…Thanks for responding. Have a great night!
Kristen says
Oh my gosh, that is beyond cute! Such a fantastic job!!!
PS: Have you thought about turning the letter Z sideways for a makeshift N?? 😉
Andrea says
Hello — that’s a good idea!! I’m switching out the “z” for the “m” right now — thanks 🙂
Arlene says
What a fantastic kitchen! Well done, you must be so pleased with it. You may already know this tip but I used to stuff the empty food boxes with squished up newspaper and that made them a lot more robust.