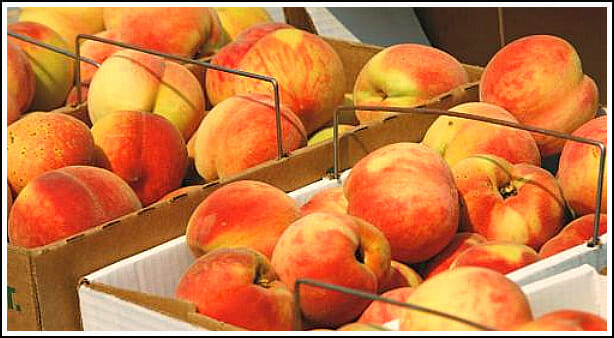
I don’t think there is anything more delicious than opening up a can of homegrown, home-canned fruit in the middle of winter. There is just something about it that tastes even better than fresh fruit — but that might be the added sugar!
If you’ve never tried to can your own fruit, now is a great time to start. There is still plenty of time to pick up some fresh produce from a local farmer’s market or u-pick farm — and I guarantee it’s easier than you might think.
As always, my advice for beginners is to START SMALL!
Start with a half bushel of fruit. This should be plenty for 10-12 jars of fruit plus extra to eat. Also, by starting with a half bushel, you can probably finish the job in 2-3 hours.
Equipment:
- Water-bath canner
- 10-12 Quart-size canning jars (I like to use wide-mouth if possible)
- 10-12 Rings and lids
- A canning kit is also nice to have. It includes a funnel, jar tongs, magnetic lid lifter, and a few other handy tools.
- Several towels and rags
- 9×13″ containers to hold the peelings
- Good pairing knife
- A friend — to make the process go a bit quicker!
Ingredients:
- Fruit: a half bushel should be enough for at least 10 jars plus extra to eat
- Sugar: anywhere from 3-10 cups; depending on how heavy you like your syrup
Directions:
1. Wash fruit thoroughly:
For peaches and apricots, I wear rubber gloves and vigorously rub them under very hot water. This loosens the skins and makes them much easier to peal.
If your fruit isn’t quite ripe, simply lay out sheets of newspaper on a cement floor, spread out your fruit and cover with additional sheets of newspaper. It should ripen within 2 or 3 days.
2. Peal, halve, and pit your fruit:This is when it’s nice to have a helper!
3. Place each half into a quart jar: cut-side down,nesting to them together
4. Make a Simple Syrup: this recipe is for 7 quart jars (there is room for 7 jars in a canner)
In a medium saucepan, mix desired amount of sugar with 7 cups of water. Stir sugar/water mixture until sugar is dissolved and mixture is bubbly
- Light syrup = 2.5 cups sugar to 7 c. water (this is what I use)
- Medium syrup = 4 c. sugar to 7 c. water
- Heavy syrup = 7 c. sugar to 7 c. water
5. Ladle syrup over the fruit: leave a 1/2 inch headspace.
6. Seal jars with sterilized lids and rings: make sure you wipe the tops of the jars first
7. Process jars for 25 – 30 minutes: in a water-bath canner (it usually take 20-30 minutes to come to a full boil, at which point you should set your timer for 25 minutes)
8. Cool and seal jars: remove jars from the canner and allow to cool on a towel for 12 to 24 hours. Make sure each jars seals. (you’ll hear a ‘pop’ and the middle of the lid will be slightly indented)
9. Wash and Store: Remove the rings and thoroughly wash the jars and rings in hot soapy water (they will be very sticky). Label each jar and store in a cool, dry place.
10. Enjoy all year round!
See, I told you it wasn’t that bad!
I know if may seem a bit overwhelming at first, but once you try it a time or two, it will seem like second nature.
What are your favorite ways to preserve fresh fruit?
Visit my virtual recipe box for more simple, delicious, family friendly, recipes!


Ashli says
Quick question, can you can without the simple syrup using 100% fruit juice as a substitute? I don’t like giving my kiddos extra sugar and have been wanting to try canning.
Thanks!
Andrea says
I’m not 100% sure, but I think it would be fine. I actually use 1/4 the sugar my grandma uses and 1/2 the sugar my mom uses… so I’d say go for it!