Throughout the month of November, the kids and I worked on an “extra special Christmas present project” that we couldn’t share until after all our Christmas gifts had been given.
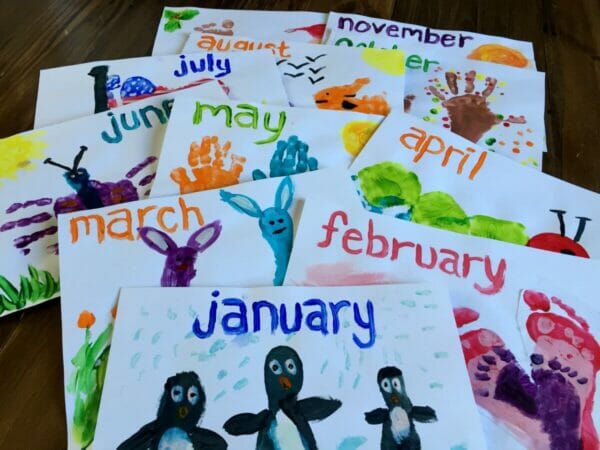
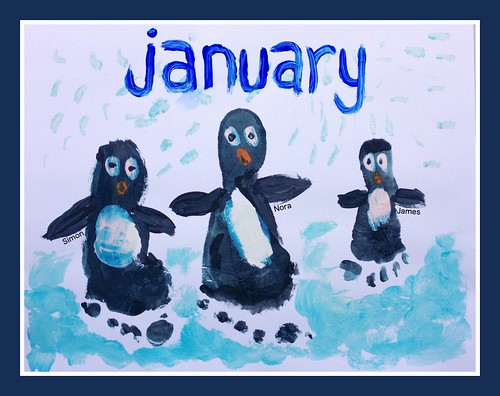
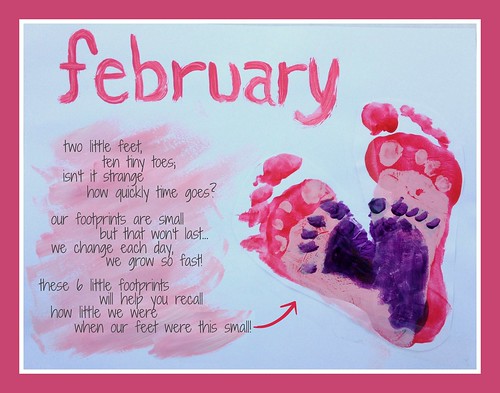
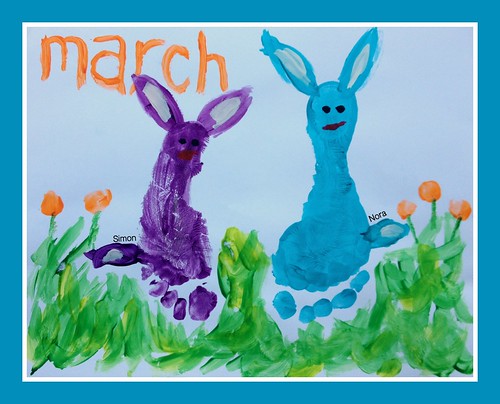
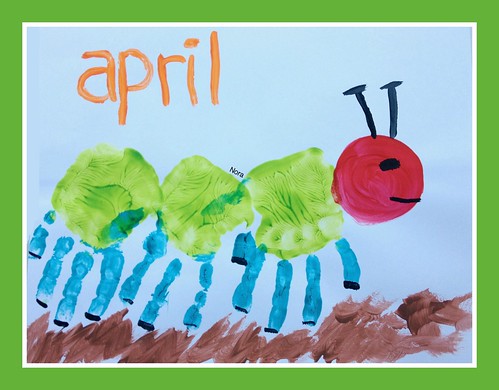
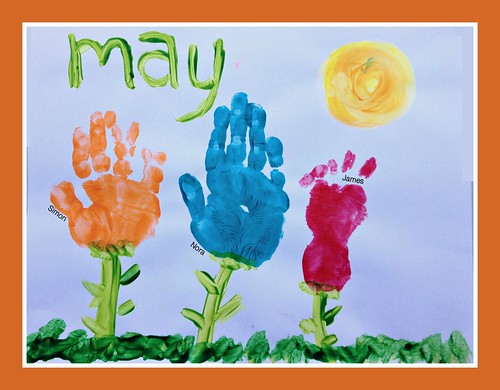
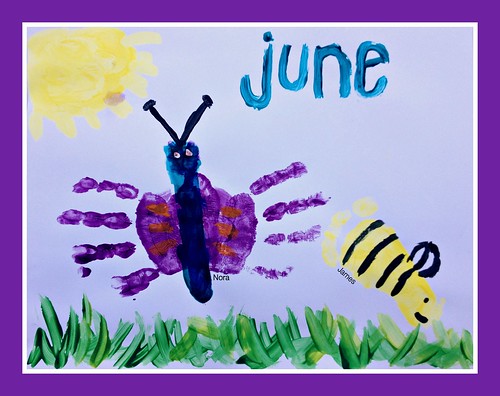
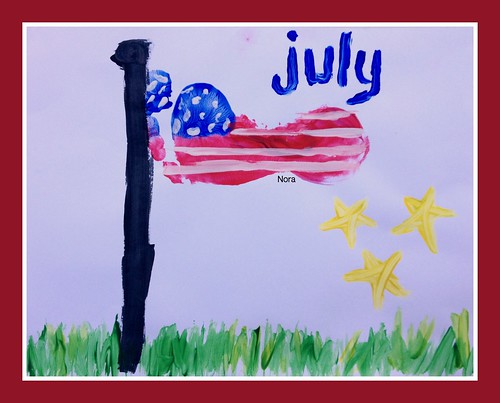
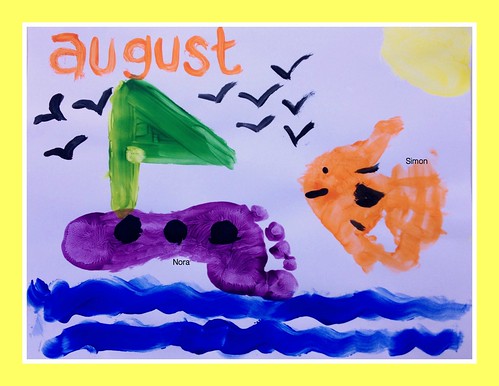
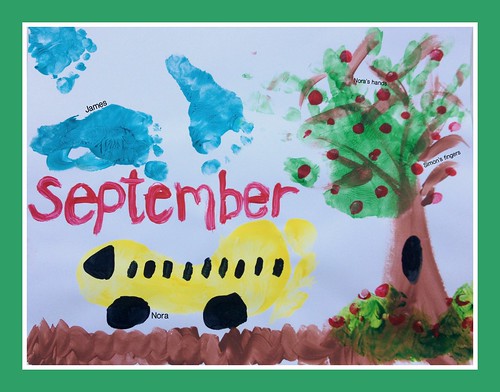
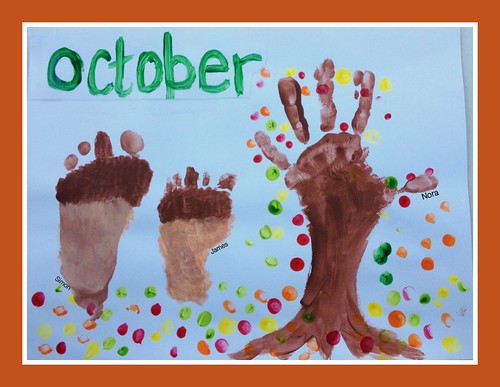
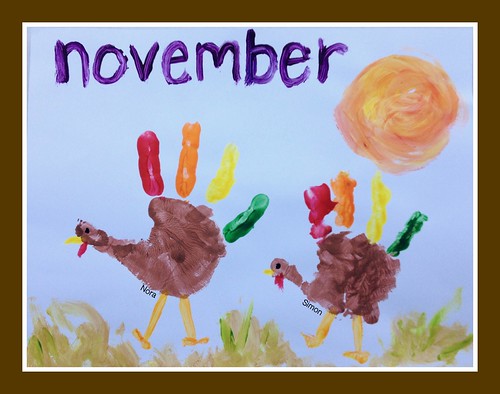
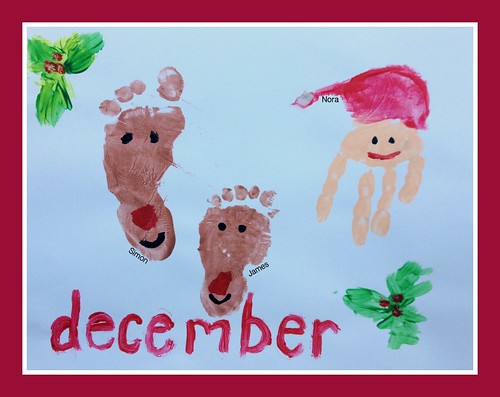
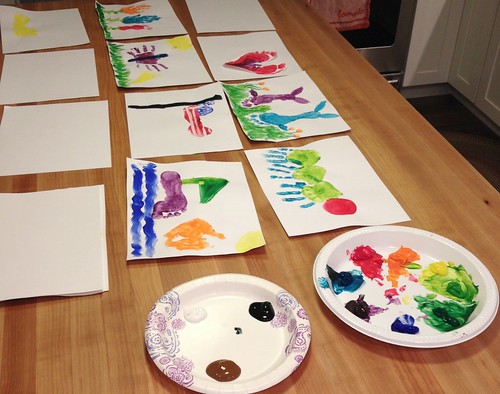
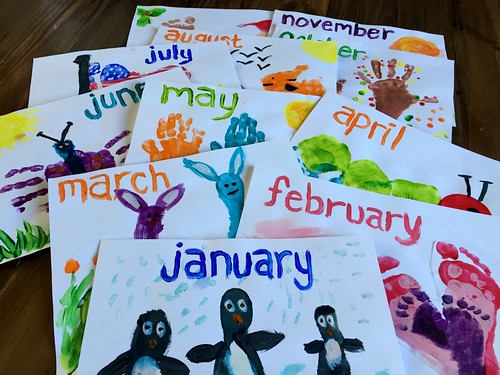
We made calendars for each set of grandparents — and instead of using pictures, we created 12 different handprint and footprint paintings for each of the 12 months.
It was a labor of love (and a huge mess at times) but we had lots of fun and I’m so glad we did it.
.
I figured that we all had plenty of photos of the kids… it might be fun to do handprints and footprints for a change… and I was so surprised that Nora didn’t speak a word of our special project to any of the 4 grandparents (she sees them all regularly).
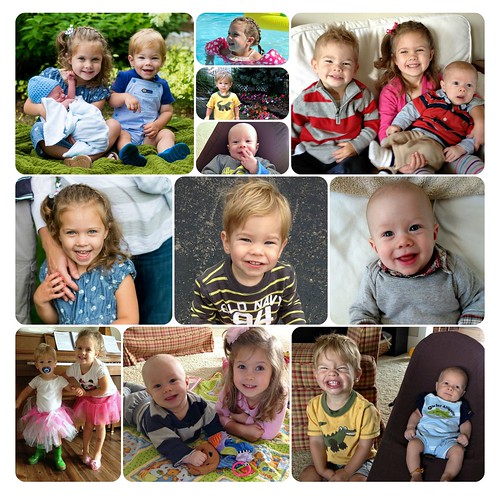
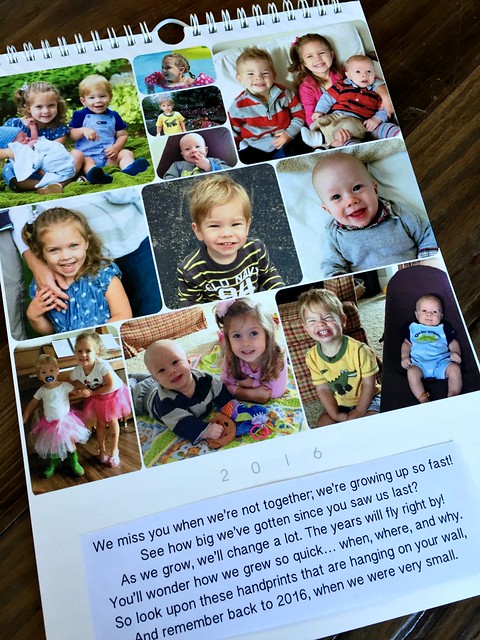
I did include a collage of pictures on the front cover, but the monthly photos were replaced with cute handprint and footprint artwork.
Here’s a look at our calendar pages:
It’s definitely not perfect… but I was really happy with how it turned out, especially considering how squirmy Simon and James were!
Nora had SOOOOOOOO much fun working on this calendar, and I’m glad I ordered an extra one to keep at our house. I also think I’ll laminate the original paintings so they last for a while (they are just so stinkin’ cute!)

I know it’s already past the Christmas gift-giving time — but there is still plenty of time left to order a 2016 calendar (either for yourself or for a family member). I’ve seen a bunch of “free calendar” deals popping up here and there as well, so you might even be able to get a great deal!
Also, you can certainly still do some fun handprint and footprint crafts even if you don’t turn them into a calendar. If your kids love to paint, this could just be a fun indoor project during cold weather months.
If you’d like to attempt the whole calendar deal, here are a few of my tips 🙂
My Tips To Simplify The Process:
I had NO idea what I was getting myself into — and honestly, there were moments when I wanted to trash the whole projects because it was turning into a huge mess and the kids weren’t cooperating.
However, there were a few things that seemed to help the process go a bit smoother — maybe they’ll help you if you decide to make a handprint calendar too 🙂
1. Plan out your designs ahead of time.
I just searched for “handprint calendar ideas” on Pinterest and instantly found hundreds of ideas. Also, Life Your Way has a bunch of cute ideas.
I wrote down what design I wanted for each month, and then what colors I would use for that design.
2. Work with one child and one or two colors at a time.
If you’re like me, you’ll naturally just want to do one month at a time — but this is a really bad idea (especially if you have small children!)
Instead, I’d suggest working with ONE child at a time, and focusing on one or two colors at a time.
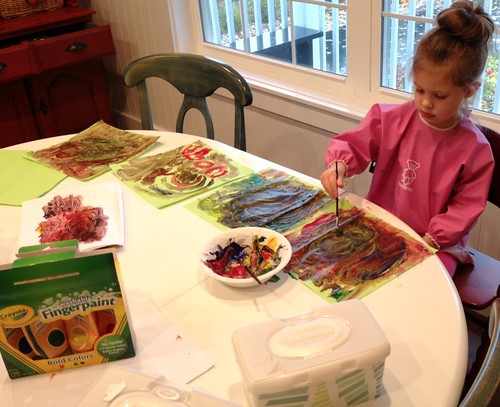
I worked with Nora first (when the boys were napping). I looked over my list of designs from step 1, and started with one color. I went through every month and did all the red, then blue, then green, etc. This cut down on wasted paint and lots of time spent washing off her hands and feet.
I did James’ footprints next, and Simon’s feet + hands last as he was the most difficult to get to sit still!
3. Have water and rags ready to go before you start painting.
Nora was fine with sitting still and holding her hands until I had a washcloth ready to wipe her up — but anyone younger than Nora might have issues sitting still (and if they can’t sit still, you’ll have a BIG mess on your hands.)
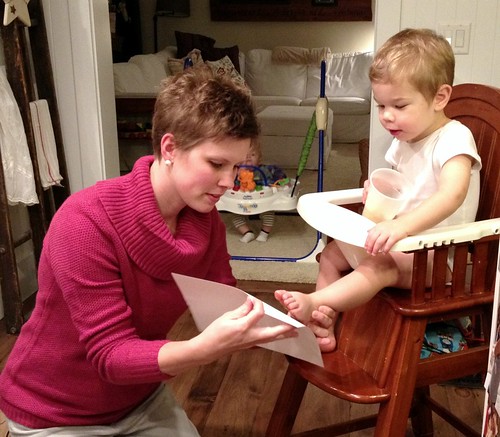
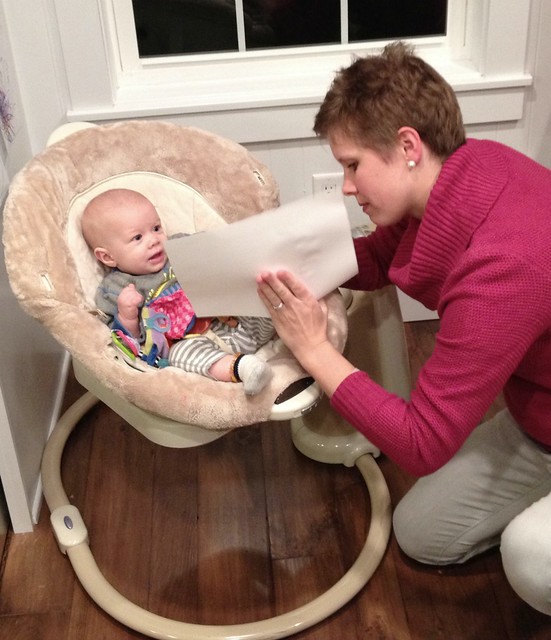
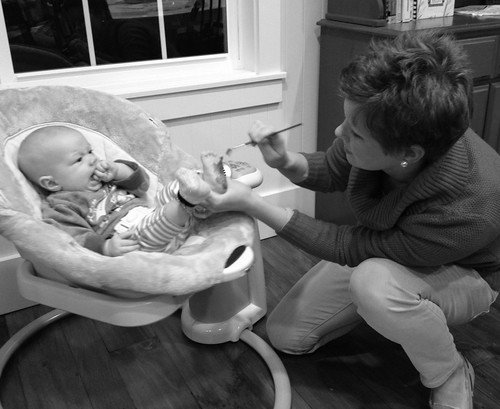
For Simon and James, I had a wet rag ready and waiting before I even started painting their feet and hands. I would paint, press, and immediately wipe the extra paint off.
I also made sure Simon and James were somewhat confined while I painted (either in their high chair or in the swing).
4. Use washable paint!
I would assume that anyone attempting any painting project with kids would use washable paint — but just in case, I thought I should mention it as one of my tips!
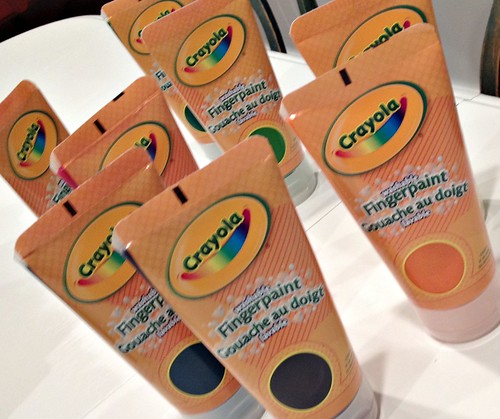
We used Crayola finger paints that Nora got for her birthday and they worked really well. I don’t think anything was stained in the process — so they really ARE washable.
5. Use thick paper.
If you use regular printer paper, the paint will bleed and the pages will get very wet and probably curl up quite a bit.
We used paper that was a little thicker than construction paper, but not as thick as cardstock.
6. Brush the paint onto the hands and feet.
Even though we used finger paints, I still used a brush to apply the paint to the hands and feet. It was MUCH less messy this way and I could be more accurate with the different colors of paint.
I squeezed a little of every color onto a paper plate and then used that to brush on. This method worked really well.
7. Don’t worry about “perfect” or “pretty”.
If you have ANY perfectionist tendencies at all, I wouldn’t suggest doing this craft (seriously).
There are so many blotches and drips and smears in our pages — if I was worried about making everything perfect, I would still be working on January!
Even though I would not consider myself “crafty” or “artistic” I was surprised how quickly and easily it was to cover little imperfections with more paint and turn them into something else.
I turned paint drips into falling leaves, flying birds, snowflakes, flowers, etc. I made smudges look like they were supposed to be there, and I dealt with any other “mistakes” that I couldn’t cover up.
In my opinion, there is no way you can do a painting project with small children without being willing to accept a few mistakes and a few oopsies 🙂
8. Press the finished (and dried) pages between a heavy book to flatten them out.
Even though we used thicker paper, our painted pages still curled up a little.
I waited until the paint was REALLY dry, and then I pressed the pages inside a phone book to flatten them out a bit. This will make it easier to scan them in (or take pictures of) if you want to turn them into digital art.
9. Scan in drawings (or take pictures of them) and upload to calendar program.
If you’re printing a digital calendar like I did, you’ll need to scan in your paintings or take pictures of them. Then upload those pictures to whatever program you’re using to print the calendars (Shutterfly, Snapfish, Minted, etc.)
However, you could also just make a handmade calendar by glueing the paintings to printable calendar pages (like these ones).
.
I probably won’t attempt another large-scale handprint or footprint project any time soon, but we will certainly do lots more painting projects this winter as painting is one of Nora’s favorite ways to spend Simon and James’ nap time!

Melissa Sartori says
Hi Andrea! I am planning on making this calendar for my parents. Can you recommend a site to have the calendar produced from? I am having trouble finding blank templates for the pages.
Andrea says
I would go with Shutterfly… and they should have 50% off coupon codes too. I’ve even gotten several “free calendar” coupon codes as well!
Michelle says
This is too adorable! I may just have to try it out this year 🙂
Eric West says
I love this idea! This a calendar that will make you smile every time you look at it, and it sure beats the random calendars from the mall.
Julia K says
WOW – this would have been a huge undertaking. Congratulations ! I love that you have photos of you working with the kids. They’ll remember this fun time with their mum ! I will share this with my lovely future daughter in law who is an early childhood teacher.
JJ says
Super cute! Wow, a lot of time went into that, and I bet they will keep them even after the year is over! I make handprint/footprint gifts for the grandparents for different occasions, and they are always a hit. Great idea!
Kelly S says
This is super cute! We just did photo calendars (and I am happy with them), but I’ll definitely have to try this in the future!
I think you did a few really nice finishing touches, like painting the grass, trees, etc. yourself (sounds like some of it was to cover up splotches!), adding the typed labels for who did what, and the poems at the beginning too. It makes them look really nice!
I noticed that Shutterfly lets you create a calendar beginning with any month, so that would be a way for people to still make one – you could just do March – February or something like that! 🙂
Do you feel like the size of the footprints/handprints is roughly to scale? When my daughter was a baby, we did add a couple handprint pictures to a calendar, but I felt like I needed to do the hard copy version because I worried it wouldn’t accurately reflect her size. I ended up photocopying them, but that was pricey, and then I couldn’t do the digital calendar. Any thoughts on this?
Andrea says
Thanks Kelly!
If you did your calendar through Shutterfly, I think the handprints and footprints would be more to-scale. I did mine through Minted and the calendars were smaller than I anticipated (so they aren’t really “life size” like I was hoping).
I’m thinking of using a free Shutterfly calendar coupon to make another one (since it’s free) just to see if it’s more life-size.
JoDi says
That turned out fantastic, and you are one brave and ambitious lady for taking on a project like that! The grandparents must have been thrilled with their gift!
Fran Koster says
So cute!
Carrie says
Love this! I think you should make a book of the artwork. What a great way to learn the months of the year.
Perhaps a project like this could be done outside with a shallow pool nearby or if indoor near a bathtub….just a thought!
Andrea says
good thinking about the book! That’s a great idea!
Kelly K says
Andrea, that is just awesome! I love all the different scenes you created and I know all those family members who received this calendar as a gift had to have been over the moon! Big prize to Nora for not spilling the beans! My boys of ages 9, 12 & 14 have too big of hands and feet to attempt this project, but then again, wouldn’t that be hysterical if I did do that as a spoof!?! Hmm, will have to consider this idea…. 😀
Chris says
This is absolutely one of the cutest things I’ve ever seen. (I really like February’s page).
Andrea says
yes, February’s page (with the poem) was probably one of my favorites too!
Barb says
What a great idea! The calendar looks great, and is such a thoughtful gift for grandparents! Great job!
Emily says
Oh I LOVE this idea!! So adorable and so fun! I did a photo calendar for my mom and grandmas for the first time this year and they loved it. I may have to tuck this idea away for next year. I agree with one commenter who said you should display the original for each month in a frame. What a wonderful keepsake! 🙂
Andrea says
I’m guessing we’ll go back to the photo calendars next year — but this was a fun way to mix it up a bit! And yes, I’m going to look into those frames she suggested!
Kristen @ Joyfully Thriving says
Well done, Andrea! I made handprint calendars with both my preschool lcasses the other year so know what a huge undertaking it is. But like you said, the end result makes it worth all the time invested! I used some different designs (mine here – http://www.joyfullythriving.com/2014/01/preschool-handprint-calendar/) but the Very Hungry Caterpillar was one of my favorites, too. I love that you included all three of the kids in the project too!
Andrea says
such cute ideas Kristen! thanks for sharing. I love the caterpillar too 🙂
Rachel says
I literally think this is the cutest calendar I have EVER seen!! SOOO precious! Too bad my kids are 18, 17, 13, & 11 🙁 🙁 I LOVE your blog!
Andrea says
thanks Rachel! Yeah, I’m not sure your teens would get as excited as Nora was to do this project 🙂
Talina says
What a wonderful project! I’ve seen some cute hand/foot print crafts online, but putting them together in a calendar is genius!
Thanks for sharing!
Organize 365 says
OH. MY. GOSH!!
This is ADORABLE!!!
You will cherish that calendar for years!
And I would recommend getting one of these frames and you can rotate the pictures each month. We have a frame for each of our kids.
http://amzn.to/1UM9Z6D
🙂
Lisa
Andrea says
Thanks Lisa! And what a neat idea to put the photos in those easy-opening frames. I will definitely have to put those on my Amazon Wish List!
Julie says
We got ours from Target…and love them. They are a bit expensive maybe they can be found else where?
http://www.target.com/p/room-essentials-artwork-display-frame-12×16-black/-/A-10871027#prodSlot=medium_1_1&term=child+artwork+frame
ShellyL says
Cutest thing ever! My, aren’t you brave for trying it with your little ones! I wish I had thought o it when my were smaller. Now, two of them have feet as big as mine. They probably wouldn’t be too cute. haha Good job, Andrea!
Pat says
Very very cute! Great job!
Anna says
This is too stinkin’ cute! I’m going to do this for grandparent presents this christmas. Thanks for the idea and tips!
Andrea says
well good, now you’re already a little bit ahead for next Christmas 🙂
Laura says
I love this idea! Unfortunately I am a HUGE perfectionist (recovering…I think) so I don’t think I will attempt this with my four kiddos but it is fun to see what you did with it.
Andrea says
haha — well, at least you know yourself!
Tracy says
So Creative! I’m sure the Grandparents were thrilled with their present.
Tracy
Tracey says
Andrea, this is ABSOLUTELY ADORABLE!!! Wow, it truly is one of the sweetest, cleverest, most thoughtful, meaningful, and beautiful gifts a mom and kids could make for their grandparents.
I wish I could turn back the clock and make it with my kids, who are now 13 and 14!
I’ll be sharing this with moms of little ones, for sure!!
LOVE IT!!!!
Andrea says
Thanks so much Tracey!
Ashley says
What kind of paper did you use
Andrea says
just thicker printer paper (not cardstock, not construction paper)