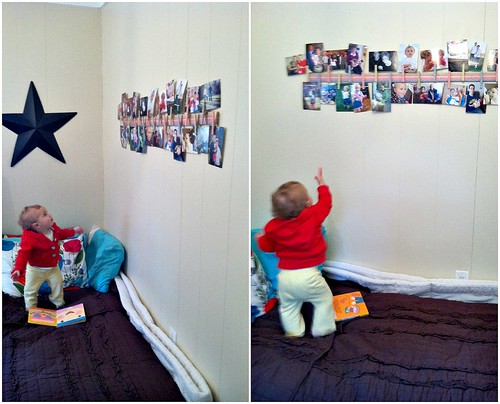
Over the past few months, we’ve noticed that Nora has an obsession with pictures… like whenever there are pictures around, she can’t focus on anything else until she carefully looks at all of them.
If the pictures are too high for her to see, she’ll point and grunt until we pick her up so she can spend ample time surveying every face in every picture. Then we’ll put her down and 15 minutes later, she’ll be pointing at the pictures again.
She’ll also sit on my lap for several minutes at a time (very abnormal for her) while I scroll through photos on my phone or computer. She just LOVES pictures!
So even though I’m not a huge fan of printing and displaying mass amounts of photos around my house, I figured she would like to have a few more pictures to look at — especially in her room.
What we don’t do for our kids 🙂
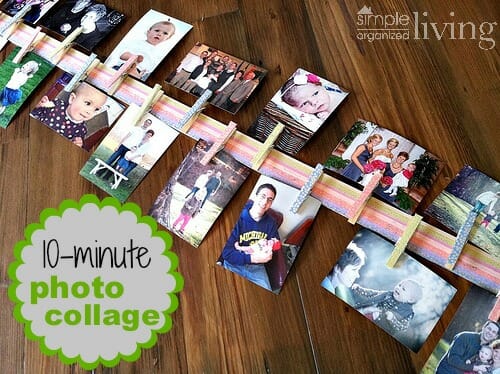
I remembered that I had an extra-long “yardstick” (4 feet) and a bunch of extra clothespins from my Busy Bag project… and since I didn’t want to spend a bunch of time or money on a photo display project, I decided to glue the clothespins to the yardstick to make my collage.
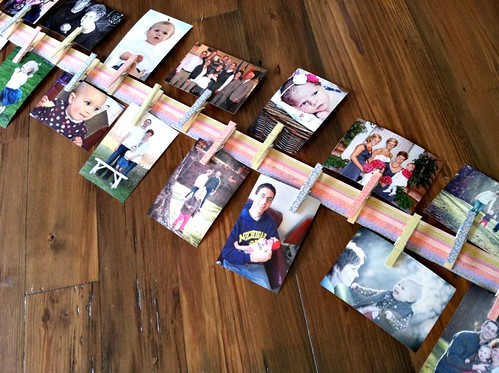
The whole project literally took me 15 minutes — and that was WITH Nora tearing things apart while I was trying to put them together, so you could easily do it in 10 minutes without distractions!
Here’s the “How-To” steps:
STEP 1 (optional) = Cover yardstick and clothespins with decorative tape.

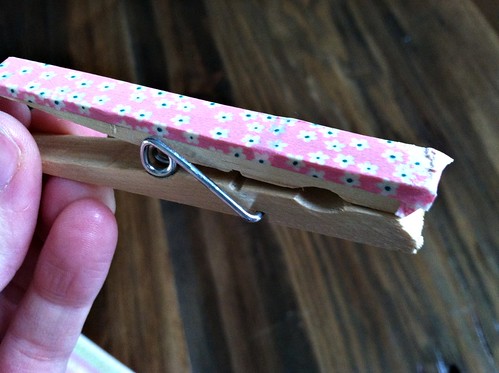
I had a bunch of this decorative tape leftover from a previous project, so I put it to use covering my very ugly yardstick and very bland-looking clothespins.

This was actually the most time-consuming part of the whole project, so if you don’t have decorative tape or don’t want to take the extra 5-6 minutes to do this, move on to step #2!
STEP #2: Glue clothespins onto yardstick.
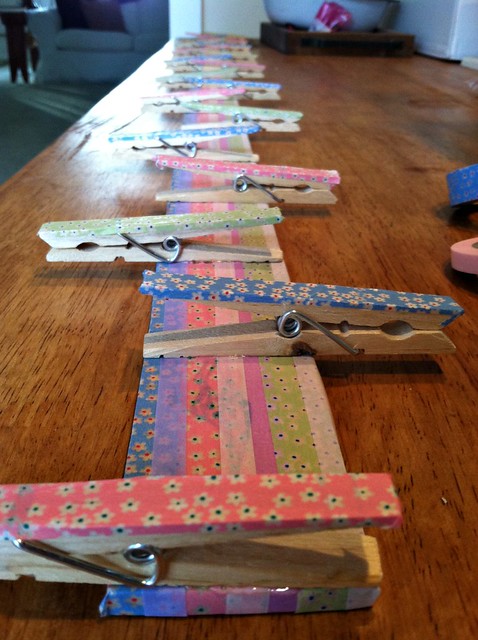
I used super glue, but I’m sure you could use wood glue, Gorilla glue, or a hot glue gun as well.
I glued them 3″ apart, alternating one facing up, one facing down, etc. So there are 6″ between each “up-facing” pin and 6″ between each “down-facing” pin.
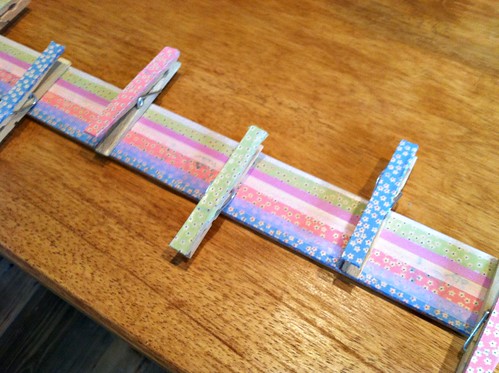
I also alternated colors between pink, blue, and green — but again, that’s totally optional!
STEP #3: Hang yardstick on the wall.
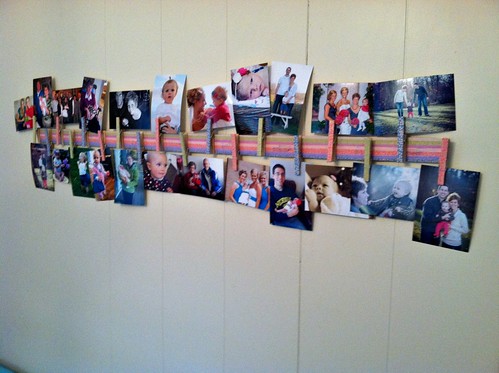
You could hang this horizontally, like I did, or vertically — whatever you prefer. However, since Nora is getting taller, we opted for horizontal to keep the pictures out of her little hands!

I used 2 Command Velcro Strips (one on each end) so there aren’t even any nail holes to patch when I change my mind and decide to take it down!
Done — you can totally do this!
Obviously, this isn’t the fanciest photo collage ever — but Nora loves looking at her pictures, and I love how simple it is to swap out new pictures!
How do you display photos in your home?


Jill says
I just made one of these for my daughter’s room! Thank you so much for sharing it! It was so easy and inexpensive – and looks great!!
Andrea says
yay — glad it worked out for you!
Rachael says
We are newlyweds in a small apartment. With lots of our friends becoming newlyweds themselves, our little apartment fridge was getting overtaken by save-the-dates, wedding invites, and baby announcements! So much so that we kept knocking things off the fridge when we passed by that narrow space. I made our own yardstick photo collage display in an evening at home and now it is the best place for announcements and special cards from friends and family! Did I mention, it was the perfect size to use on our until-then-undecorated and awkward hallway wall. It looks great and we no longer brush stuff off of our fridge when we walk by! Thank you for such a great idea!!!
Andrea says
Thanks for sharing Rachael — sounds like a fabulous solution to your “problem”!
Anastasia says
Great idea!!!!!! but how come your yardstick is so wide? “i thought they were narrower!!
Marina says
You are so creative! Love this idea… especially how it can be personalized (depending on the color of the tape/ribbons/fabric) and also how the pictures can be changed easily. Thanks for sharing ;o)
Roberta Lott says
You might have a budding photographer on your hands. Might be she is fascinated with images she has seen in real life and are now on paper. She is going to love her new display. How about putting a few on foam board so she can play with them? Or maybe put some images on woods blocks, again, so she can play with them.
Beth says
Neat idea. Older kids could help decorate the clothes pins with markers, my four year would love that.
Jen says
That’s a great idea, Beth. They could decorate it for a younger sibling or for themselves. I’m sure my nine year-old would love this in her room.
Jamie Oehme says
Cute. Good for a dorm, too I would think.