As I’ve mentioned a few times already, Nora and I have been thoroughly enjoying reading through so many of the American Girl Books (we’re taking a break from the original series and reading about Kit now!)
So far, I think Kirsten is Nora’s favorite character — and I’d be lying if I didn’t say she was my ‘favorite’ as well 🙂 I think this is probably because Kirsten is a pioneer girl growing up during roughly the same time period as Laura Ingalls Wilder in the Little House on the Prairie Books (and we both LOVED reading those books last year).
Anyway, in both the Little House books and the Kirsten books, there is a significant amount of attention given towards making their own butter from the cream they skim off of the cow’s milk. Ever since reading these books, Nora has been fascinated with the idea of making our own butter. It was always one of those things we would do “someday” when I got around to it, but since I almost never buy or have heavy cream, we never made butter.
The a couple weeks ago, I found some American Girl Cookbooks and Craft Books at our library, and wouldn’t you know, Nora opened it right up to the page about making your own butter.
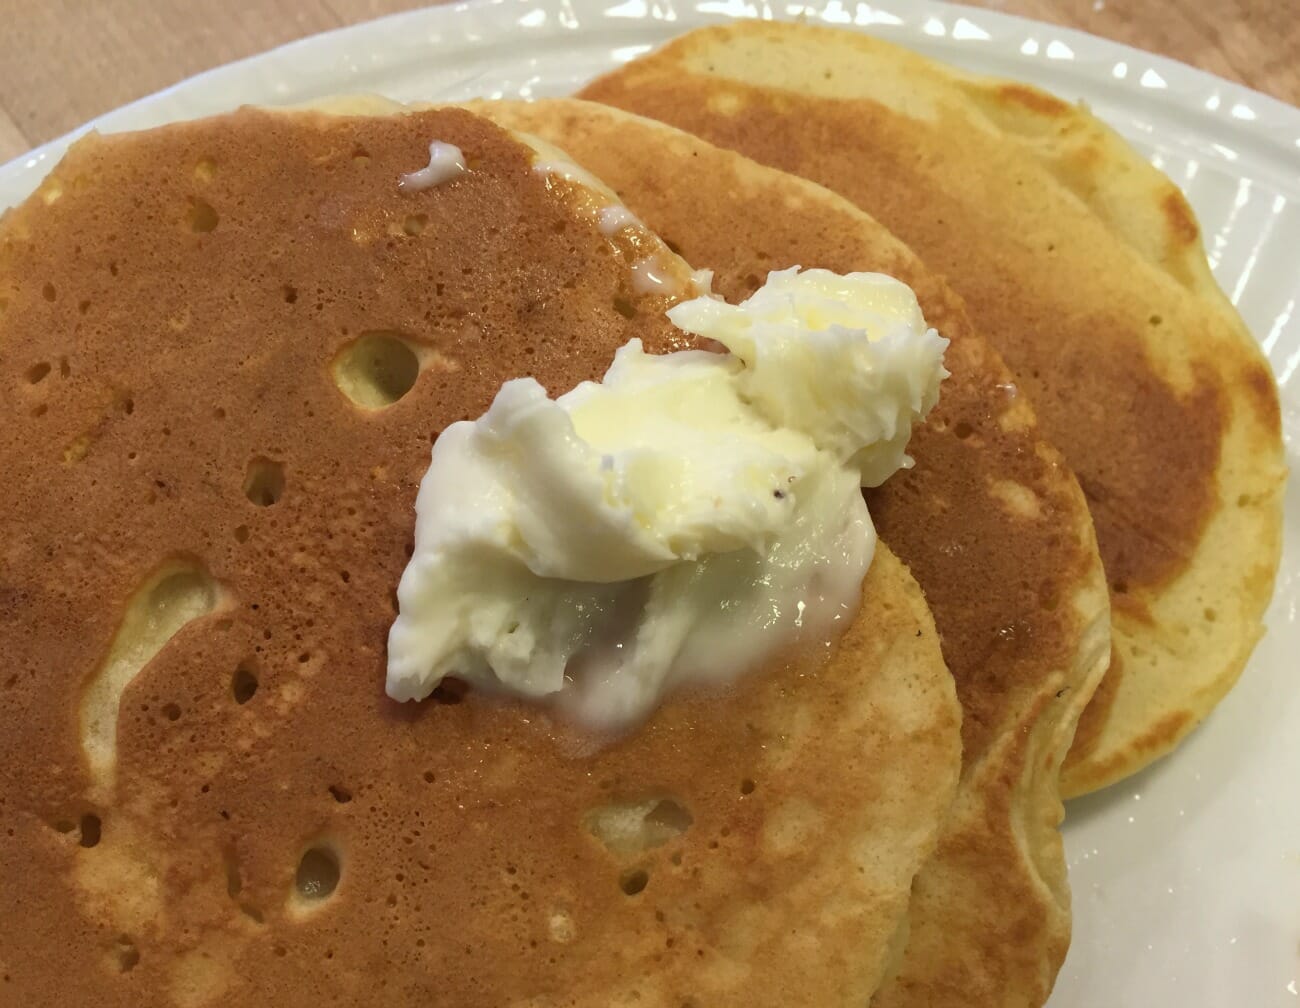
I bought heavy cream 2 days later, and without much effort at all, we were eating our own homemade butter for dinner that night (and we used the buttermilk to make buttermilk pancakes for breakfast the next morning!)
The whole process was extremely simple, it gave the kids something to do (shake the jar for 30 minutes) and it really was pretty cool to see the transformation process. Plus, it’s always more fun to eat food you helped make!
Now certainly, there are easier ways of making butter than shaking a jar for 30 minutes — so if all you want to accomplish is homemade butter, I’d suggest using your food processor and following this recipe.
However, if you want to do something fun in the kitchen with your kids or grandkids, making butter in a jar is definitely the way to go!
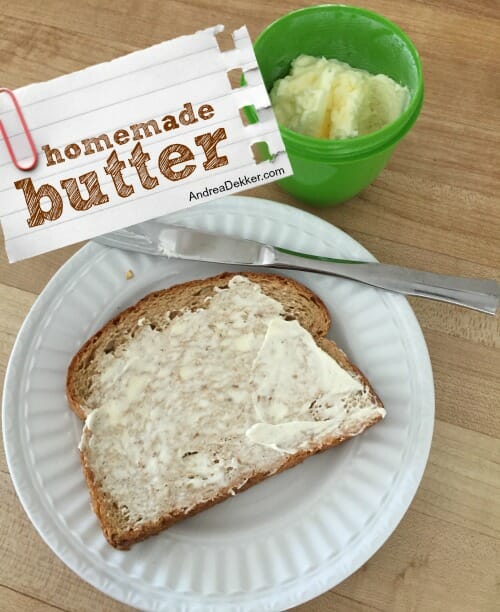
Homemade Butter
Makes about 1 c. butter and 1 c. buttermilk
INGREDIENTS:
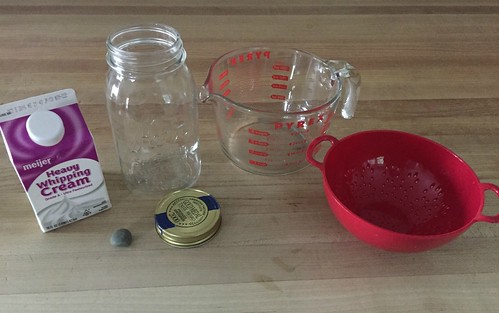
- 1 pint (2 c.) Heavy Cream (or Heavy Whipping Cream)
- a clean jar or container with a tight-fitting lid (something that will hold 4 cups worth of liquid so you can shake the cream well. Also, it’s more fun if the jar is clear so you can see the transformation happen!)
- a clean marble or smooth stone
- small strainer and bowl
DIRECTIONS:
- Put the heavy cream, jar, and marble in the refrigerator to get everything very cold.
- Pour the cream into the jar and add in the marble. Make sure the lid is on very securely.
- Have your child shake the jar up and down, side-to-side, etc. for about 20-30 minutes, or until the lump of butter separates from the buttermilk (see additional notes below).
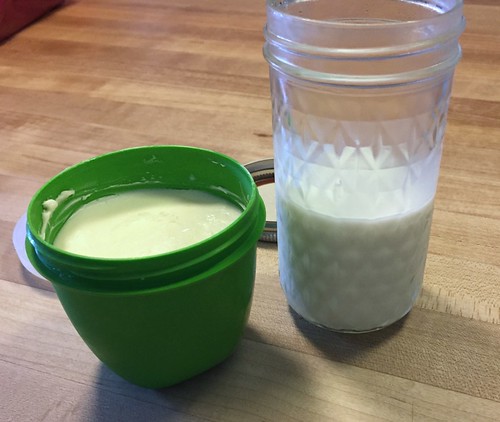
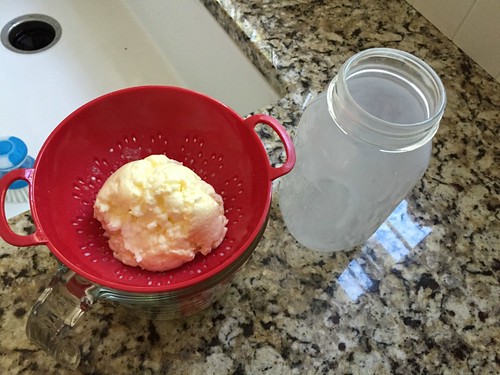
- Pour the butter + buttermilk mixture into a strainer over a bowl to strain off the buttermilk.
- Pour the buttermilk into another container and refrigerate for later.
- Rinse out the buttermilk bowl, then dump the lump of butter from the strainer into the bowl.
- Pour cold water over the butter to rinse off the extra buttermilk, then dump into the strainer again (do not save this water).
- Continue rinsing a few more times until the water is clear (you don’t want buttermilk to stay in the butter otherwise it won’t last as long)
- Once the rinsing water is clear, you can press the butter to the sides of the bowl to see if any other liquid is pressed out (drain that liquid).
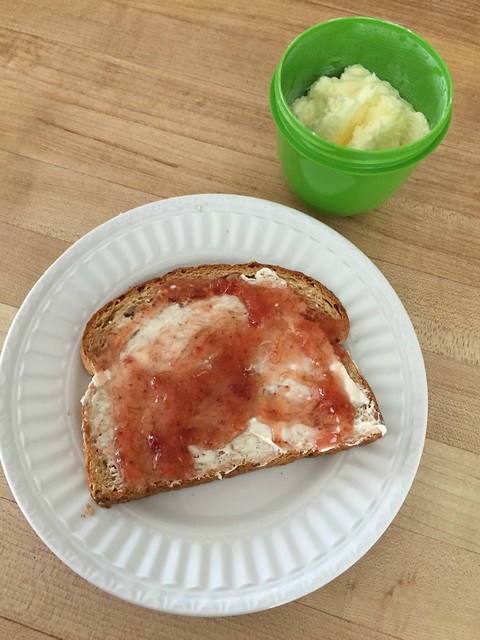
- Put butter into a butter mold or food storage container and refrigerate for 1 hour so it can firm up a bit. Then store in the refrigerator or at room temperature.
NOTE:
When shaking the cream, it will most likely start to get really thick after 10-15 minutes — at this point, you probably won’t be able to hear or see the marble anymore as the jar will be fully coated with thick, cream. Just keep shaking… and all of a sudden, the thick cream will turn to liquid buttermilk with a nice big lump of butter in the middle (it was really cook how quickly it changed over!)
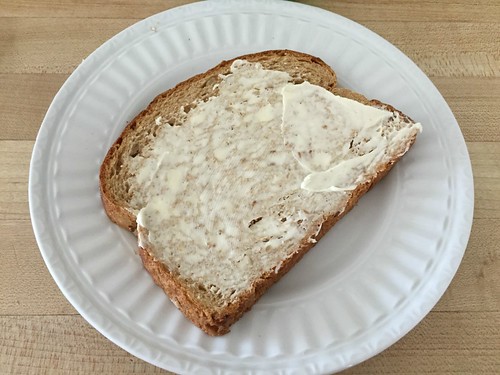
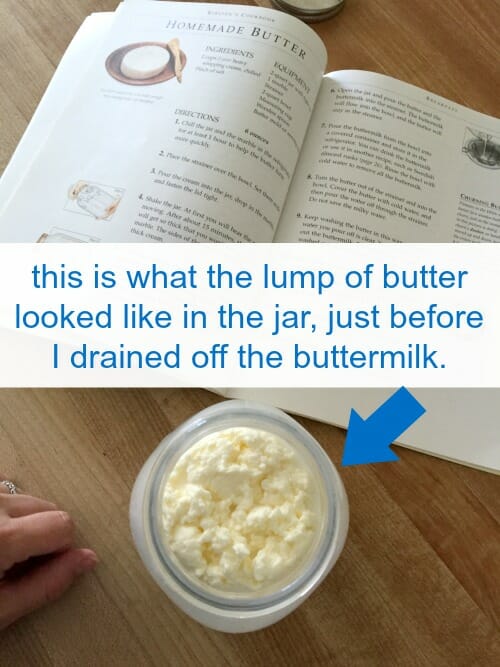
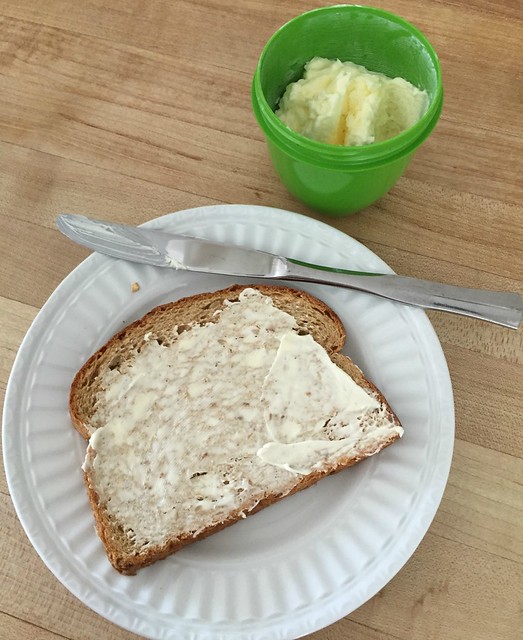
The butter will probably look a little like lumpy cottage cheese when it’s sitting in the buttermilk, but once you strain off the liquid, it should look, feel, and taste just like normal butter you buy from the store.
See, told you it was simple… and oh so fun!
A Few Flavor Variations:
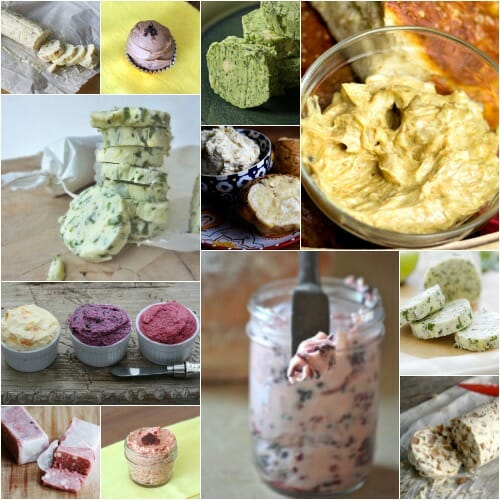
If you want to try a flavored butter, you might want to add in a bit of honey, brown sugar and cinnamon, dill, garlic, pumpkin spice, berries, bacon, mustard, roasted peppers, or even just a little salt.
If you’re looking for a few unique flavored butter recipes, this post offers 29 options — they all look SO yummy. Plus, if you package them up nicely, some of these homemade flavored butters would make a fabulous holiday gift idea!
I really don’t know if making homemade butter was very cost effective (at least not if you have to buy your cream!) but it sure was fun — and extremely easy!
Nora said it was “the best butter she ever tasted” and everyone gave my buttermilk pancakes two thumbs up the next morning 🙂
Have you ever made your own butter?
Visit my virtual recipe box for more simple, delicious, family friendly recipes!


Jane Austin says
My dad was a civil engineer and after work he liked getting outdoors so he milked a cow so we had fresh milk. It had lots of cream that my mom skimmed off so we had whipped cream for pies, cobblers etc. In the summer we used it for hand cranked ice cream. It was so yummy! Every once in a while we made butter, which we thought was magic! So when I taught 5th I decided we would make butter in class. We followed the steps as you mentioned and just passed the jar up and down the rows and each boy or girl would shake it for a minute and pass it on. Then we added a small amount of salt and had the butter on crackers. They all seemed to like making and eating it. Now I want to try it with my grand children. Thanks for the post.
Andrea says
This is such a fun memory jane! Thanks for sharing 🙂
janet says
Love this! Can’t wait to do it with my granddaughters… especially the 5 yo who is SO into cooking and baking! (Her favorite part of a bookstore is not the kids’ section, it’s cookbooks!.)
Andrea says
that’s great! I’m sure your granddaughters will love it as much as our kids did!
Beatriz says
That is so cool! I might try this 🙂 Never know when you have a need for butter-making skills.
Andrea says
yes… you never know 🙂
Tara says
Just so you know, if you ever wanted to officially homeschool (which I know you don’t) you are already over half way there. Haha! I homeschool two little ones and I use ideas from your blog all the time for school. And we’ve gobbled up all the same read aloud books you’ve listed here. We even went to Laura and Almonzo’s house in Missouri last summer. So much fun. Soooo hot though! Gave me a huge appreciation that they lived there with no air conditioning! I picked up all kinds of little things there for crafts and a unit study. I’m going to wait till my youngest is another year or so older then reread the series since he was too young to understand them the first time through. Then we’ll bust out the crafts. Making butter will definitely be one of them. Yum!
My mom wanted me to pick out a Kirsten doll when I was in 5th grade and the American Girl (or rather Pleasant Company as it was known in 1990) dolls were still very new. I chose Molly. I still have her packed away for my daughter to inherit. She knows about her, but that she won’t receive her until her little brother can be trusted around it. So fun! I’m an American Girl fan big time.
Andrea says
haha — thanks Tara!
yeah, I love doing little crafts and projects at home WITHOUT any pressure to follow a curriculum or meet specific requirements 🙂
Olga says
I usually make butter using my stand mixer. I don’t own a food processor, and there is no way I do it by hand, so mixer works best for me.
It’s so fun when kids get to experience feeling of making something for the whole family to try. My kids (10 and 8) didn’t really like the butter making process, but they like to make pancakes and scrambled eggs. And least something. ☺
Andrea says
Good to know — I actually don’t have a stand mixer, but maybe I could try it with a hand mixer??
Rachel says
My children and I did this a few years ago when we first started getting raw milk from a dairy. We would pour some of the cream off and shake it in a jar. So fun and great memories being made! We usually don’t take the time to make butter now, even though we still love using our dairy milk, but this makes me want to do it again! My children are 8 and 10 now, and they would still love to do this!
Andrea says
So fun! What do you do with the cream if you don’t make it into butter?
Janice says
When I was a very young little girl in the 1950s, I remember my mother and grandmother making butter from our dairy cows. We took turns shaking the quart jar and my father even took a turn if it was after supper and we were sitting on the front porch in the summertime. I recalled each step as you described them and it was a pleasure to be brought to those memories. What a good idea you and Nora had to learn how preparing food was done in the old days. I am always impressed with your mothering skills.
Andrea says
you’re welcome Janice! Glad to take you on a stroll down memory lane today 🙂
Christine @ The (mostly) Simple Life says
That looks so fun! I would have loved doing that when I was a kid!
Chris says
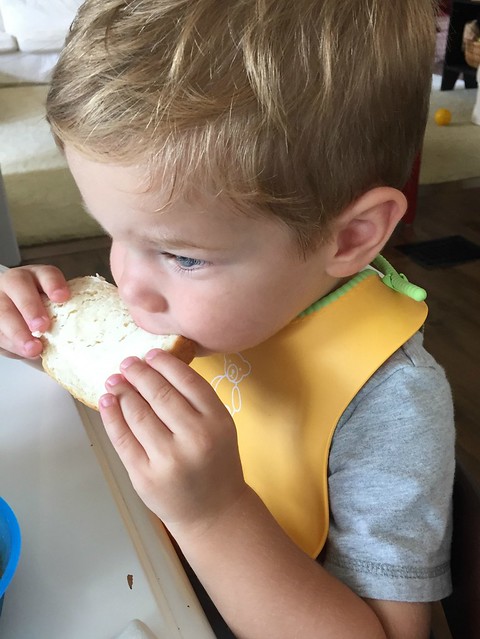
I used to buy raw milk from a friend and make my own butter sometimes. It was the type of cow (can’t remember which) that has a LOT of cream. I would usually have her drain some of the cream off before I bought the milk. It was probably about 1/4 of the gallon!! 🙂 Anyway, what I really noticed in this article is Simon’s cute little hands. It makes me miss my son being little. I know you probably hear this all the time but time really does fly! I only had one and sometimes I miss those little boy days. 🙁
Andrea says
haha –yes, Simon has very chubby hands and feet — and it’s very cute 🙂