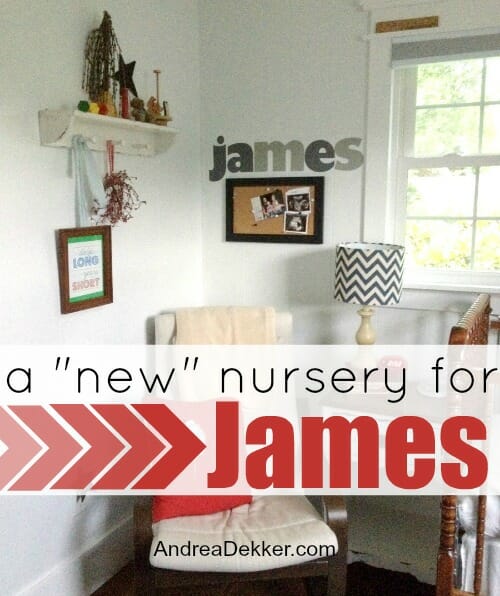
I’ve gotten lots of requests to see the new nursery for James — and I’m happy to share! However, you might notice that it looks awfully similar to Simon’s nursery tour from last year 🙂
The truth is, I really didn’t make many changes at all.
Aside from touching up the paint and giving it a good deep cleaning, everything else is almost exactly the same (why reinvent the wheel, right?)
So although it still feels fresh and new because I know everything is nice and clean, the crib is raised, and the drawers are full of tiny newborn diapers and clothing… this probably won’t be a huge amazing “wow” post for many of you.
That said, here is our “new” nursery for James!
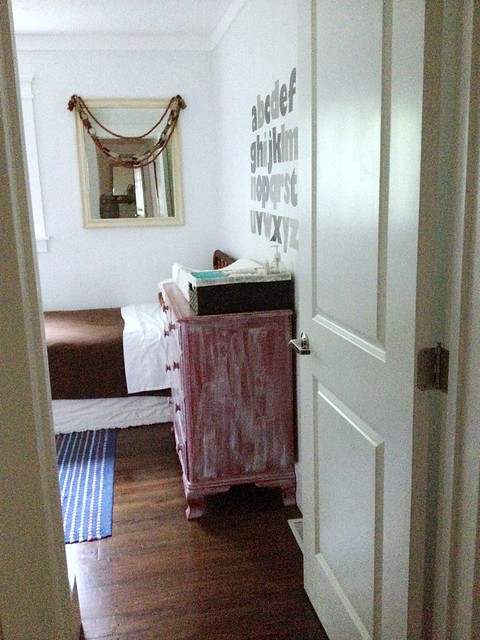
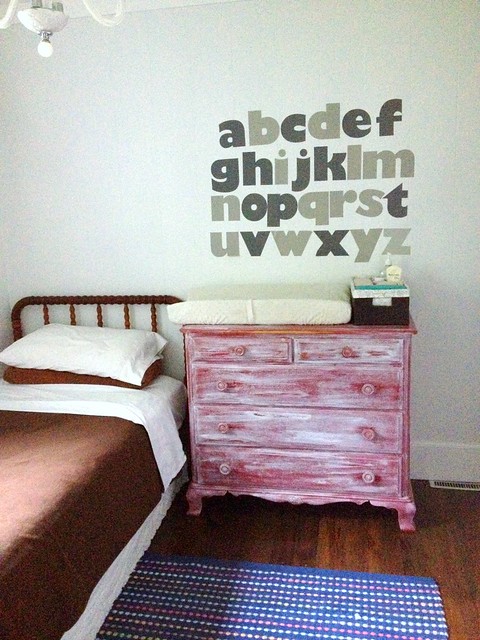
As you’ll notice, I kept the twin bed in the nursery because it came in handy for weeks and weeks after Simon was born. There were so many times when I slept in the nursery so I wouldn’t wake up Dave (and so Dave wouldn’t wake me up when he woke up early for school.)
Also, Nora and Simon both have so much fun playing on that bed and pretending to take naps in it that I figure it might be a good “distraction” for them while I’m feeding or changing James.
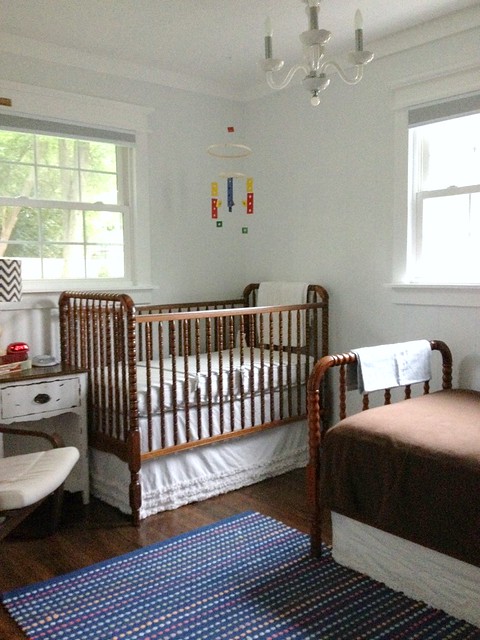
The twin bed definitely makes the room feel a little more cramped, but since infants don’t do anything but sleep, eat, and get diapers changed in their rooms, I figured it’s not a huge deal. We have another matching twin bed in Simon’s new room so eventually both boys can be upstairs in matching Jenny Lind twin beds!
.
In terms of a cost break-down, I honestly can’t think of anything I spent money on for this room. Everything is either the same from when Simon was in here or it’s something I pulled from another place in our house.
Aside from diapers and a couple 0-3 month summer outfits I bought from a neighbor’s garage sale, I didn’t spend a dime for anything you see in this room!
The Details:
Paint :: Frost from Behr (the same color in Nora’s room).
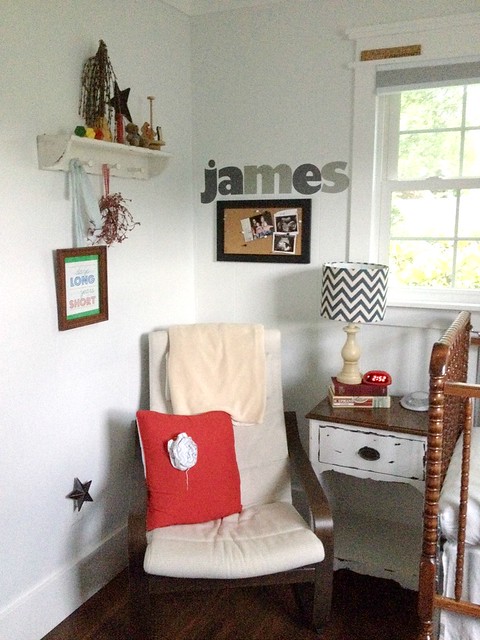
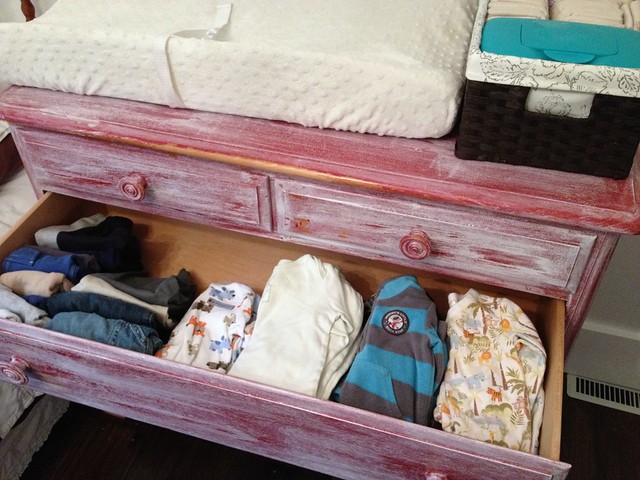
Crib, dresser, and nightstand :: various Craigslist purchases over the years (we used them all with Nora and Simon too).
Crib bedding :: I made it all when I was expecting Nora and used it all for Simon as well.
Twin bed :: from Craigslist several years ago.
Twin bedding :: all stuff I already had from when Nora was in a twin bed.
Chair :: IKEA Poäng chair that we already had.
Pillow on chair :: an extra pillow that came with Nora’s bedding. I just sewed the flower on using extra fabric I had.
Mobile :: I made that out of an extra toy that was sitting unused before Simon was born.
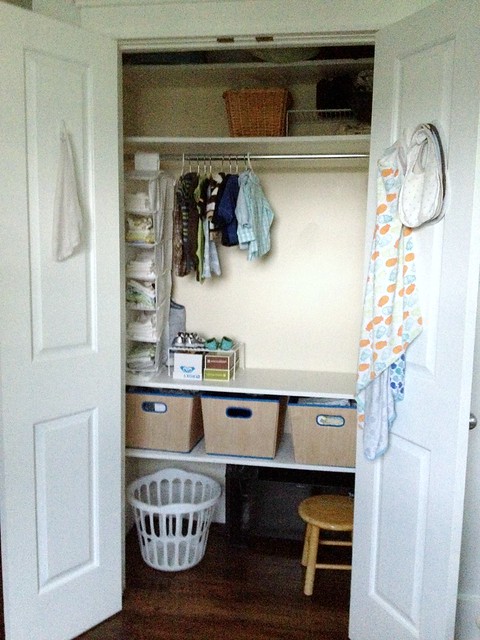
Closet Organizers :: I got the hanging shoe organizer from Amazon.com and the 3 baskets from Target when I redid the room for Simon last year.
Rug :: On clearance from Target and still from Simon’s room.
ABC Wall/Name Decals :: a gift from Pop & Lolli Etsy shop.
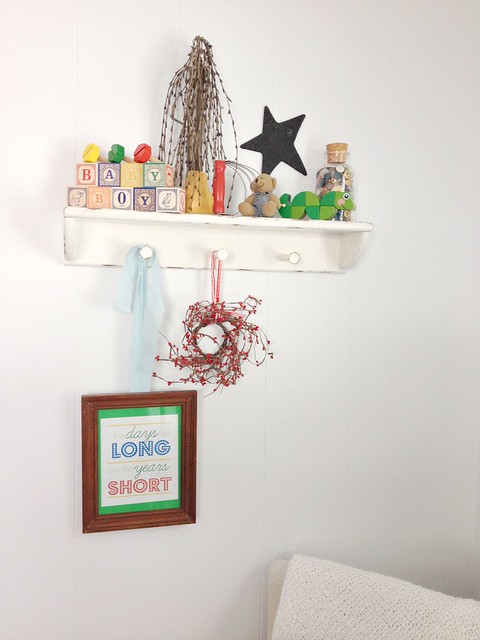
Various toys and decorations :: all things we just had around the house and matched the color scheme.
Room Darkening Shades :: Levolor brand from Lowe’s — they are amazing!
So that’s it!
Nothing special but it’s still fun to do a mini re-vamp for a new baby.
If you’d like to see the before/after pictures from when we first purchased the house, you can see those in this post of Simon’s nursery renovation (it’s a pretty big transformation if you ask me!)


Teresa says
I love how thrifty you are! The room looks warm and cozy…..I believe a nursery is to satisfy the parents needs/wants most of the time. Why should you spend bunches of money when your baby doesn’t have a clue if it’s refurbished, brand spankin new or a hand me down! ❤️❤️❤️
Andrea says
yes, good point Teresa! My mom always told me that kid’s birthday parties were more to satisfy adults… and I think kid’s bedrooms are probably the same way 🙂
Teresa says
And I totally agree! Smart lady, your Momma!
Emma {Emma's Little Kitchen} says
James 🙂 <3
Looks great, actually you're making me a little broody…
Julia K says
Looks lovely Andrea. Don’t sell yourself short – even though you have “revamped” Simon’s nursery – it is just lovely that you have gone to the time and trouble to make a special place for your new little boy. I love the personalised decals – what a great way to personalise a space at little cost. I did up my teenage DDs room about a year ago and purchased some decals. Of all the things we did in the room – her name and the quotation we put underneath it are the things most people comment on – yet it was probably the least expensive of all the improvements we made.
Andrea says
Thanks Julia! And yes, we love the wall decals — such a cheap (and non permanent) way to personalize a space!!