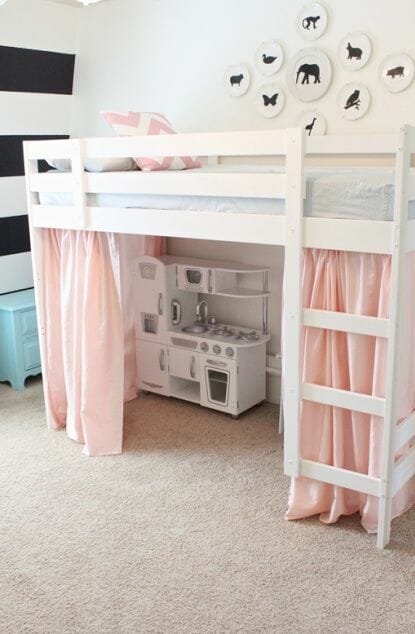
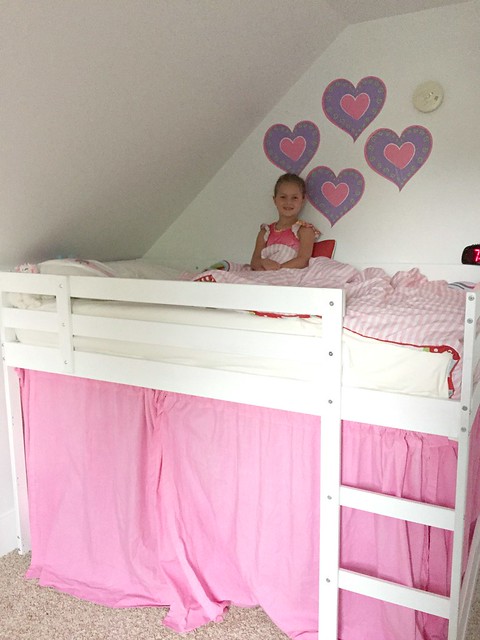
Back in May, when we were just starting demolition on Nora’s new bedroom, I found a picture of THIS adorable loft bed on Pinterest during a search for “small-scale bunkbeds for girls”.
P.S. her bedroom is finished if you want to take a peek!
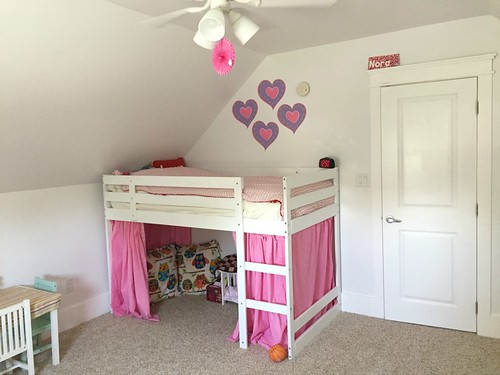
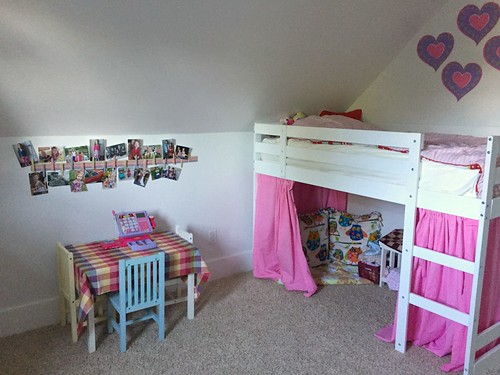
Nora has been begging for some type of “bunk bed” since she was 3 years old, and although her new bedroom has sloped ceilings, I thought there might be a chance we could squeeze a bunk bed in if we got a smaller one and cut off the bottom legs.
Well, thanks to IKEA, I was right!
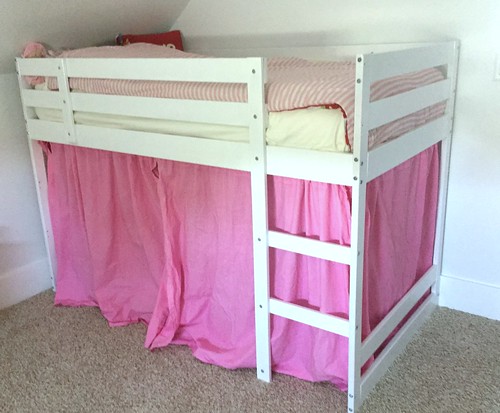
As I mentioned in last week’s post, we found the exact bunk bed we wanted for Nora’s room (the MYDAL bed from IKEA) on Craigslist for $70.
And up until I saw the picture of the Pinterest bunk bed converted into a mini loft, I never would have considered removing the bottom bunk to make the bed into a loft with a play area underneath.
Hello… TONS of extra storage and play space!!
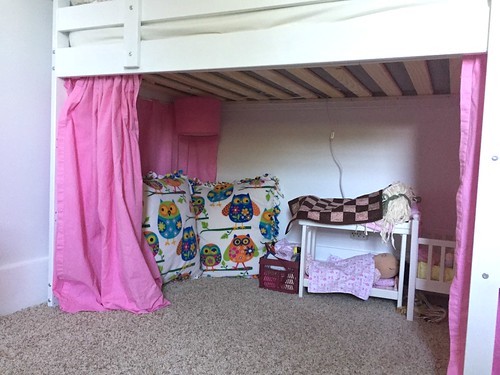
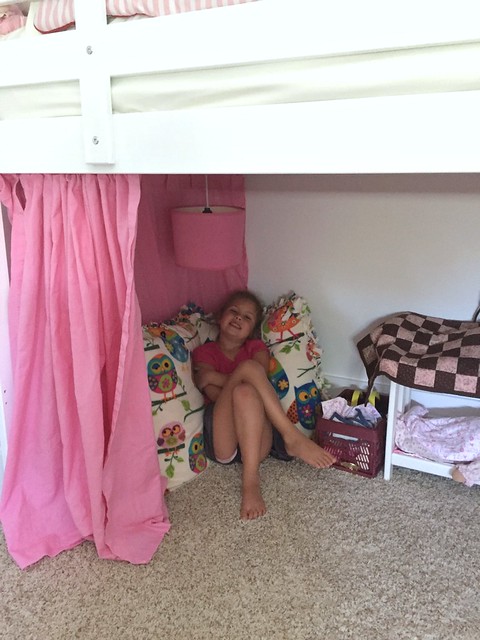
Considering we most likely won’t need the other bunk for a few years, the area under Nora’s new bed is the most perfect little “hide out” for the kids when they are playing house!
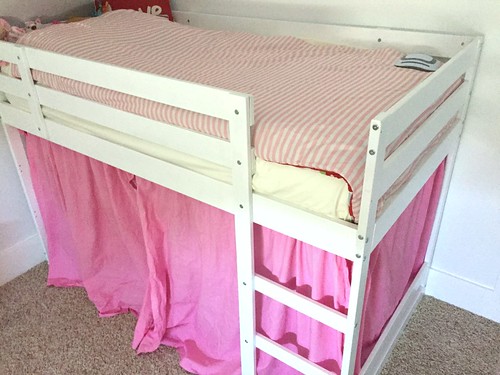
All I needed were some curtains… because a secret play area under a loft bed isn’t really “secret” without curtains!
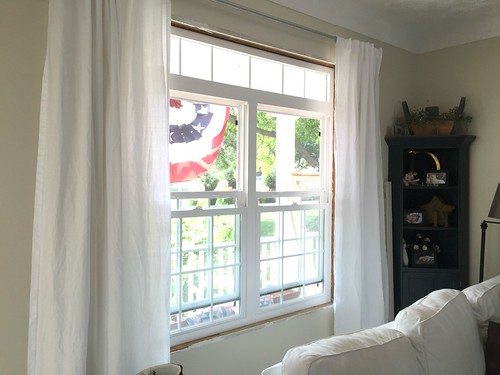
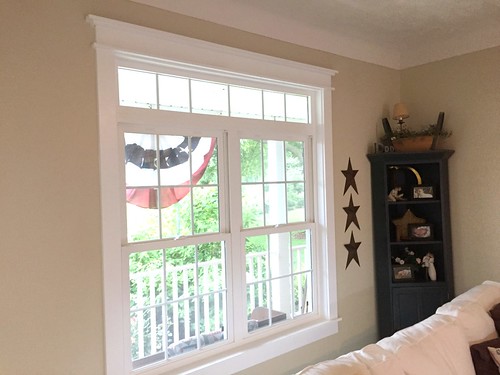
Thankfully, I had just finished painting the new trim in our living room (specifically around our living room window) when we brought the bed home… and I had taken the very long white curtain panels down from the window to wash them.
When the curtains were off, Dave and I decided we actually liked the look of the living room without the curtains, so I could use these curtains for Nora’s room!
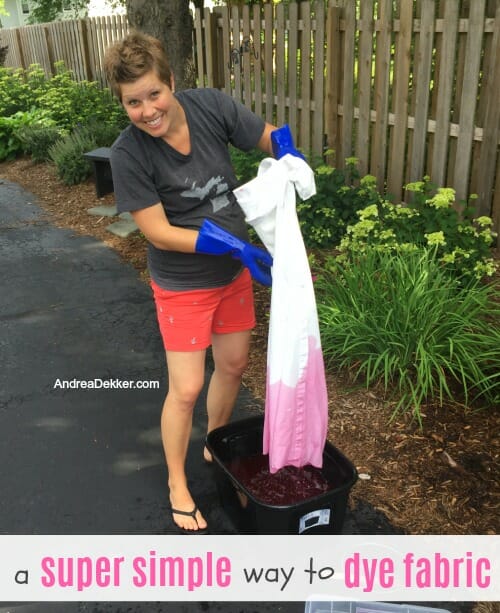
I cut and sewed the curtains to the appropriate size the next day… and then headed to the fabric store for a little pink dye!
When I got home, I looked up a few tutorials on how to dye fabric — and I was immediately overwhelmed with all the seemingly complicated steps, procedures, rules, guidelines, tips, etc.
There were SO many “nevers” and “immediatelys” and “always” that I honestly felt too intimidated to dye my curtains. So the curtains sat… and sat… and sat.
Finally, Nora’s room was completely finished except for the curtains, and I decided they would be my very first projects after breakfast the next morning. No more procrastinating!
.
So… the next morning after breakfast, I got everything ready for my curtain-dying experiment… and much to my surprise, I was completely finished and had everything cleaned up about an hour later!
I realized dying fabric CAN be extremely simple if you just don’t let yourself over-complicate things.
Seriously, dying these curtains was one of the easiest craft-type things I’ve ever done!
And since I know there are plenty of you who might also be intimidated by all the crazy talk on Pinterest and even the instructions on the back of your fabric dye box, I figured it’s probably worth sharing how simple this process really can be.
Keep in mind, I was dying cotton fabric one solid color — I wasn’t trying to do anything fancy like tie-dye, ombre, stripes, using multiple colors, etc. etc.
However, I’m extremely happy with the results, and I think it was definitely worth $5 in fabric dye and a little self-induced stress — because now I know how simple dying fabric can be, and I’m sure I’ll do it again!
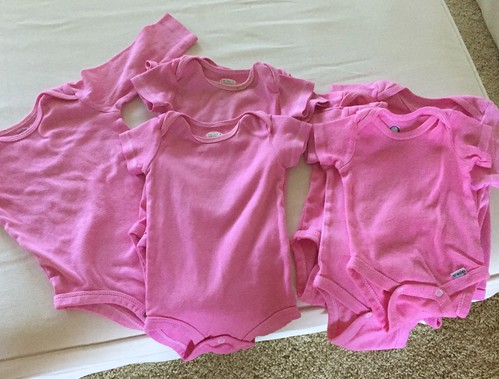
Look how cute these dingy and stained white onesies turned out — a little pink dye made them look brand new again!
STEP 1 = Gather Your Supplies
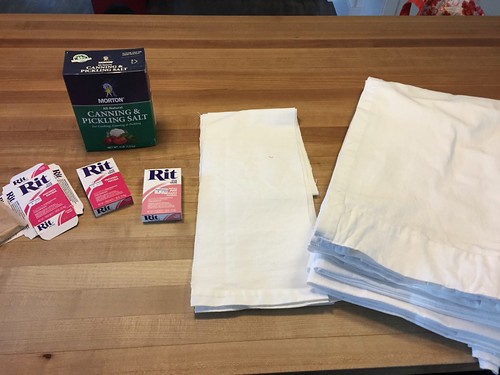
This first “step” is probably the longest part of my post — not because you need so many supplies, but rather, because it is SO helpful to get everything properly set up and ready to go before you stick one piece of fabric into the dye.
By taking a little bit of time up-front to make sure you have everything you need to get started, your dying experience will most likely be very pleasant, quick, simple, and even fun!
THE FABRIC: obviously, you’ll need something to dye.
100% cotton is definiteliy the easiest option to dye, but the box has instructions for other types of fabric as well.
One tip is to make sure your fabric is pre-washed. Your fabric will not properly absorb the dye if it has never been washed before. We actually tried dying a pair of Nora’s brand new white socks, and they literally turned out greyish brown because they didn’t absorb the pink color like the other already-washed shirts, socks, and curtains we dyed.
Also, if you sewed your own items (like I sewed the curtains) save some of the extra fabric as “text scraps” to test out your color. We weren’t very picky about our color of pink, but it was reassuring to be able to test the color out on a small piece of scrap material before immersing all the curtains!
We also dyed a few of Nora’s white t-shirts and socks, and a bunch of our stained, grubby white onesies that have made it through 3 babies already!
THE DYE: what color will you choose!
I’ve worked a little with fabric dye in the past, and I’ve always used the Rit brand.
I’ve also always used the powdered form, but that’s only because the store I go to doesn’t carry the liquid form — I would assume the liquid form is easier because you don’t need to dissolve it in boiling water and you can use as little or as much dye as you want. So, if you can find the liquid dye, I’d go for that every time!
We wanted pink — but I really didn’t care too much about the exact color. When I got to the fabric store, they only had 3 boxes of pink left — 2 dark pink, 1 light pink. I grabbed all 3 but only ended up using 1 dark and 1 light.
Simply follow the instructions on the box to dissolve the color — usually 1 – 2 cups boiling water per package of dye. It’s very simple, just boil water in a pan on the stove, stir in the powder (like making Jell-O), and then pour the dye water into the larger container of warm water you will be using to dip the fabric in.
SALT:
Many of the instructions I found suggested mixing 1 cup of salt (per box of dye) in with the hot water before adding the dye. It apparently has something to do with helping the cotton fabric absorb the dye — and I have to say it worked really well.
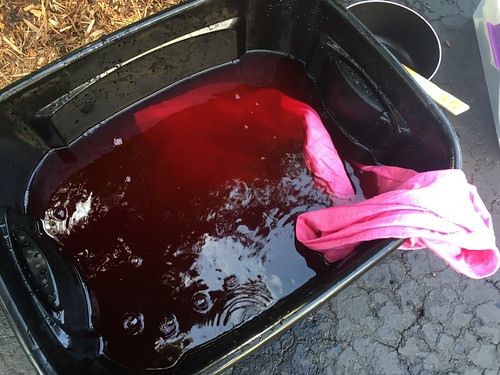
I added 2 cups of pickling salt (because that’s what I had in the house) into my large bin of hot water before adding the dye, and my curtains and baby onesies came out VERY even in color.
If you’re dying other fabrics (not cotton) there are other “tricks” you can use to help the fabric absorb evenly. I think I read adding 1 cup of vinegar is one of the suggestions for silk fabrics.
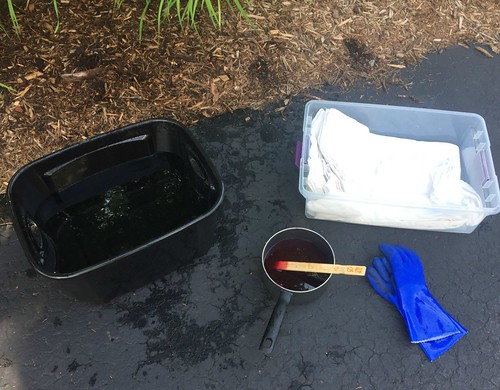
2 LARGE PLASTIC CONTAINERS:
Obviously, if you’re doing a really small project, you might not need large containers. However, if you’re dying towels, sheets, curtains, or large items of clothing, you’ll definitely want a couple pretty large containers to ensure your fabric has room to move around and get fully saturated. Plus, it’s less likely you’ll spill or splash dye all over yourself if you have extra room to move the fabric around!
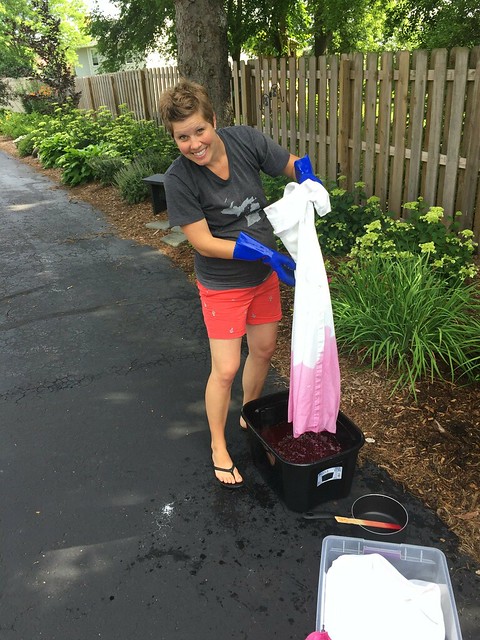
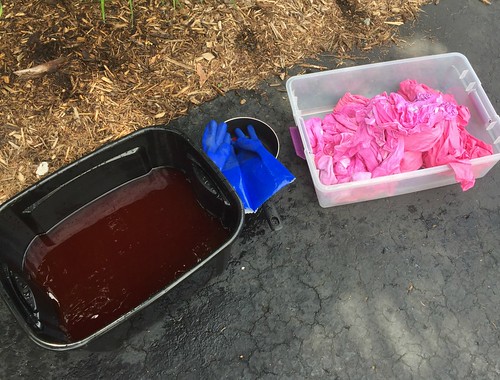
I found that 2 containers was ideal because I did my project outside and needed a container for the clean curtains to be in before and after dying them. I just put the clean curtains in one tub, the warm water + salt + dye in the other tub, and then put the wet pink curtains right back in with the clean curtains again. I figured, it didn’t matter if a little pink dye rubbed off on the still-white curtains because I was eventually dying them all the same color anyway.
Also, I found 2 plastic bins without lids for $0.25 each at our local thrift store — and simply recycled them when we were finished with our project!
RUBBER GLOVES:
We just so happened to have super heavy-duty rubber gloves that we use for various projects, and they worked perfectly. However, I have a feeling dishwashing gloves would work just fine too. Even a pair of latex gloves would work if you were in a pinch — you just better hope they don’t rip or get a hole in them 🙂
HOT WATER:
Dave and I have a hot water tap on the outside of our house — making it very easy to fill up my large plastic bin with nice hot water. If you don’t have this, you’ll want to cart buckets of hot water from inside as very warm/hot water helps the salt dissolve and allows the color to better saturate the fabric.
Also, if you’re using powdered fabric dye like I did, you’ll need to dissolve that first in boiling (or VERY hot) water.
LARGE STIRRING STICK OR SPOON:
I just used a wooden paint stirrer and threw it away after we were finished (it was very pink) but any large, non-absorbing spoon or long straight object could work!
I used my stick to stir the salt into the water, and then stir the dye into the salt water. I also used it to help me move the fabric around in the bin.
.
STEP 2 = Dye the Fabric!
Contrary to all the hype you might read online, the dying process CAN BE very simple and straightforward.
I read all sorts of crazy advice that suggested putting curtains on the rod, having one person hold each end, and then dipping them up and down into the tub of dye to make sure they were evenly covered.
I also read how “crucial” it was to only keep the fabric in the dye for XX number of minutes to ensure it didn’t get too dark or too light. And then how “important” it was to “immediately” rinse the dyed fabric in cold water to set the color.
And there are the tutorials that suggest putting the fabric and the dye right in your washing machine or right in your bathtub — but then offer a long list of cleanup instructions that must be performed immediately after the dying process to make sure you don’t totally dye your expensive bathtub and washing machine!
Anyway, I didn’t take any of this advice and my curtains turned out wonderfully!
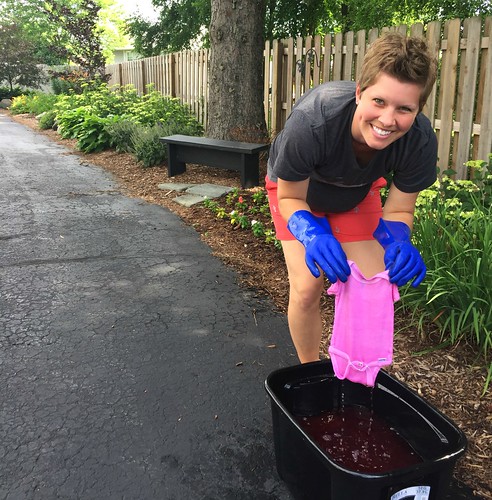
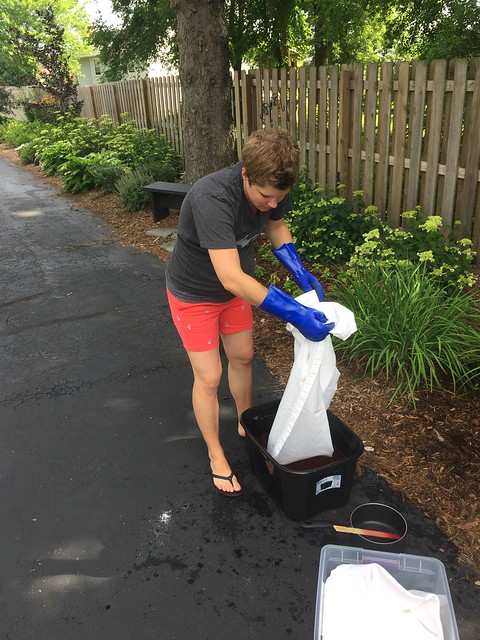
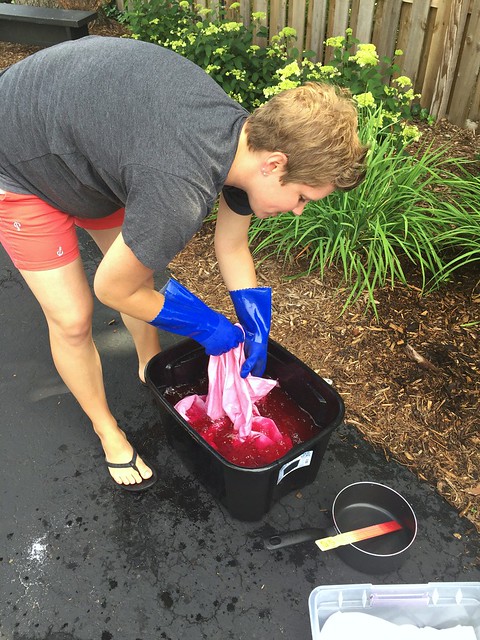
I literally just shoved my curtain panels into the bin of pink dye, swished them around for a minute or two, squeezed out as much of the extra water as I could, and plopped them right back into the bin of white curtains.
I did NOT time how long they were in the water, just until they looked pink — and all 4 curtain panels turned out to be the same color (in my opinion).
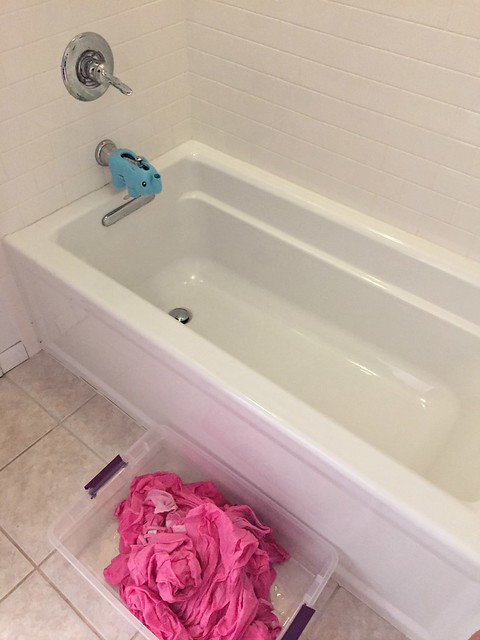
Once I was finished with all the curtains, onesies, t-shirts for Nora, socks, etc. I brought the bin of pink items to our upstairs bathtub and rinsed each item out with cold water.
In my opinion, I was not very thorough with my rinsing — just enough to say I did it 🙂
Also, there was hardly any pink liquid that went into our bathtub. I simply rinsed the bathtub out with a little water before heading back downstairs and putting the fabric in the washing machine.
It’s also probably worth noting that I did NOT “immediately” rinse my items with cold water.
Almost every single tutorial I read made it sound SO urgent to immediately rinse the dyed fabric in cold water to “set the color”.
Well, I didn’t want to walk up and down my stairs with dripping-wet pink fabric multiple times, so I didn’t rinse anything until I was totally finished dying everything (at least 30 minutes). In my opinion, there were no adverse side effects from waiting.
.
STEP 3 = Clean Up
This really wasn’t a big deal at all — but you’ll definitely want to factor at least a little bit of time for cleaning up.
First, I put the freshly rinsed (but still very wet) pink fabric items in the washing machine, added a small amount of detergent, and washed them in cold water.
Then I dumped out my big plastic bin of pink dye water in a bunch of dirt we have in our vegetable garden area.
I rinsed off my rubber gloves and washed the pan I used to boil water to mix with the dye.
Eventually the washed items went into the dryer and I dried them completely.
DONE!
And now we have a cute little secret play area — for roughly $5 worth of fabric dye and a little experimenting on my part!



Terri says
Hi,
Your daughter’s room turned out so cute and you’re so right about the secret hideaway under the top bunk needing curtains. As a child, I spent countless hours hidden away in the bottom bunk with blankets tucked under my sister’s mattress to make my fort!
I wanted to ask you for your advice on dyeing fabrics that are cold water wash only. Should I dissolve the dye in boiling water, but then mix it into cold or, is it okay to expose such fabrics to warm/hot water for a short time? I have a thick, white terry cloth robe and a white, cotton tee shirt that I want to use Rit Whitewash on to brighten them up and am wishy washy about how to proceed. I sure would appreciate a second, experienced opinion! Thanks so much.
Andrea says
Thanks Terri! Secret hideaways are the BEST (at least from a kid’s perspective 🙂
As for dyeing fabric, I honestly think it would be OK to put the fabric in the hot water — it’s only in the dye for a few seconds (maybe a minute at the most) and you’re not really “washing” it — more just “soaking” it.
I’m not an expert — but that would be my suggestion!
KJ says
Hi Andrea!
I am so NOT a crafty person but I am going to give fabric dying a go. I have been decluttering and purging this summer (using some inspiration from your previous posts ;)) and I just couldn’t let go of a perfectly good cream colored table cloth even though it had stains and I knew I wouldn’t use it again for company dinners. Now I plan to dye it a darker color and I don’t have to buy a new one! The added bonus is I feel like such a good steward of my resources. Is it archaic for me to feel this much contentment as a “happy homemaker”?
Your post was helpful, practical, and inspirational—as usual. 🙂
Thank you!
KJ
Andrea says
well great!! Thanks so much for your kind words and enjoy your “new” tablecloth!!
Summer says
Nora’s room is adorable! I love how practical you are and how you reuse so many things! Great for our environment! Way to go Andrea!
I do want to just point out that way you do laundry with the colors all together, it could bleed with that Ritz dye. I have dyed many things over the years and have had some bleed on to other fabrics, when I wasn’t careful on sorting. Just an FYI. I don’t see you guys in a ton of white, but that’s the one I would watch! Maybe that’s the cold water warning you spoke of to ‘set it???”
Best wishes! Enjoy your fabulous new room Nora!
Andrea says
yes, I don’t have plans to wash these curtains any time soon. I already washed them in cold water to “set” the color, so I think they will be fine… but even still, I doubt I’ll need to wash them in the near future.
Caroline says
What a fun project! Great job!
Angela says
So fun! Nora’s room looks so cute, but I especially love the new living room window trim! I have very limited curtains in our farmhouse because I love the open look of the exposed trim (and we don’t need them for privacy in the country.)
Andrea says
thanks! These were originally the only curtains up in our house — I’m so glad we ditched them and now have all the exposed white trim. It’s more my style anyway 🙂
Courtney says
I used dark brown Rit dye in my washer with no staining at all. It is a lot of fun to make something “new” with a little dye.
Andrea says
good to know! I was too chicken to try it in my washing machine… next time 🙂
Amy says
Why did I never think to dye stained onesies??? Brilliant, Andrea!
And now I’m looking at my curtained windows too. I think you’re on to something here….
Andrea says
we have no curtains on any of our windows and LOVE it! and yes, the pink onesies will be extra fun for baby #4! You can’t even see the stains!
Chris says
I’ve used dye before but I did mine in the washing machine. I really like how your living room looks without curtains too. I took my own down a few months ago and they were small vallances, nothing big. I love the simple, clean, fresh look.
Andrea says
Thanks — yes, we like the no curtain look too!
And if it were a bigger dye job, I was contemplating doing it in the washer — this just seemed slightly easier and had less potential “issues” (a.k.a. I didn’t want a pink washer!)