
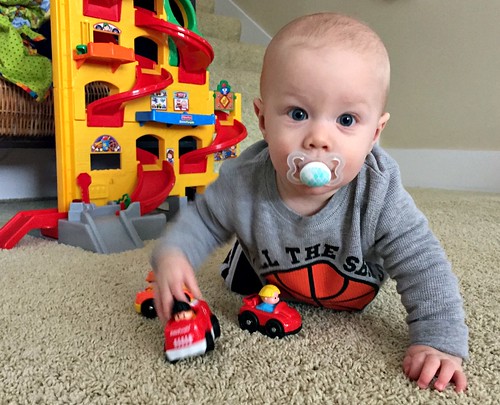
Now that James is inching closer to 8 months old (crazy, I know!), he is crawling all over the place, trying to pull himself up on furniture, and grabbing anything and everything he can. I have no doubt that he’ll be taking his first few steps in no time — and then we REALLY need to watch out!
James can currently pull plugs out of the wall outlets, toys and books off of shelves, and even his Jumparoo over onto himself (when it’s resting up against the wall). Thankfully, he hasn’t been hurt yet — and he actually only let out a little whimper when he pulled the Jumparoo on himself!
However, it’s pretty clear that we need to start the process of baby-proofing a few areas of our home before he starts walking!
Dave and I were joking the other day about how quickly we “forget” all the things we need to secure (or remove) when babies are just starting to become mobile for the first time. Even with Simon and James only being 16 months apart, there was still plenty of time in between Simon’s first steps and James’ first steps that we fell back into our old habits and didn’t need to worry as much about baby-proofing things.
I recently took a fun little quiz from the Allstate Blog, and was surprised by how many things I did NOT know about baby safety… which prompted the idea for today’s post!
Now, before I get too far ahead of myself, I should just mention that when it comes to “baby-proofing” our house, I’m positive we could do lots more than what we actually do. We do not spend crazy amounts of time, money, or energy trying to baby-proof every nook and cranny of our home because we know this is just a short time in our life. After a couple of years (or even just a few months), we won’t need many of these safety precautions anymore.
We’ve learned that if we focus on a few key areas and get a bit creative, we can make a big difference in the safety of our home without spending much money.
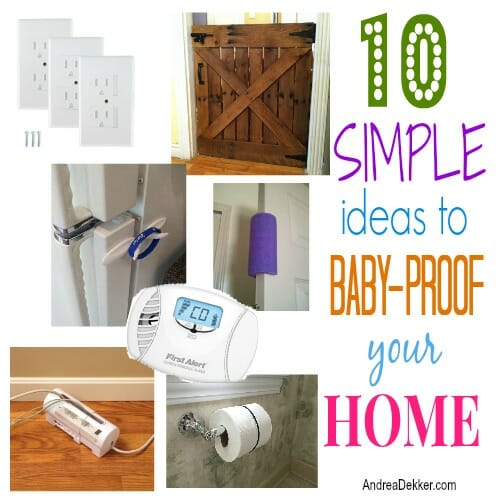
Here are 10 simple ideas to keep your house safe for young children… and save your sanity in the process!
1. Keep electrical outlets covered.
This is probably one of the simplest and cheapest things you can do to baby-proof various areas of your home.
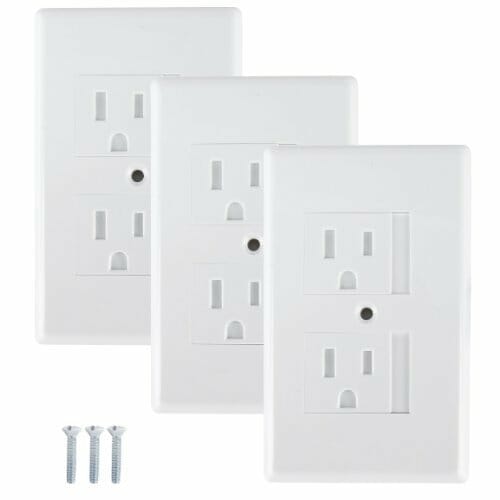
You can either put those plastic outlet covers in… or, if you don’t like the look of them, you can do what we did and put in plate covers that automatically close when not in use.
I can’t find the exact ones we used, but these are similar.
I realize that is more “permanent” than just putting outlet covers on, but since we have renovated our entire home over the past 5 years (and put in all new electrical outlets) this wasn’t really much of an added expense or inconvenience.
And now… no more worrying about Simon “driving his car” (a.k.a. putting keys in the electrical outlet) or James putting those little outlet covers in his mouth! Plus, we never need to hassle with those plastic outlet covers!
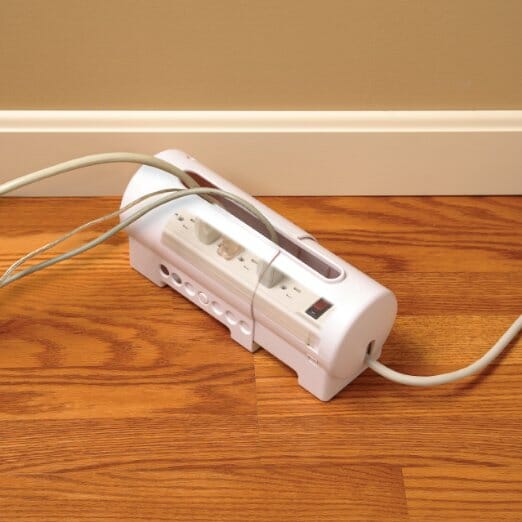
When it comes to covering up power strips, I would recommend something like this power strip cover. It’s really inexpensive and can change size to fit your power strip (it can also be wall-mounted).
.
2. Block off stairs.
Thankfully, we have a door to the basement stairs, otherwise this would have been a major problem with our kids. However, we did need to put the doorknob on backward so we can lock the door to the basement from the back side (so even Nora and Simon can’t get down there) and then simply use a key to open it when we want to go down there.
We do not have any sort of built-in door or gate to block off the stairs to the 2nd floor though… mainly because we never ever used the upstairs when Nora was a baby.
Also, based on the way our stairs are situated, it has been very awkward to try and find a baby gate that works well (it’s hard to explain, but there aren’t walls to attach it to in the right places)
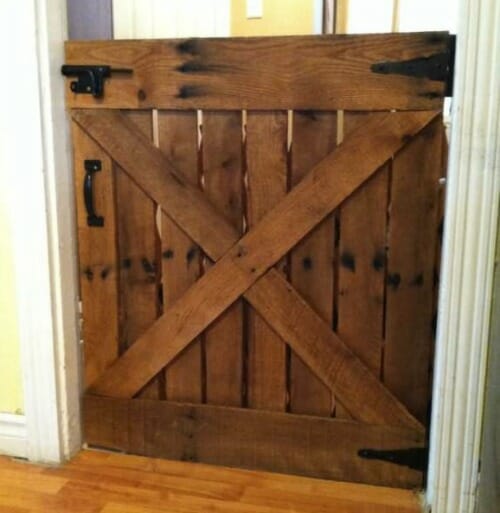
We had intentions of building something cute when Simon was born (like the one below), but we never got around to it and he did take one partial tumble last year.
I’m still hoping that we can build a wooden one over spring break this year, and have it in place when James starts climbing the stairs!
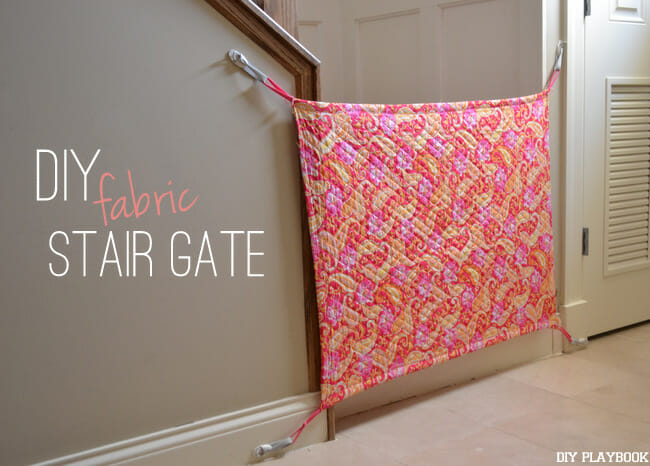
FYI, if you can’t build, but you can sew, this DIY fabric baby gate is a pretty cute idea!
.
3. Secure toilet paper rolls.
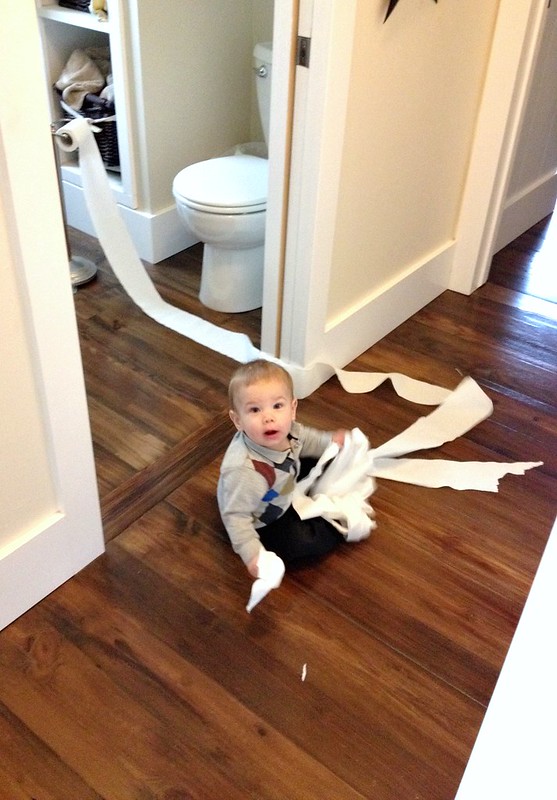
I’m guessing that our kids are not abnormal with their toilet paper obsession. Our bathroom was one of Nora and Simon’s most favorite places to be once they learned how to first crawl and then walk.
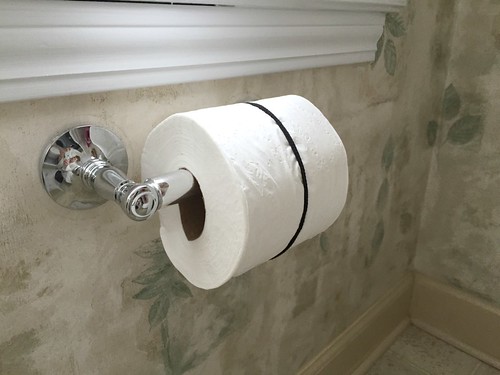
I can’t even begin to count the number of times I re-rolled up toilet paper over the past 4 years… that is, until I discovered this little trick
Just put a hair tie around the roll, and you’re good to go!
You can simply shift the hair tie to the side when you need to use the toilet paper, and pull it back on once you’re finished. Even Nora can do it!
This might seem more like a sanity-saver for parents (and it is), however, if you’ve ever had a small child unroll the toilet paper and then shove a bunch in their mouth… you’ll understand that it can also be a safety hazard!
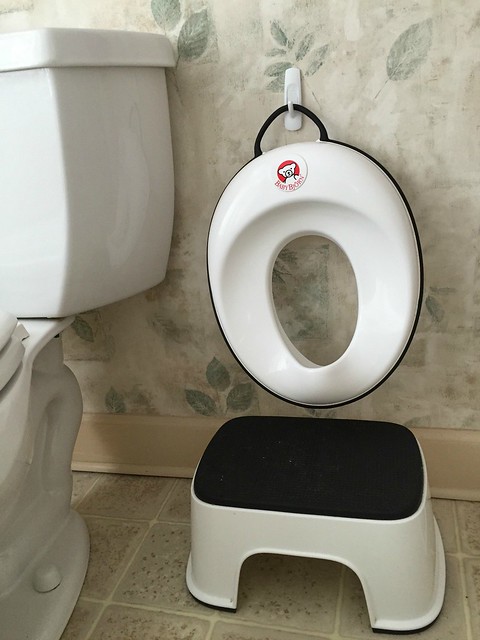
Also, we put a Command Hook on the wall next to our toilet to hold the kid’s toilet seat. This isn’t really a “safety tip” but it is a sanity saver (not to mention slightly more hygienic than just leaving it on the floor!)
.
4. Keep drawers and cabinet doors closed.
One thing I absolutely can NOT stand are the childproof latches on the insides of cabinets and drawers that require you to open the door a tiny bit and then press down on a little plastic clip to allow the door to open the rest of the way.
So instead of using those (and drilling holes on the inside of all our brand new kitchen cabinets), we use the huge rubber bands that are wrapped around broccoli stems… problem solved!
Nora is now old enough to get the rubber bands off — but she’s also old enough to know what she can and cannot do without getting in trouble! And when the rest of the kids are old enough, we can simply remove the rubber bands.
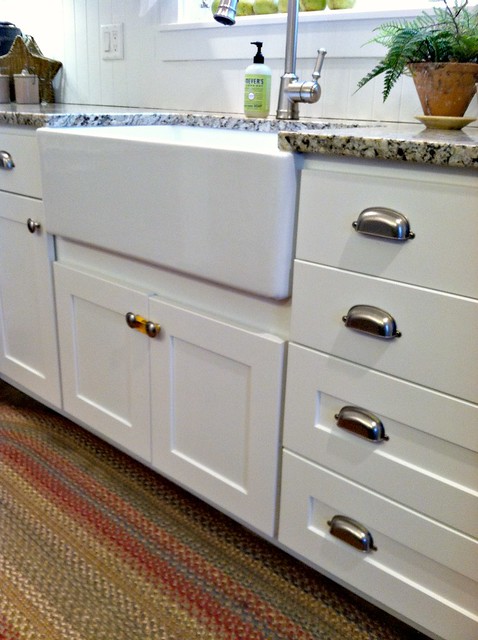
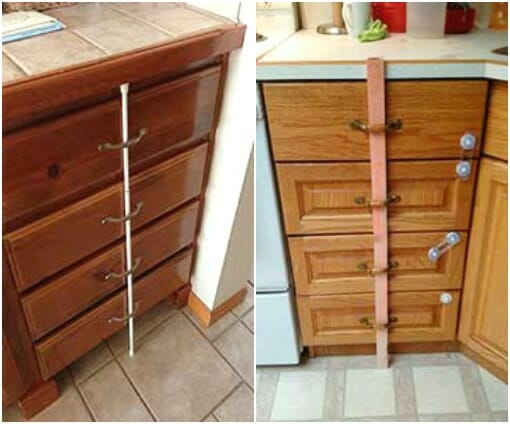
When it comes to drawers, we have cup pulls, so there aren’t many baby-proofing methods that work well. We basically just don’t keep anything we don’t want them to get into in lower drawers.
However, if you have the right kind of drawer pulls and counter top, these two options below are pretty clever!
.
5. Prevent stuff from falling into the vents.
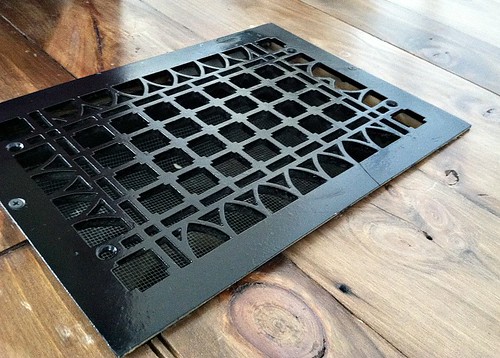
Since our house is 125 years old, and since I tried REALLY hard to preserve several of the big old floor grates, we knew we would need to address the issue of how to keep kids from putting things down into our vents.
This one was pretty simple — we just put a piece of stiff mesh (kind of like a screen door) inside the vent. I clean it out every couple of months and no harm is done!
This would work for any size floor vent (or even a wall vent if your kids are particularly persistent).
.
6. Practice door safety.
I don’t know about you… but the sound of slamming doors drives me CRAZY! Plus, I’m always worried someone is going to get a finger slammed in the door.
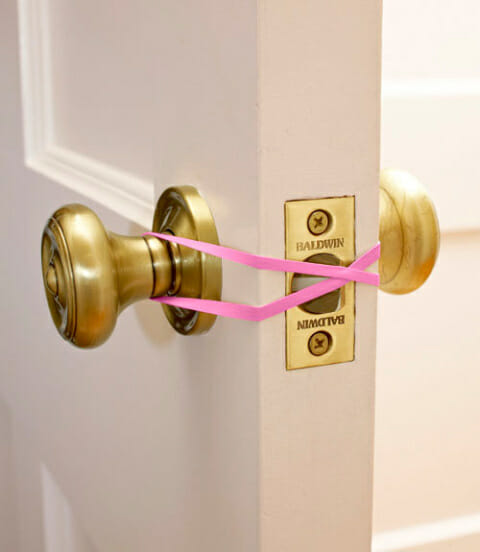
The 2 methods below are super simple, frugal ways to make your interior doors a bit safer for small children.
Of course, you could always just put safety coverings over the actual doorknob. I just don’t like it when my kids CAN’T get into their own bedrooms (and I didn’t want to buy anything extra) so we personally don’t use the doorknob covers. If it’s a room we really don’t want our kids getting into, we just put the doorknob on backward so the lock is on the opposite side of the door and then we use a key to open it (like in our mudroom!)
We also have deadbolts on all of our exterior doors as an added measure of safety (which also saves us a bit on our home insurance) and I usually have some sort of “noisy” bell decoration or wreath on our doors so I can hear if anyone is opening them. This might sound silly, but when the weather is nice, I’ve caught Simon trying to sneak out the back door to play while I’m inside changing a diaper or something. Plus, I always know if/when anyone is coming inside!
.
7. Keep them out of the refrigerator.
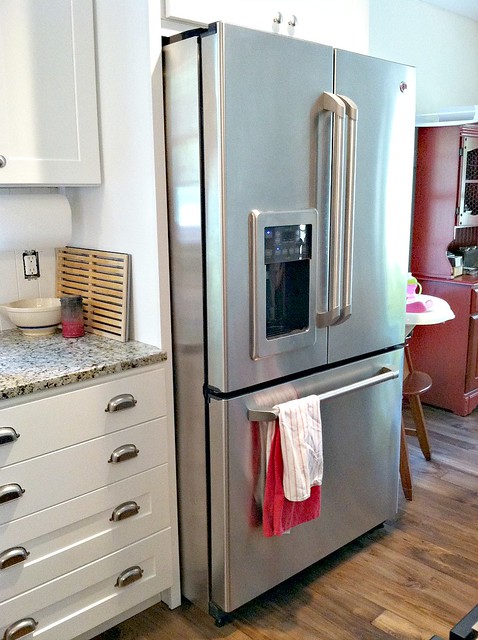
Thankfully, since our refrigerator is a “French Door” refrigerator on top of our freezer, we don’t have any problems keeping our kids out of it because they can’t reach it (or aren’t strong enough to pull the doors open).
In case you’re wondering, we also have a lock on the water and ice part so they can’t push the lever and get water all over the place. Sometimes I forget to turn the lock on… but I’m getting better at remembering!
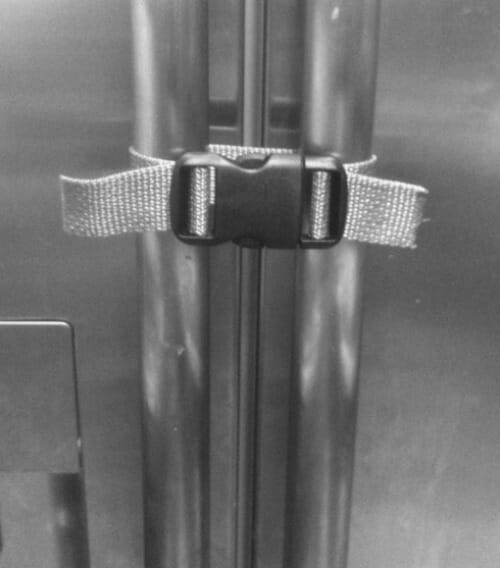
If you do need to keep kids out of a French Door refrigerator, here’s a pretty simple idea.
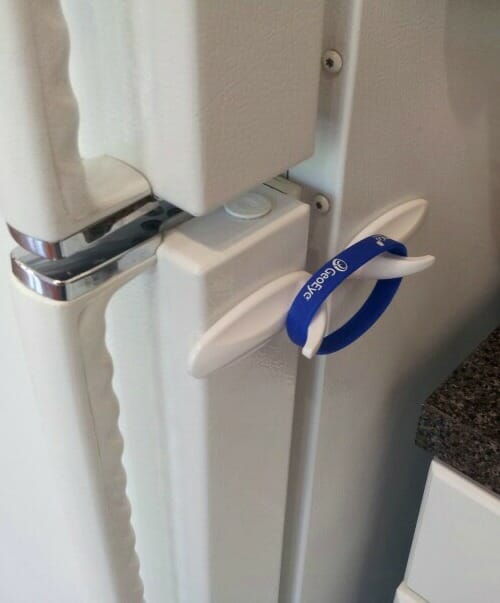
And, here’s an idea if you have a traditional style refrigerator.
.
8. Protect them from fire and carbon monoxide.
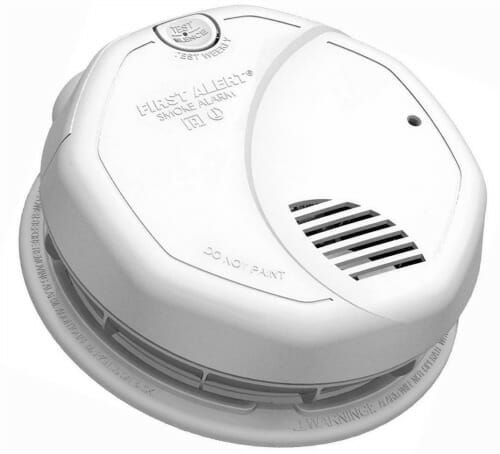
There should be a working smoke detector in EVERY SINGLE bedroom in your house, as well as an additional smoke detector on each floor.
We have almost all direct-wired smoke detectors (wired right into the wall and running on electricity), but also a couple in weird spots that just run on batteries. The direct-wire detectors also have battery back-ups (in case the power goes out), and we really do make a point of checking and changing all of the batteries regularly.
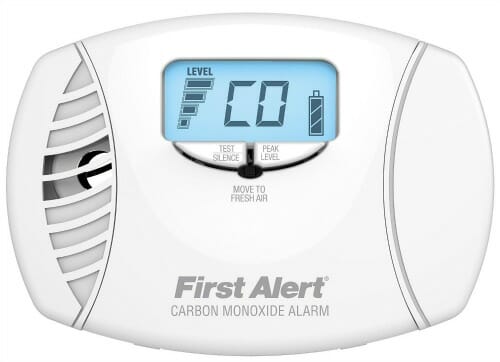
We also have a working carbon monoxide detector on all 3 levels of our home — ours are all battery-operated, but you can also get the kind that plug into an outlet, like this one.
Along with checking the batteries on your carbon monoxide detectors, you should completely replace them every 7-10 years (based on the package instructions). I just replaced one of ours last month (We use the First Alert brand for both smoke and carbon monoxide detectors).
.
9. Use cordless window coverings.
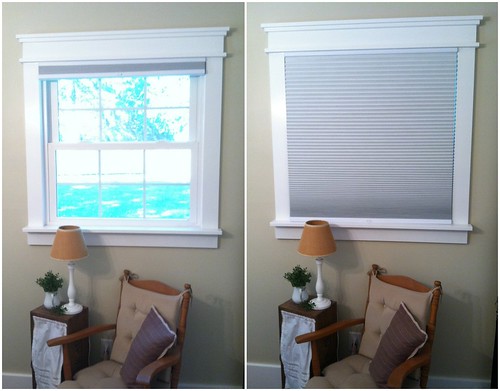
When we started the process of renovating our home (just over 5 years ago), I knew that one thing I wanted to do was use all white, cordless room-darkening shades in all of our bedrooms. It was a bit of an expense (around $60 per window) but I LOVE the look of the shades, and the fact that I never need to worry about my kids getting tangled in the cords is a huge added bonus.
Plus the room-darkening aspect is amazing for putting kids to bed early in the summer time!
We use the Levolor brand and have been very happy with them. I installed them all in just minutes using a simple power screwdriver (I was even 9 months pregnant with Nora when we installed them in her room!)
.
10. Secure furniture and TV’s to the wall.
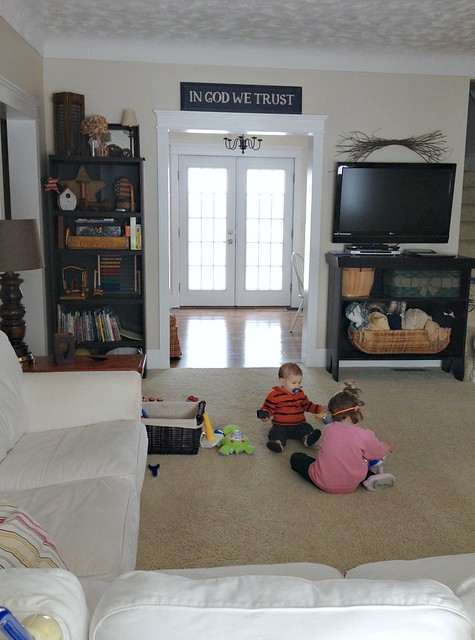
I’m probably not as vigilant about this as I should be — but we do try to secure taller pieces of furniture to the wall (either just screwing them to a stud or using one of these strap systems. We also wall-mount anything we can as I don’t like extra stuff on the floor!
This quick video clip shows a better view of how you can strap a TV to the wall.
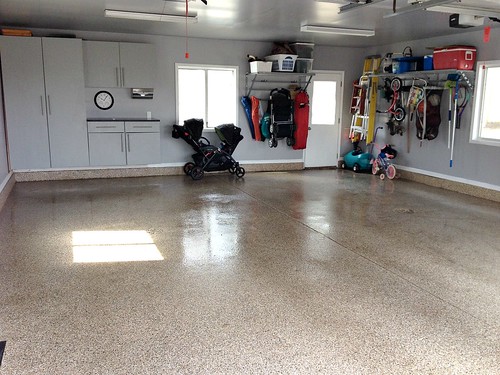
This was one of the many reasons we were so excited about our Monkey Bars garage organizing system — the whole system is wall-mounted so we don’t need to worry about anything falling on our kids as they try to pull their toys or scooters out of the garage.
Obviously, I wouldn’t recommend going out and buying all new furniture, but safety straps are relatively inexpensive… or you could just screw the furniture into a stud in the wall behind. Once the furniture is secure, you don’t need to think or worry about those “what if” situations anymore!
.
Like I mentioned above, I know we could do more — but I feel good about the relatively simple things we have done to add an extra layer of baby and toddler protection in our home.
If you’re looking for more tips and tricks, the Allstate Blog offers several additional resources to baby-proof your home!
What are your best baby-proofing tips?
This post was written as part of the Allstate Influencer Program and sponsored by Allstate. All opinions are mine. As the nation’s largest publicly held personal lines insurer, Allstate is dedicated not only to protecting what matters most–but to guiding people to live the Good Life, every day.



Michelle says
Thank you so much for this post! We just welcomed our 7th grandbaby this week and I will definitely use some of these ideas in my own home as well as share them with my daughters. When it comes to the littles it’s important to keep them as safe as we possibly can. I think a toilet lock is important as well, not only to keep the kids from harming themselves, but to keep things out of the toilet that could back things up. Yes, I am speaking from experience. We had an issue a couple years back that resulted when one of the kids decided to flush too many baby wipes down the toilet. Lesson learned….we now keep them out of their reach. Your posts are always awesome, very thorough, informative, and I really enjoy each of them. Again…thank you for what you do!
Andrea says
WOW — lucky #7 🙂 Congrats!
And yes, the toilets can be a big pain with little kids. It’s hard for us though because if we had a lock on them, Nora can’t get to them to go to the bathroom (and she always waits until the last minute!)
Thankfully, Simon hasn’t been very interested in the toilet lately and James is still too small!
Shareen says
Excellent post! The tv we have is mounted to the wall but my son climbs on a chair and tries to pull the chords. The plug is on the bottom. Is the only solution to that an electrician coming to properly put them behind the wall?
Andrea says
We wrap our cords with a plastic thing (sorry, I have no idea what it’s called) so our cords are all tied together and behind the cabinet under our TV. You can also buy cord covers that you actually screw to the wall; they make it almost impossible to grab the cord without unscrewing things. Just Google “cord safety” and you’ll probably come up with hundreds of ideas!
Barb T. says
Just a reminder to put all poisons completely out of reach, including: bleach, detergent, many cleaners, stain removers, drain cleaners, hand sanitizers and lotions, and medications. And if you (or people you visit) use the laundry pods –especially those that look like gummy candy– keep the out of reach and out of sight every minute. One bite into them and toxins in the high concentration liquid squirt down the throat and esophagus. It is suggested you wait to use this convenient method until the children are 7 years old and up.
Copy and paste the following link to investigate more.
http://www.consumerreports.org/cro/magazine/2015/07/the-problem-with-laundry-detergent-pods/index.htm
Andrea says
yes! Just today, Simon saw me putting one of those pods into the dishwasher and held out his hand saying “candy?”. Kids put EVERYTHING in their mouths!
Emily says
Wow! James is almost 8 months old?? That went fast! 🙂 We have the same situation with the bottom of our stairs (and we have the lovely steep farmhouse stairs). We try to teach the climbers how to get up and down safely right away to prevent any tumbles. That fabric cover seems like a good idea! Wonder how long that would stay up before baby figures out how to pull it down… 😉
Liane says
Not all these may apply but when looking at a house it helps first to take a child’s eye view – lay on the floor! As an RN who saw many tragic accidents while working in a busy ER, these are the things I saw frequently.
Drowning. Not only in pools but tubs, buckets, toys – anything where water can attract little ones.
Burns. Electric cords of lamps where a hot lightbulb can burn, or waffle irons, crockpots and toasters that can be pulled down.
Lacerations. Glass that can be broken, like doors and windows can be ran into or fallen into, ordinary drink ware and knives. Bagel cutters, scissors, tuna cans retrieved from the trash and licked. Tons of sharp stuff abound.
Falls. Down stairs, out of shopping carts, off tables, out of high chairs.
Crushing injuries. Drawers pulled out, television sets, table top microwave ovens, bookshelves used as ladders
Poisoning. Grandmas purses, med cabinets, vitamins that taste like candy, containing iron, rodent and ant control,alcohol
Guns. Accidental shootings and choking
Choking. Certain food like raw pasta, rice, beans, carrot slices, cubed meats
On our home we had round standard door knobs each with a plastic gizmo to squeeze for opening. Simple to use as an adult but difficult for tiny hands. Doors that led to rooms or closets had those on them. Doors that led to outdoors had alarms on them, especially since we had a pool. All cabinets had child locks even empty ones since they acted like ladders, giving access to heavy, hot, sharp items. I only had one toddler at a time, so I was never going three different directions, but my rule was never ever leave a child alone in a room, a car, on a bed, on a sofa, in a high chair etc. And one other thing, kids need to learn that chairs are for sitting on not for accessing upper shelves. We use step stools and ladders for those things. Counter tops, dining room tables and the edge of a pedestal sink are not for sitting on, either. Most falls are from places children should not be climbing or sitting on in the first place!
The best prevention of all of course is supervision, but that can be difficult and an accident can happen in the blink of an eye. In our classes for at risk parents, meaning those where there had been abuse, drug use, alcohol use or any visit to the ER as a result of a preventable injury, parents were told the the best tools to protect the child were a pair of eyes and a pair of hands. Just about every trip to a store with grocery carts, I see a child standing or riding on the bottom or in some other dangerous position, with the parent obliviously looking at the merchandise. If you must take your eyes off the child keep one hand on him. Make use of seat belts.
Andrea says
wow — all great tips and ideas! Thanks Liane!
Melissa says
Regarding smoke detectors… we had an issue when we replaced only one of our hardwired ones. Suddenly they no longer all sounded together. I asked an electrician (we were selling our house and they needed to all alarm together to pass inspection) and he recommended replacing them all at the same time with the same model or they may not talk to each other. I ended up switching to battery operated because I couldn’t get it to work. Make sure you hit the test button when replacing and make sure each alarm sounds.
Julie Spady says
All really great tips! And by the way, I LOVE your garage floor! What did you do to it?
Andrea says
Thanks Julie! Here’s the post I wrote about our garage floors 🙂