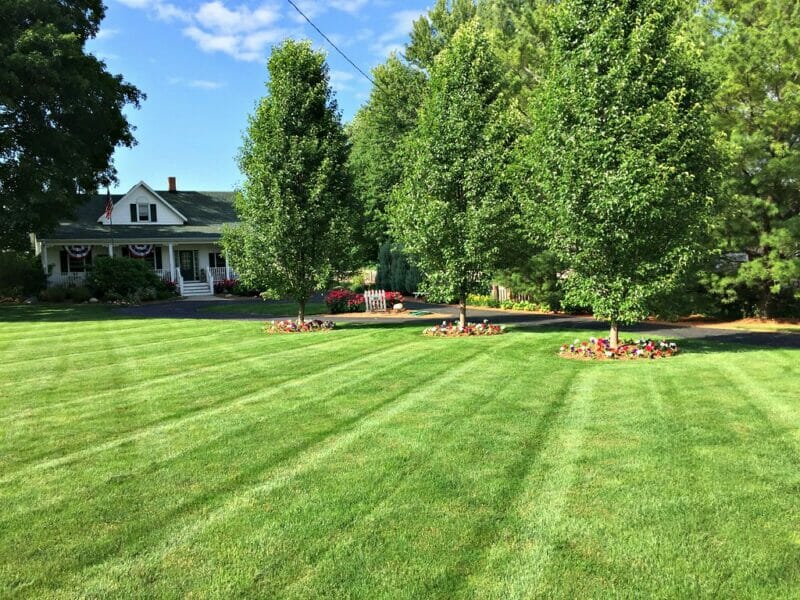
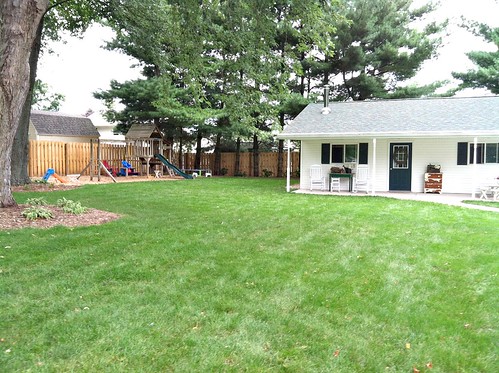
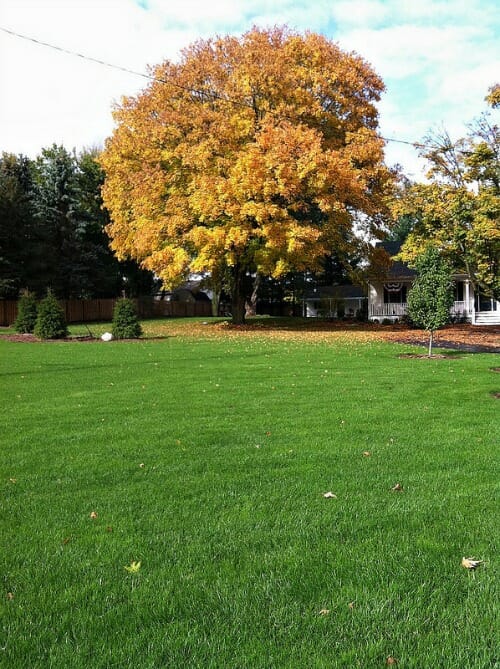
Ever since I shared the picture above on my blog (a couple of years ago) I have had a steady stream of grass-growing questions via email, facebook, comments on landscaping posts, etc. Everyone wants to know how we keep our grass so green, lush, and “perfect”.
Well, I can assure you our lawn is far from perfect. If you get a closer look, you’ll see that we still have our share of weeds and lawn issues… but we have spent many hours growing, caring for, and maintaining our lawn, and (as I hope you’ll see by the pictures below) our efforts are starting to pay off!
No, our lawn hasn’t always been as nice as it is now. At one point, there were a ton of weeds in our front yard…
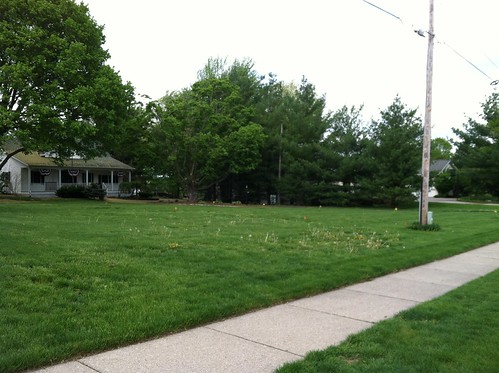
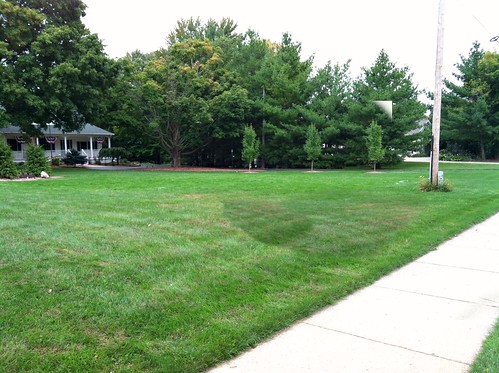
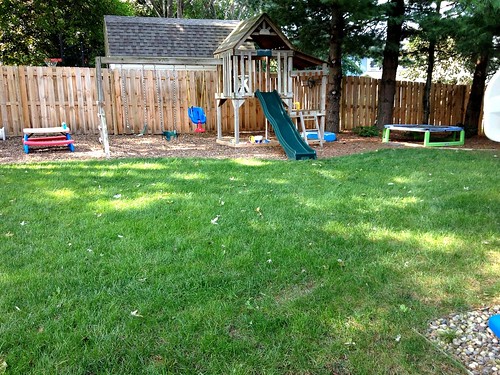
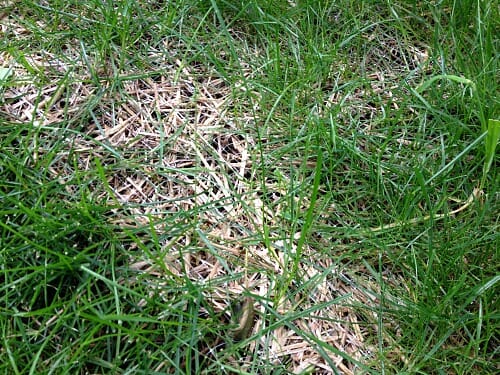
Several bare patches and very thin areas in our back yard…
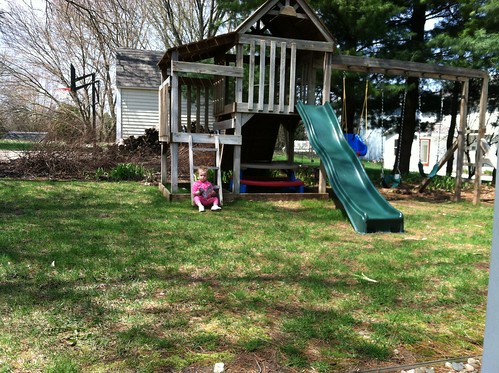
A massive “infestation” of bentgrass that we had to totally kill off with RoundUp…
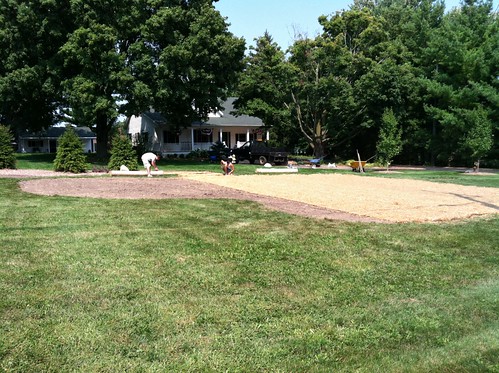
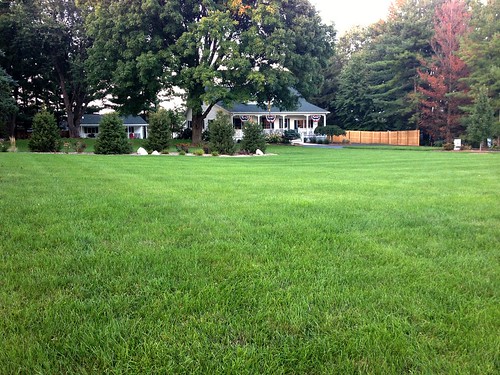
And re-seeding a large chunk of our back yard after digging up a huge, very large cement slab (we still have no idea why the previous owners thought a large cement slab in the middle of their yard was a good idea).
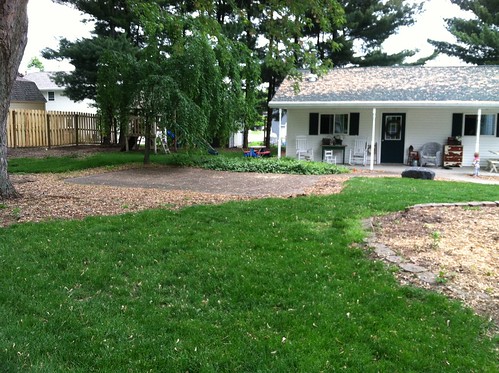
Our most recent grass-growing project was to replace the root-infested “island” inside our turnaround driveway with lush, green grass.
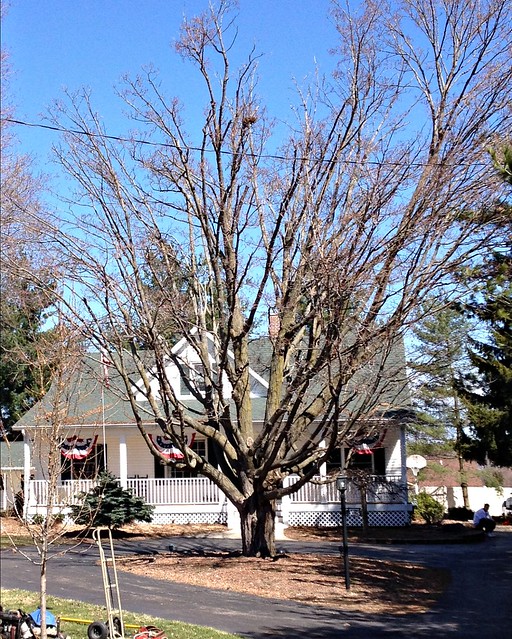
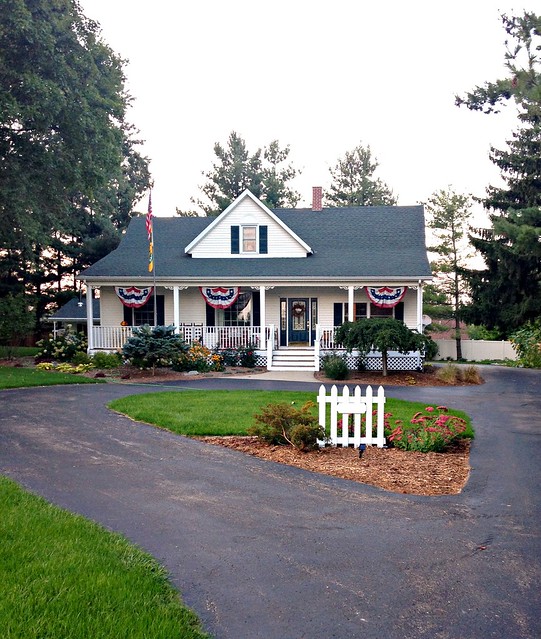
Yes, we have grown A LOT of grass since we moved in almost 4 years ago!
.
So what’s our secret?
Dave and I are not grass experts by any means, and I’m not sure we really have “secrets”. However, everything we’ve learned has come from trial-and-error experience — which for me, is the best way to learn.
Today, I’m sharing what we’ve learned about growing grass these past 8 years (4 in this house, 4 at our last house) — but keep in mind, grass-growing will be different in various parts of the country and the world, so whatever I suggest might not work for where you live.
And speaking of “where you live”, we live in West Michigan — land of nice warm summers, lots of rain, and excellent soil. So growing really nice, soft, green grass is exponentially easier than those of you living in hot, dry climates or those of you living in areas with rocky soil.
However, there are still several basic guidelines for growing and maintaining grass — so hopefully you’ll be able to glean at least one or two tips from this post! If not, then I hope you can at least appreciate the before and after photos 🙂
1. Soil Preparation:
If your yard isn’t looking that great, I’d definitely recommend testing your soil before you waste a bunch of time or money on anything else.
Yes, you can have a professional company come out and do it — but you can also get kits to DIY for around $15 at local hardware stores, landscape supply stores, agricultural stores, or even Amazon.com.
We paid $12.50 (big money, I know!) to have our soil tested through a local agricultural supply store. I dug up the soil samples and then brought it back to the store in the bag they gave me. They tested it, gave us the results, told us what our soil needed, and then provided the specific products we needed to get our lawn healthy again (we had to pay for the products.)
In general (at least in our area) if the reading shows a pH lower than 6.0, your soil is too acidic and you’ll need to add lime. If it’s above 7.5, the soil is too alkaline. For moderately alkaline soil add peat moss; for very alkaline soil, use sulfur.
Thankfully, our soil wasn’t bad — so we didn’t have to bother with buying too many products.
2. Preparing the Area for Seed or Sod:
If you’re starting from scratch, you’ll definitely want to make sure you have a nice layer of rich top soil down before spreading your seed or laying sod. You’ll need more top soil if you’re opting for seed as sod already comes with a thin layer of soil.
Thoroughly rake out the area to make it as smooth as possible. Dig out roots, grind out stumps, pull large weeds, remove medium to large rocks, and loosen compacted soil.
This is definitely the most labor-intense part of the project, but it’s also a crucial step to get the seed and sod to thrive.
Also, if you’re planning to re-seed an area that already has some patchy grass (yup, we’ve been there too), you’ll still want to want to “rough-up” the top inch of soil — or maybe even add a bit of additional topsoil so the new seed has something to dig into. This will initially make the area look worse than it did when you started, but if you skip this step, your seed most likely will not grow — ask me how I know 🙂

3. Seed Vs. Sod:
Now that your soil has the proper acidity and your area is prepared for seed or sod — you need to make a choice between seed and sod. Which one will you go with?
Dave and I have had LOTS of experience using both seed and sod. We have learned a lot about how to grow both — as well as the pros and cons of both — and honestly, we’ve been happy with the results of both.
I don’t really think you can go wrong either way — as long as you realize what you’re getting into and what type of project you want to take on.
SEED:
If you need to fill a few bare spots in your lawn or thicken up a thin patch of grass, seed is probably your best bet. It requires a bit more preparation up-front (getting the soil perfectly smooth, spreading the seed, covering the seed, etc) but in our opinions, seed actually looks the best in the long run.
Yes, sod looks amazing on day 1 and seed can take a full 2 months to really look lush, but over time, seed seems to be more weed-resistant and more drought-tolerant than sod (again this is just our opinions after using both at various times)
One tip for growing seed: after you spread the starter fertilizer (see #4 below) and the seed, cover the seeded area with large rolled straw mats to keep it moist and prevent the soil and seed from eroding during large rain storms (we have them all the time in Michigan).
The straw mats have a built-in mesh that holds everything in place and eventually disintegrates into your lawn. These mats have been key for our grass growing — especially in supper sunny locations like our front yard (see picture below). It looks a little crazy at first, but within a couple weeks, the grass is long enough to hide the mats.

SOD:
If you’re putting in a new lawn or filling a large patch, you could still definitely use seed, but this would also be an ideal time to try sod — yes, you can do sod yourself! All it involves is unrolling it and cutting it to fit your area.
Here’s a tutorial I found online.
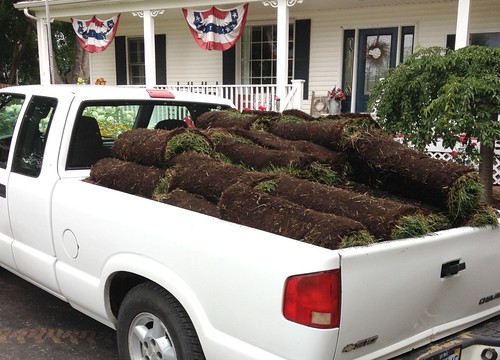
We used sod for our entire yard at our old house, and just a few weeks ago, we sodded the driveway “island” at our current house. I’m sure you can imagine how satisfying it was to have a brand new lawn in one afternoon!
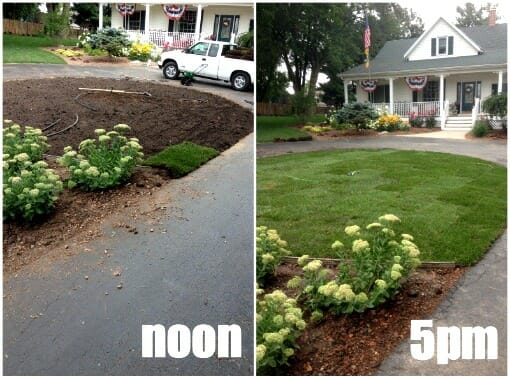
If you’ve never taken the time to price out sod, it’s actually not as expensive as you might think. We get ours at a local sod farm less than 1 mile from our house. It’s about $0.35 per square foot — which put it at right around $200 for our pretty large turnaround driveway area.
If we would have gone with seed, we figured we would have spent around $125 for extra topsoil, the seed, and the straw mats. Plus, seed needs a lot more water than sod for a lot longer.
Because this grass area is RIGHT in front of our house and basically the first thing people see when they drive up, we felt it was definitely worth the extra $75 to have an instantly beautiful-looking lawn.

4. Fertilizing:
This is one area of grass growing that Dave and I felt like we knew NOTHING about when we bought our first house. Truth be told, we are actually still learning a lot about the “right” and best ways to fertilize our yard — but we’re getting better!
I think the key for us was to stop using the store-bought 4-step programs and instead, opt for a slightly more customized program through a local agricultural supply store (Farmer’s Co-Op for anyone living in our area).
We order and pay for everything we need at the beginning of the season and they contact us when it’s time to pick up our next round of fertilizer. This has taken much of the guess work out of it for us and also assures that we’re spreading the right stuff at the right time without the expense of paying a professional.
We currently use some organic fertilizer (which is double the price — boo!) because here in Michigan, using organic is the only way to assure we get enough phosphorous on our grass as that chemical is now banned from non-organic fertilizers. In case you’re wondering, phosphorous promotes strong root development and helps grass withstand stress from sun and lack of water (so yeah, it’s important).
Other than that, we simply read the instructions on the back of the bags for when to apply, if we need to water it in or let it sit, etc.
Like I said, we’re still learning — but we have learned a lot just by trial and error, asking questions, and Google 🙂
5. Watering:
We are extremely fortunate to have underground sprinkling for our entire acre property — obviously this makes the task of watering our massive lawn much more do-able.
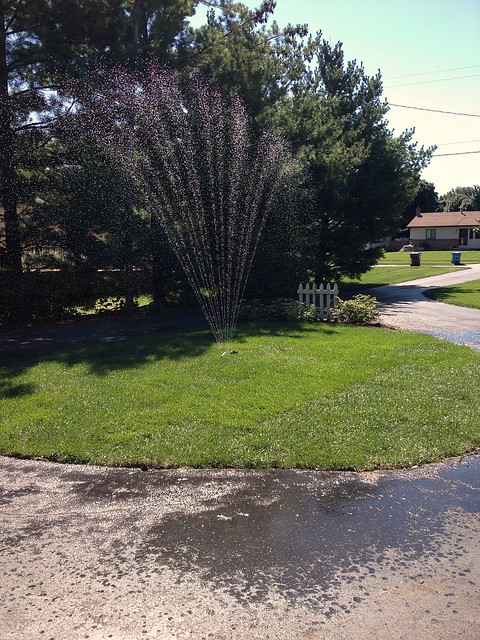
However, when planting new grass, laying sod, or re-seeding thin patches, you need to water those areas a lot more than there rest of the lawn.
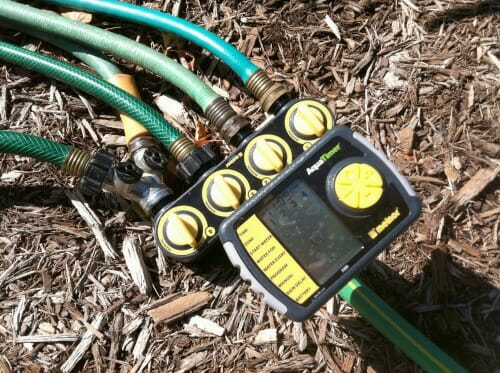
To help simplify the process of watering these areas several times a day, we purchased a Melnor AquaTimer which allows us to set a timed program to water many different “zones” in our yard at various times throughout the day (a.k.a. no more moving hoses or forgetting to turn the sprinklers off).
I talk more about this timer in this post if you’d like more information.
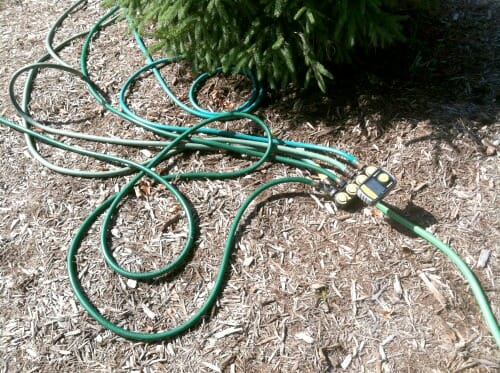
In general, once your lawn is fully established, it’s better to water it less often for a longer period of time versus 20 minutes every day. By watering for a longer period of time, it forces the roots to grow DOWN instead of grow OUT… which ultimately makes for healthier grass and less weeds.
6. Mowing:
I suppose there’s no one right way to mow a lawn — but here are a few tips Dave shared with me (since he’s the main mower these days).
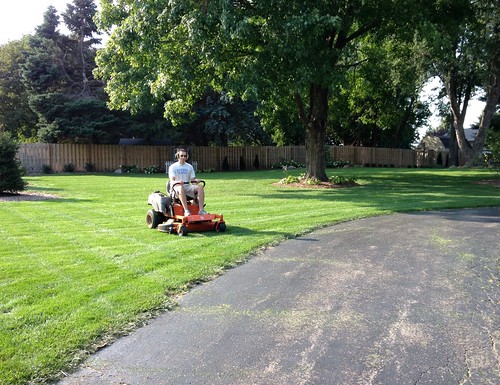
- Keep the blades REALLY sharp — we sharpen ours every 2 months
- Mow the grass shorter in the Spring and Fall and longer in the Summer. This way, it won’t dry out as quickly in the hot summer months but it also won’t stay too damp in the spring and fall.
- Mow in different directions each time so your grass doesn’t get “bent” — Dave mows up and down one time, then across the next time, then diagonal, and then back to up & down.
- Try not to mow more than 1/3 of the blade of grass at a time. So if your lawn is very long (like if you were gone on vacation) only mow 1/3 of the blade and then mow it again in a few days.
- Double-cut the lawn to catch uneven areas and further spread out the stray grass. We have a zero-turn mower so it goes really fast. This means that sometimes Dave misses a few blades of grass here and there. However, since he double-cuts the yard, it catches those stray blades and helps it look nice and even. (Double cut basically means cutting it twice in 2 different directions)
- Use mulching blades to prevent lots of grass build-up on the lawn. For the last 3 years, we’ve been using mulching blades on our mower and we are VERY happy with how nice they make our grass look. Not only is it MUCH healthier for the grass to have the clippings stay on the lawn (sort of like built-in fertilizer) it’s easier on our part because we don’t need to rake up or bag up ALLLLLL the piles of grass clippings after every mow. We also get good use out of the mulching blades every fall as we mulch almost all our leaves for more free, natural fertilizer (we have lots of leaves!)
Whew… OK I think that’s it! And I think this is one of the wordiest blog posts I’ve written in a LONG time!
If you’ll be growing grass sometimes soon, I hope this post was helpful for you. If you’re not interested in growing grass, I hope you at least enjoyed the pictures and now want to move to West Michigan so you can have nice lush lawns 🙂

Diane Kooistra says
Hi Andrea,
I appreciated your blog about your yard experiences!
I live in Hudsonville, MI and was wondering where you had purchased the sod?
Thanks!
Andrea says
Hi Diane!
We got our sod from AAA Turf… although, I’m not sure they are selling right now.
We’ve done business with them for years and they have great service and great sod!
Katherine says
How do you sharpen your blades? We have a rotary/push mower and need to sharpen the blades. I’m clueless.
Andrea says
Hi Katherine, You need a grinder to sharpen them so you’ll probably just need to bring them to a hardware store or other store where they sell lawn mowing stuff.
We bring them to my brother-in-law who lives down the street and has a grinder. But before that, we always just paid a few bucks to have them sharpened.
ShellyL says
When I saw your topic, I thought ugh, how boring will this post be? I’m pleased to say I actually enjoyed it and learned a lot. Nice going! You may have inspired me to do a little yard work. I should learn to give your posts a chance before judging. Ha! 🙂
Andrea says
haha — well not good that you thought anything on my blog would be so boring 🙂 But I’m glad you enjoyed the post!
I’m sure the pictures helped a lot!
Courtney says
Oh what perfect timing for this post!!! We just moved into our new construction home in east Michigan but we have clay and zero top soil. We’ve been debating for months about what to do…sod or seed. I think we’ve settled on sod after seeing all the work and effort our neighbors have had to put out with seed (for not much savings). Thoroughly enjoyed your tips and plan to share the mowing tips with my hubby who has enjoyed not having mow all summer.
Deni says
Thanks for all of the helpful information, Andrea! Your yard and landscaping are gorgeous, you really have a beautiful home!!!
Andrea says
Thanks Deni!