Cheesecake is, without a doubt, my most favorite “cake” ever. Yes, I realize it’s not really a “cake”, but since I don’t care for traditional sheet cake with frosting, I always say cheesecake is my favorite cake!
I’m fairly confident I would like almost any type of cheesecake… but if I had to choose my ultimate favorite, it would be chocolate chip cheesecake with a chocolate crust.
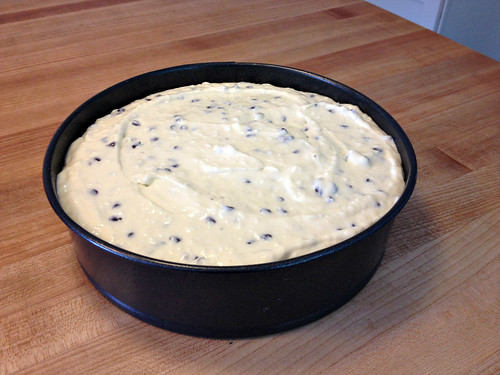
So the other day, after stocking up on a huge cream cheese sale at the grocery store, I decided to make our family-favorite chocolate chip cheesecake.
It’s a full-size cheesecake and uses 32 oz. of cream cheese (4 bricks) so it’s a lot larger than the smaller cheesecakes I usually make… but it worked out perfectly as we ended up with unexpected company 2 nights in a row for dinner, and I could “wow” everyone by having this cheesecake in the fridge 🙂
One of the only things I don’t love about cheesecake is the fact that I always second-guess myself as to if it’s “done” or not. Since you don’t bake cheesecake until it’s fully set in the middle, it’s always difficult for me to decide if it’s still too “jiggly” or if I should take it out of the oven. However, recently, I came across a different method for baking cheesecake… and it’s nearly fool-proof!
This new method requires you bake it in the oven like normal (without ever opening the oven door) and then, when the timer goes off, simply turn the oven off and keep the door CLOSED for the next 5 hours. After that, you can put it in the fridge and you’re good to go!
I was slightly skeptical at first, but this method really has worked fabulously well for me, so I decided to share it here on the blog.
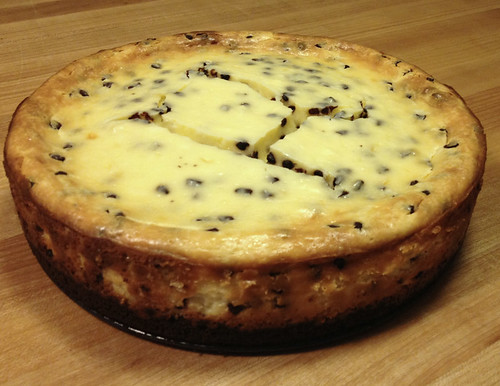
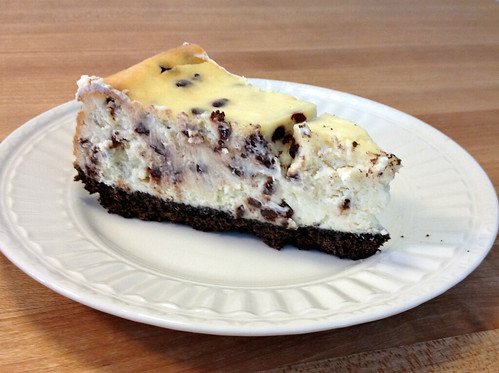
One thing I will say is that I have not mastered the art of a “non-cracked” cheesecake yet. Sometimes it comes out perfectly, sometimes it cracks (like the pictures in this post). I’ve tried many different tips and tricks but I’ve never found one that prevents cracking 100%.
That said, this recipe still tastes AMAZING, and it’s really simple too. So cracks aside, this is a winner for sure!
Recipe for Creamy Chocolate Chip Cheesecake
Makes enough for one 9″ springform pan (probably at least 18 servings)
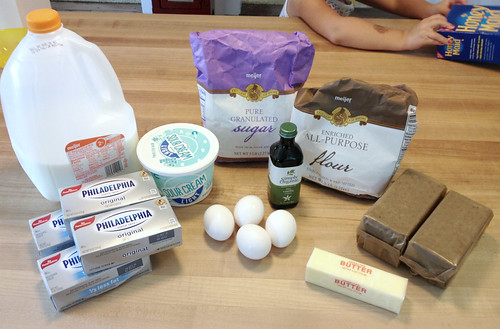
INGREDIENTS:
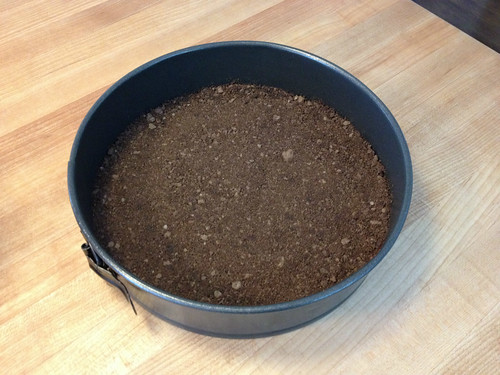
- 10 graham crackers; crushed (you can use chocolate or regular)
- 4 T. melted butter
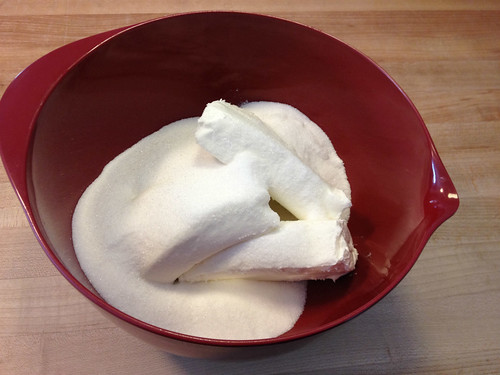
- 4 packages cream cheese (8 oz. each)
- 1.5 c. granulated sugar
- 3/4 c. milk
- 4 eggs
- 1 c. sour cream
- 1 T. vanilla
- 1/4 c. all-purpose flour
- 1 c. mini chocolate chips
DIRECTIONS:
1. Preheat oven to 350*F and grease a 9″ springform pan
2. In a large bowl, mix graham cracker crumbs and melted butter. Press into bottom of springform pan
3. In the same bowl, cream together cream cheese and sugar.
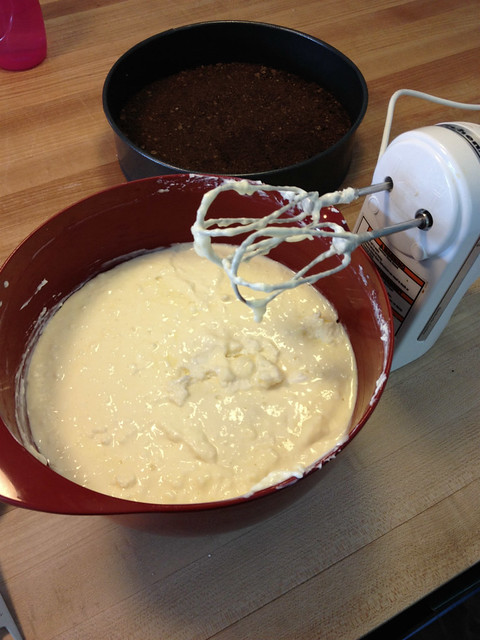
4. Add milk, eggs, sour cream, and vanilla. Mix until combined.
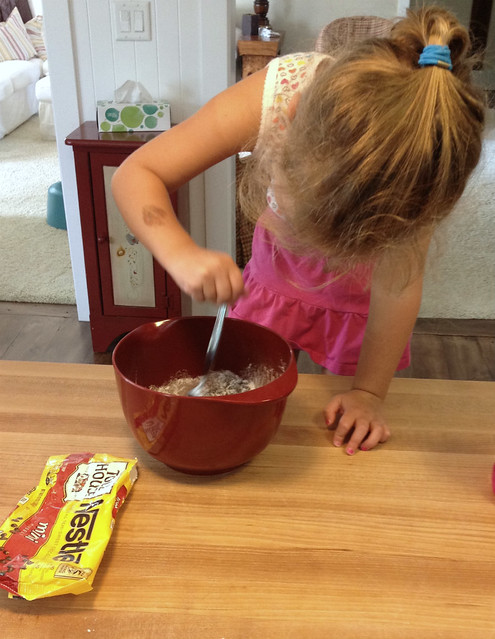
5. In a small bowl, stir flour and chocolate chips. Add chips to cream cheese mixture and stir with a spatula until combined.
6. Pour mixture into springform pan and bake for 1 hour in preheated oven.
7. After 1 hour, turn the oven off but KEEP THE DOOR CLOSED.
8. Let cheesecake sit in oven for 5 hours. Then remove and refrigerate until cold.
9. Eat and enjoy!
Cover the leftover and store in the refrigerator.
This recipe is quite rich and about 3 inches thick — so yes, you can cut the slices very small to satisfy a large crowd with one dessert. It can also be made in a 9″x13″ pan, but then it will be thinner and you’ll want to adjust the baking time accordingly depending on your oven.
In my opinion, this is the most straight-forward cheesecake recipe I’ve personally tried because I never have to worry about the cooking time. It comes out perfectly “done” every time.
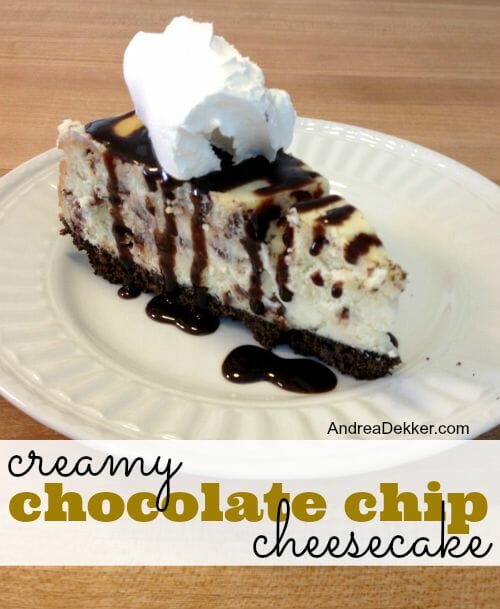
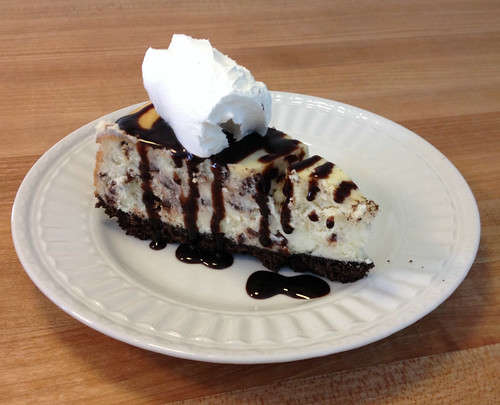
It’s delicious plain… but a little extra chocolate sauce and whipped cream couldn’t hurt anything 🙂
What are your favorite cheesecake toppings??
Visit my virtual recipe box for more simple, delicious, family friendly recipes!

Sandy VanderLaan says
I know you shared this recipe quite some time ago but I don’t see that I commented at all so thought I would comment now with another tip that I’ve read about the cracking problem. The other tips are good but the one I’ve seen (tried) that is different is in over mixing ingredients. Try mixing the ingregients a bit less (till just blended like in a quick bread) and see if that helps. 🙂
Happy Birthday, by the way!
Andrea says
ok thanks for the tip, Sandy!
And thanks for the birthday wishes — it was a good day!
Melissa says
I love this!
Why do you freeze it? I’m going away for a couple weeks and I’m trying to decide what to do with mine.
Lori says
I made this cheesecake Saturday and it was incredible! I ran short on time and was only able to leave in oven for 3 1/2 hours after cooking. I was nervous about not leaving it in for the full 5 hours, but it came out perfect! No cracks and it was delicious! I took it to a family dinner and it was gone in about 5 minutes and people were asking for more! This will be my go-to recipe for cheesecake and I may try different additions to the basic recipe for different flavors! Thank you for a great recipe!
Ann says
Hi Andrea!
Great post on the cheesecake, it looks DELICIOUS! A few years ago, I made up a Cheesecake recipe and when I baked it, it cracked. (Still tasted great!) I took one egg and a little flour out of the recipe and it didn’t crack after that. I guess for this recipe you posted, I would try 3 eggs only, but I would not reduce the flour since there is only 1/4 cup anyway!! Thanks for your great blog!
Andrea says
thanks Ann — it was delicious! I’ll have to try your 1-less-egg idea 🙂
JoDi says
My husband’s father owned a bakery for decades, and they baked their cheesecakes in a water bath to prevent cracking. He shared that tip with a friend lf mine years ago, and she said her cheesecakes have come out perfectly with no cracks ever since!
Andrea says
well I must be really bad at baking uncracked cheesecakes, because I’ve tried the water bath and they still cracked some of the time. boo 🙁
Debbie W. says
Yum! Cheesecake is my favorite “cake” too. Recently, I almost always choose it for my birthday cake. I’ve never made my own though. I’m glad you shared the “leaving it in the oven” trick. I get really intimidated when I can’t tell if something is thoroughly cooked. When I finally decide to make it myself, I’ll be trying your recipe!
Andrea says
oh wow — if you love cheesecake, you should definitely try making one yourself. If you don’t want to make such a huge cheesecake, try these recipes for smaller cheesecakes. They might be even less intimidating!!
Karen says
I bake the cheesecake the specified time then shut the oven off. Leave the cake in the oven with the door ajar for one hour. Then take out and let it cool on counter for an hour then refrigerate. No cracks!
Gillian says
Yes, I second Robin’s water bath method and have found this works well every time. Similar to how you would cook a set custard or creme brulee, it’s important to create even heating conditions in order to prevent cracking. Also remove the cheesecake when it still wobbles ever so slightly in the center and the cooling down period will continue to further cook the cheesecake to perfection.
Robin says
To help prevent cracking, try using a water bath. It works for me every time.
To prevent the water from getting into the cheesecake, wrap the spring-form pan from the outside with heavy aluminum foil on the bottom and up the sides. Then, place the cheesecake pan on a large cookie sheet or roasting pan. After placing it in the oven, fill the larger pan with about 1/2 to 1 inch of water. Bake as usual. Good luck!
Andrea says
thanks Robin. I’ve actually done the water bath method several times and it still cracks some of the time — so I figure I’ll just deal with the cracks and enjoy this much easier method 🙂
Chris says
I love how you let Nora help. That will greatly benefit both of you later. 🙂
JoAnn C. says
About 20 years ago Mrs. Fields, (of the cookie fame), had a show on the Food Network and suggested the baking process you mentioned in the post today. There has been no second guessing if the cakes were done after that. As far as the cracked top, I’m as perplexed as you. It’s a game of hit or miss. That’s why, if I’m giving a cheese cake as a gift, I will buy whipping cream and make flavored whip cream to cover the cake if it cracks. I’ll shave chocolate on top and I’m done. Thanks for the recipe, it looks delicious. Happy and safe weekend, Andrea.
Andrea says
well good to know I’m not the only one who has had success with this method! And yes, whip cream can cover many baking “sins” 🙂
Mrs. Crackin' the Whip says
This looks amazing! I just picked up a springform pan for $3.00 at Goodwill a few months back. Luckily, I had just been eyeballing a cheesecake recipe online and recognized the springform pan when I saw it! Now I just need to use it!
I did make your chocolate peanut butter pie awhile back. It was fantastic and very rich! The peanut butter layer reminded me of the peanut butter divinity rolls you see around Christmas. Divine!
Andrea says
wow — that’s an awesome deal for a springform pan! glad you liked the chocolate peanut butter pie too 🙂 It’s amazing!
Stel says
Your baking method sounds very familiar to an Indian pudding recipe I have that is baked for a full…6 minutes then left overnight. Yummy. Would like to try yours as well.
Julie says
I have made almost this exact same recipe except i use a crushed Oreo cookie crust. You should give it a try-delicious!
Andrea says
yum!! Yes, I’ve done this many times before… but now our kids eat all the Oreos so there are never any left for my cheesecake crust 🙂
Deni says
I have never made cheesecake before as it intimidates me, but you have encouraged me to buy a springform pan and give it a try. Yours looks so delicious and your helper is such a cutie!!!
Andrea says
Deni, you can make it in a 9″ x 13″ pan too — you would just need to adjust the baking time. I’m not exactly sure how long to bake it, but I’m sure you could look up some cheesecake recipes for a 9″ x 13″ pan before you spent money on a springform pan! Just a thought 🙂