A couple weeks ago, I shared my insanely simple tip for better baked goods… and featured many pictures of various baked goods I’ve made over the years.
The photo below was one of the baked goods I shared in my previous post.
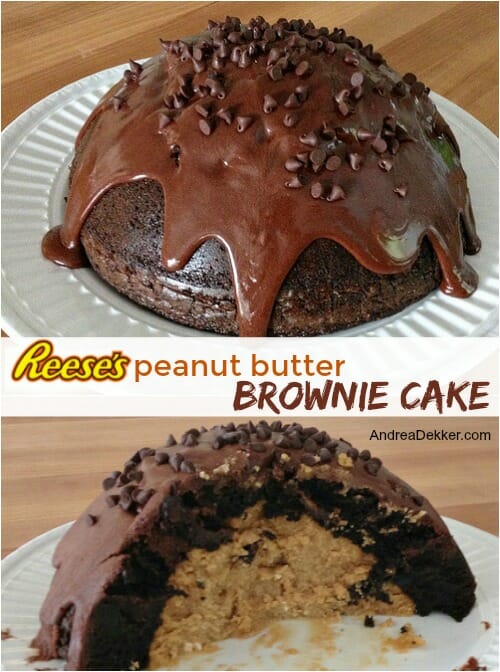
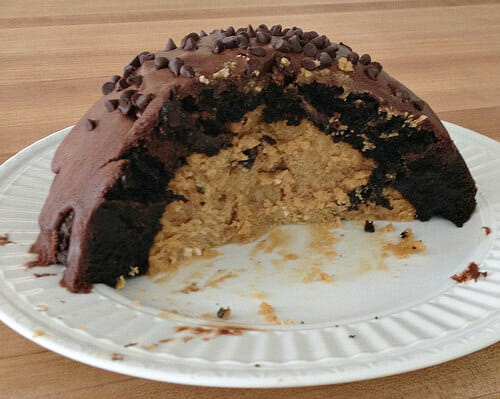
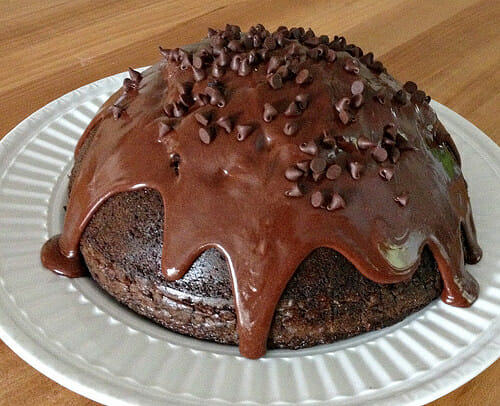
This is (what we refer to as) a Reese’s Peanut Butter Brownie Cake — and yes, it’s amazingly delicious!
I know it’s hard to tell by that photo above, but it’s sitting on a full-size dinner plate — so the cake itself is about 10″ in diameter, and at least 6″ tall.
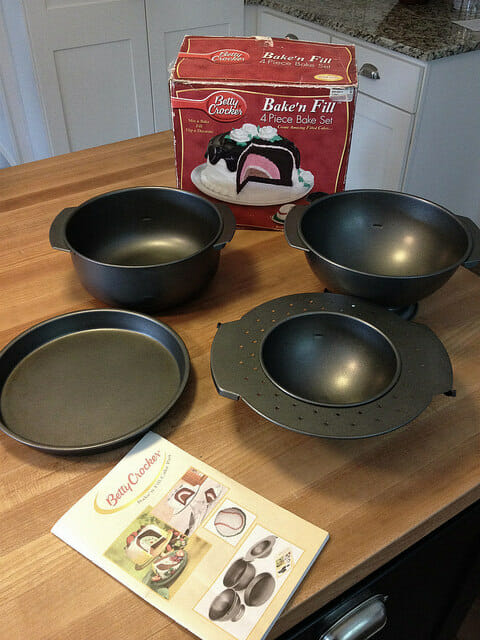
I made this cake using a SUPER old set of Betty Crocker Bake ‘n Fill pans my sister found at our local thrift store for something like $1! (Here’s the Amazon link if anyone is interested in paying over $20 for it).
The set came with a trusty Betty Crocker cookbook with recipes specifically for these pans. I’ve made a handful of the recipes over the past 2 years… but our absolute favorite is this yummy Reese’s Peanut Butter Brownie Cake.
It’s basically like a humongous Reese’s Peanut Butter cup — and our family LOOOOOVES Reese’s Peanut Butter Cups!
Anyway… after sharing the above picture in my baked goods post 2 weeks ago, I have gotten a ridiculous number of emails and comments requesting the recipe. So I figured it was probably worth sharing.
If you’re in the mood for an extremely simple, ridiculously rich, from-a-box dessert, this one should do the trick!
Recipe for Reese’s Peanut Butter Brownie Cake
taken directly from the Betty Crocker Bake ‘n Fill Cookbook
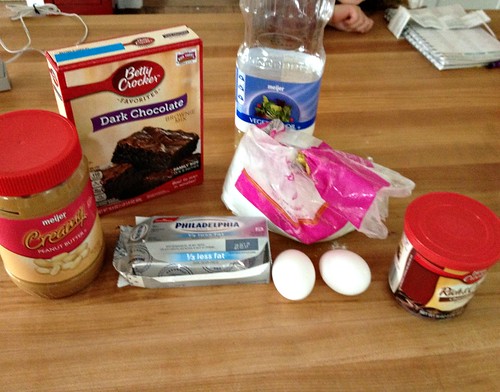
INGREDIENTS:
- 1 packaged chocolate brownie mix (the type for a 9″ x 13″ pan)
- water, oil, and eggs called for on the brownie mix
- 1 package (8oz.) cream cheese
- 1 c. peanut butter (smooth, not chunky)
- 1/2 c. powdered sugar
- 1 tub store-bought chocolate frosting (or about 1.5 c. homemade frosting)
- mini chocolate chips, chopped nuts, or chopped Reese’s for garnish (optional)
DIRECTIONS:
- Heat oven to 350ºF. Grease your pan (you’ll want to use the dome pan and the insert pan.)
- Make brownie mix as directed on the box and pour batter into dome pan to the “fill line”. Lock insert pan into place
- Bake 35-40 minutes. Cool 20 minutes before removing insert pan. Completely cool cake in dome pan before filling.
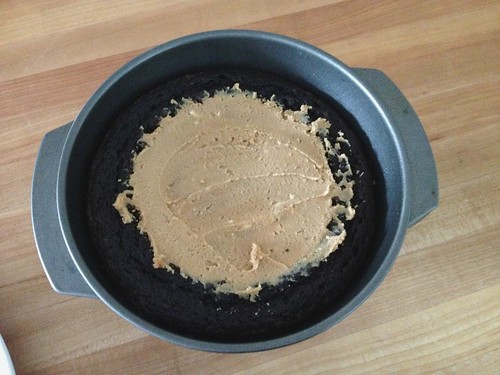
- While the cake cools, mix cream cheese, peanut butter, and powdered sugar in a medium bowl. Spoon mixture into brownie bowl.
- Invert brownie cake onto serving plate.
- Microwave frosting until pourable, then pour over brownie bowl.
- Top with desired garnishes and let cool until frosting hardens.
- Refrigerate leftovers.
How to make these without the Bake ‘n Fill Pans
I suppose some of you might have the vintage Betty Crocker Bake ‘n Fill set in your kitchen cabinets — or maybe you have something similar! However, if you do NOT have these pans, I would suggest the following changes:
1. Make and bake the brownies as directed on the box (in a 9″ x 13″ pan)
2. Mix the cream cheese, peanut butter, and powdered sugar together and spread over the top of cooled brownies.
3. Pour frosting over top of peanut butter layer and let cool until frosting hardens up a bit.
4. Cut into squares and enjoy!
.
It might look fancy, but don’t let it fool you. This dessert is super simple!
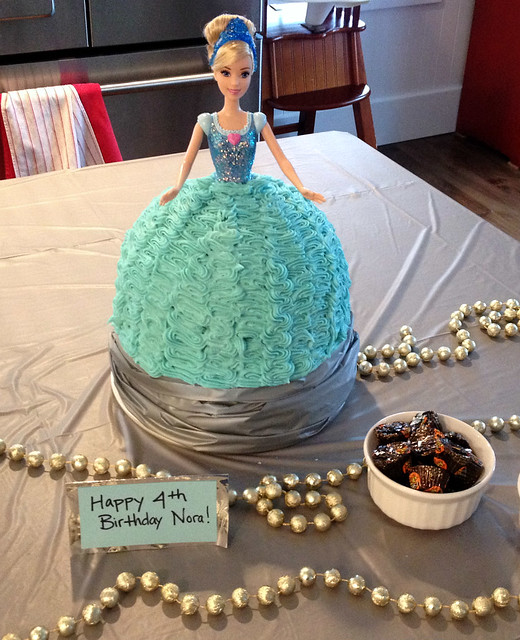
Also, if you’re looking for an easy way to make a Barbie or princess cake, this set of pans will do the trick! Just make a couple extra 9″ round cakes for the bottom if you want a really tall dress!

Renee says
I was in Goodwill today in Rockford and found this! I was so excited and can’t wait to try making this recipe tomorrow!
Andrea says
oh wow — that’s so great! Enjoy your cake!
JoDi says
You had me at Reese’s.
Andrea says
haha — so the very first word of the title!
BB says
Oh, WOW! We all LOVE Reese’s PB cups at our house! Will definitely have to try this with the alternate baking plan. Some cream cheese icing with green food coloring would be nice for St Patty’s Day tomorrow, too!
Andrea says
hmmm… I’m not sure I could each chocolate and peanut butter with green frosting. I know it’s just a color, but it just seems wrong to me 🙂
Katie says
I’m wondering if this could somehow be done with the Pampered Chef batter bowl. I know you can bake cakes in it; I may have to research this!
I have done a doll dress cake before but I just did 4 cake layers then carved it into the shape of the dress. I wish I would have known these bowls existed then! I didn’t use the Pampered Chef batter bowl then because then the cake would have been too short and I would have had to have taken the dolls legs off.
Andrea says
I have no idea what the Pampered Chef batter bowl is — but if it doesn’t have a hollowed out center, you won’t get the same effect.
Also, as I mentioned in this post, the bowl cake is MUCH too short for a doll’s dress which is why I added additional 9″ round cakes to the bottom 🙂
Deb says
https://www.pamperedchef.com/shop/Cook%27s+Tools/Mixing+%26+Measuring/Classic+Batter+Bowl/2431
Not sure that would net the same effect.
Andrea says
thanks Deb — I’m thinking it would take a REALLY long time to cook a cake in that bowl because it’s not hollowed out at all like a bundt pan or like my bowl pan with the insert. It’s so “thick” in the middle that the outside might start getting burnt before the inside is fully cooked.
But, like I always say, it can’t hurt to try!
Janice says
A big THANK YOU for this recipe and baking pan info. When I was a kid, I always requested a chocolate cake with peanut butter icing for my birthday. Now I can make myself a real peanut butter/chocolate cake combo.
Andrea says
yup, no problem!