When it comes to home-canned fruits, veggies, sauces, salsas, and jams — there really is nothing better (at least in my opinion).
If you’ve never tasted home-canned foods, you don’t know what you are missing. However, unless you intend to start canning, I wouldn’t recommend trying home-canned food… because once you do, it will be REALLY hard to go back to the store bought stuff 🙂
I will be the first to admit that although I do love the taste of home-canned food, I don’t always love the canning process. It can be labor intensive, time-consuming, and messy — and unless you grow all your own produce, it can be even just as expensive as buying store bought fruits, jams, salsas, etc.
However, it’s the taste that keeps me canning year after year (also the lack of preservatives and the fact that I can use all local Michigan ingredients)
In my opinion, peaches, applesauce, and salsa are some of the messiest and most tedious foods to can — but I still do it because we love the taste and I love having a pantry full of fresh-from-the-garden foods during the cold winter months.
Jam, on the contrary, is one of the easiest.
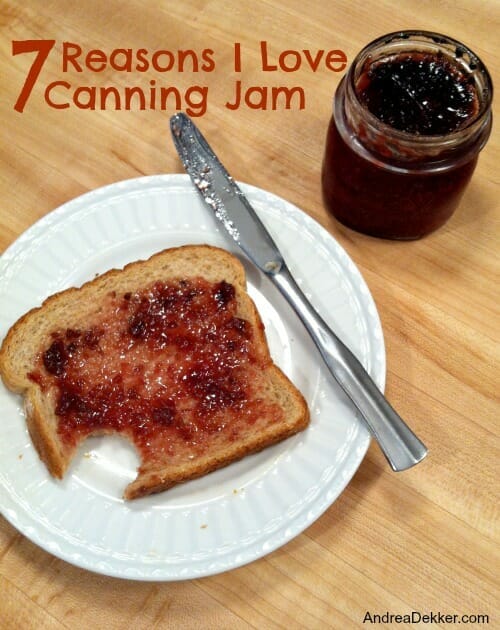
I absolutely love canning jam!
Want to know why?
Here are just a FEW of the many reasons:
1. Home-canned jam taste 100 times better than anything you could ever buy in the stores.
.
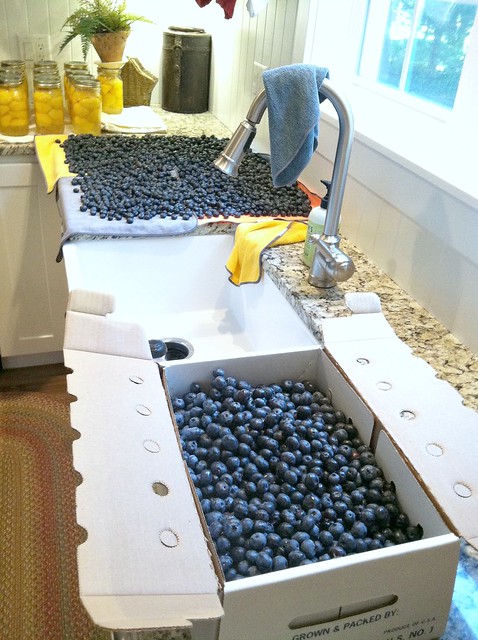
2. Home-canned jam is relatively frugal if you pick your own berries.
Depending on the price of the berries, it usually costs me less than $1 per jar (including the cost of sugar and the lids) to can my own jam. I honestly have never purchased jam from the store, but I think it’s significantly more than $1 — and the two products really can’t compare.
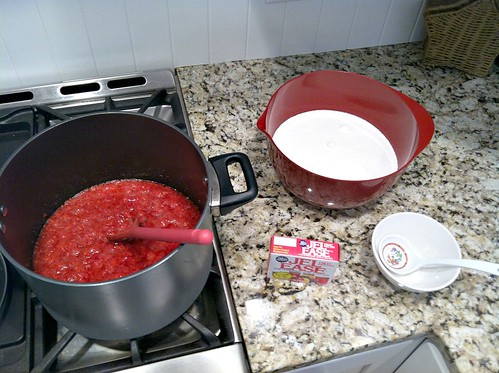
3. Home-canned jam only takes about 20 minutes per batch (with my time-saving tip).
Yes, I’ve timed myself — numerous times 🙂
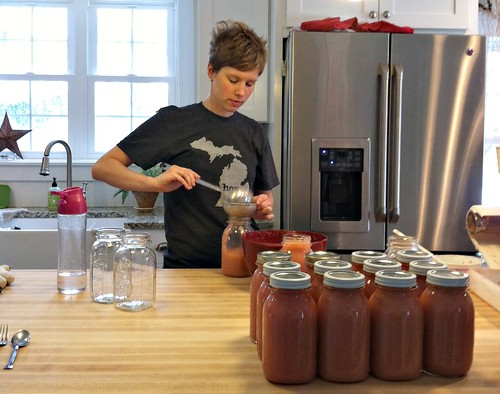
And in case you’re wondering, a batch of jam make approximately 6-9 cups. The picture below is 2 batches, but I used tall jam jars for most of it because we eat it fast enough and this way, I need fewer lids.
4. Home-canned jam can be accomplished any time of the year.
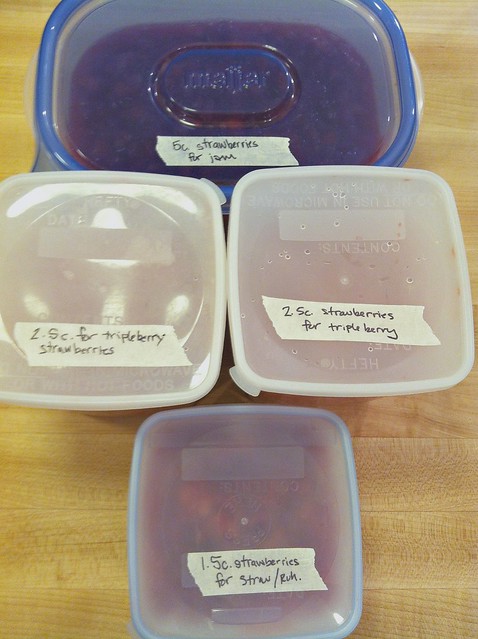
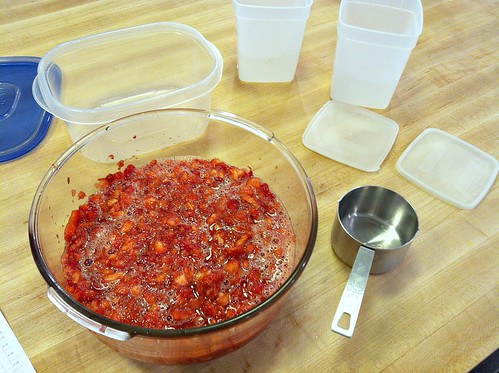
Thanks to my trusty time-saving tip where I freeze the smashed berries the day I pick them (to lock in the freshness) I am able to can jam whenever I have the time — even in the middle of January.
And if you don’t want to pick your own berries (or if you ran out of time this summer) just go purchase a few bags of frozen berries from the store. It might be a bit more expensive than picking your own, but the taste will be the same and you’ll save yourself a few hours in the hot sun!
5. Home-canned jam requires very few ingredients and supplies:
- berries or fruit of choice
- sugar
- fruit pectin (Sure Jell is a common brand)
- some sort of container (you can use plastic if you’re making freezer jam, but cooked jam requires glass canning jars)
- lids and rings (not applicable for freezer jam)
- a few bowls, spoons, and a ladle
- a large pot
- some towels
That’s it, you con’t need any professional, bulky, or expensive canning equipment — plus, it doesn’t take hours to clean up the kitchen after you’re finished.
6. Home-canned jam only requires a small amount of fruit.
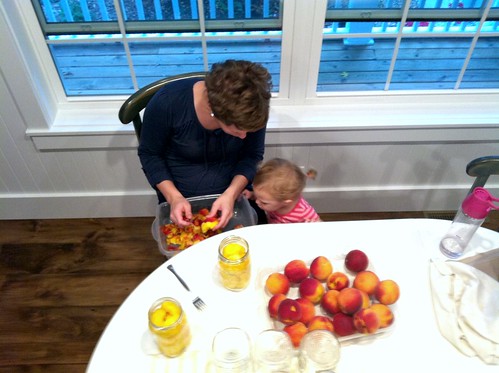
There’s no need to spend hundreds of dollars on produce to make jam — you can literally start with just a few cups of fruit. Most of the recipes I use call for 4-6 cups of mashed fruit — which is usually around 2 pints of whole berries.
Even with the sugar, the lids, and any other supplies you might not have, you could most likely can your first batch of jam for less than $15… so if you totally mess up and ruin your jam (you probably WON’T) you will only be out a little time and money.
Granted, I usually get a lot of fruit when I can jam, but I only can jam every 2-3 years so I do a whole bunch and then I’m set for a while. However, if that is really overwhelming for you, just start with a few cups of fruit this year and see if you like it.
7. Home-canned jam makes amazing (and relatively frugal) gifts.
I’ve given lots of food gifts that include a jar of home-canned jam, and almost every time, they rave on and on about the jam (maybe this says something about my cooking though!)
One of my favorite food gifts to give to busy families is lunch-packing supplies. And of course, no lunch-packing supply package is complete without at least one jar of homemade jam 🙂 I’ve also given homemade jam and freshly baked bread as gifts for Christmas or birthdays (especially to people who don’t necessarily want/need tangible gifts).
It never goes unappreciated — that’s for sure!
.
OK, so for those of you who are licking your lips and thinking “I need to can some jam”, here are a few more resources for you:
My time-saving, sanity-saving jam making tip
Some tips to get ready for the canning season
6 recipes for different berry jams (note, there is also a full-page recipe sheet inside every box of fruit pectin — these are the exact recipes I follow)
I promise that although it might seem overwhelming at the beginning — and you might have a few mess-ups the first time — once you get the hang of it, you’ll realize just how easy it is to can your own jam.
The only problem is that you’ll never be able to revert back to store bought jam!



Tanya says
You are a inspiration to me and lots of other moms-even though I am much older than you.
I have 3 boys -19, 16 and 10 and my wonderful husband. I started making small batches of freezer jam this summer. Oh my goodness it’s wonderful. I have a glass top stove so I can’t can. Any suggestions besides the freezer method?
I enjoy all you do. I am a pack rat but trying to be better. Thanks for the inspiration again.
Andrea says
Thanks Tanya — and just an FYI, you can TOTALLY can on a glass-top stove. That’s how my mom has been canning for 15-20 years and how I canned for the first 5 years of our marriage when we lived in our old house. There is absolutely no reason why it should work for you too — the only difference is it takes a while longer for the water to come to a boil. Other than that, you should be 100% fine to can on your stove. I promise!
Also, when it comes to jam, you technically don’t even need to process it in the canner (I’ve never done that and never had any issues) All you need to do is cook the jam on the stove, pour it into jars, and invert the jars for 5 minutes. You can read all about my jam-canning here!
Good luck!
Debbie says
I really want to try canning some jams this year. I’ve never done it before and when we were gifted a home-made jam for Christmas, I couldn’t believe how good it tasted compared to store bought. I’ll definitely follow your way to do this. I can’t wait!
Tara says
Andrea! I too LOVE home canned anything and jam is so very easy. Sadly though, I cannot, agree with the recommendation of inversion canning. As much as I would love to do it, I just don’t believe it’s a safe practice. I don’t want to be one of those people who come here to criticize you or tear you down. That’s not my goal at all. I just believe that safety in food preservation is a really important thing for everyone. Especially one of my favorite bloggers!
If you reference any authoritative source on canning from the USDA to Ball recipe books to your local county extension office you will find that inversion canning or “open-kettle” canning is very highly discouraged because of the risk of botulism (scary stuff – especially for little tykes). It may add a few minutes of processing time to put those filled jam jars into a water bath canner for a short time, but the peace of mind in knowing that you’re not playing russian roulette with the safety of your food is pretty important in my opinion.
Here’s a typical statement, from the University of Georgia:
“An old out-dated method of canning – the open-kettle method – is now considered unsafe. In this method, foods were heated in a kettle, then poured into jars, and a lid was placed on the jar. No processing was done. With this method there was often spoilage, because bacteria, yeasts, and molds that contaminated the food when the jars were filled were not killed by further processing. The growth of these microorganisms, in addition to spoiling the food, often caused lids that did seal to later come unsealed. This method resulted in a very real danger of botulism.”
More information can be found if you google safe canning methods. Or here, at one of my favorite websites for produce processing and preserving:
http://pickyourown.org/cannersnotrecommended.htm
BTW your time saving technique of pre-mashing and freezing berries to process later is sort of changing my life. 🙂 Thanks for sharing that, because as much as I love canned foods, I struggle with wanting to spend a lot of time in the kitchen during the summer. Love that you can finish up your jam whenever you want.
Kristen @ Joyfullythriving says
Great list! I love canning jam, too. This year, I was able to pick blackberries for free – so ended up canning 39 jars of delicious blackberry jam for under $10. I already had my jars and lids, the berries were free, and I even managed to get pectin at my bulk store for a great price! I’m enjoying it already!
Andrea says
Wow that’s amazing Kristen! your jam is definitely cheaper than the store bought stuff! I just got an offer for free pears from a neighbor with 2 trees. They are small, but I think it will be worth the savings since I’m planning to can pears within the next month. You sure can’t beet free fruit!
Jaime says
I have never canned jam before. What is the shelf life once the jars are sealed?
Andrea says
Pretty much forever 🙂
Honestly, I’ve eaten jam that’s 5-6 years old and it tastes as fresh as the day I canned it. Although, in our family, it rarely lasts more than 2 years because we eat it up pretty fast.
Stel says
I quickly went back to your previous jam links as well. Fig jam is popular is South Africa, and lovely with a cheese platter, especially if you do green figs whole. I noticed yesterday that my figs are now pinky nail size, I might have some ready during school recess in two weeks to make green fig preserve.
Apricot jam is also a favourite, and I’m going to try my grandma’s recipe for the fine jam this summer.
Sandy K says
I’m confused about the inversion. When you turn your jar right side up, are you saying to take off the lid ring and wash it then put it back on? I’ve never canned but I sure would like to try making my own jam. Thank you for all the information you share. I really appreciate it. I’m fairly new to your site.
Andrea says
You’ll want to let the jars sit for 24 hours after you turn them right-side-up. Don’t take the rings of during that time (and I think you meant “rings” when you said “lids” but for the record, you don’t take the “lids” off until you’re ready to eat the jam).
After the jars sit for 24 hours, then you can take the rings off and wash the jars as they might be a little sticky from any jam that spilled over the sides. You don’t put the rings back on (at least I don’t). The lids will be sealed by this point so that’s all you need.
Hope this helps. Good luck!
Sandy K says
Yes, thank you!
c says
Canning is great and I am glad to hear that its not going out of style!! I am sitting in my kitchen with 3 1/2 cases of salsa done and one more batch almost ready to join the rest! I sell my salsa, not proactively, this year I have sold 7 cases. I love it and I also agree with the jam comments, I have been married for 32 years and have never bought store brand jams or jellies or canned fruit! Little bit of hard work goes a long way!!! Enjoy the toast and jam and salsa and chips!!!!
Cathy says
c STANDS FOR CATHY LOL
Sue@house pretty says
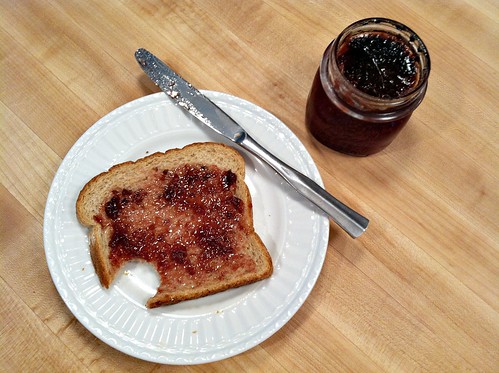
My husband and I made our first batch of blueberry jam two weeks ago. When we finished it, I swore I’d never make it again, because of the mess, and the small amount of jam we got, and we bought our blueberries, so we didn’t save any money on it. But then when I had my first taste of it on a piece of toast, I kind of screwed myself, because I never want to eat store bought blueberry jam again, LOL! I finished off the first mason jar within 2 or three days, oops!
Aa. says
I love jam too!
We also like to make our frutty liquor. We don’t drink much, but it is nice to have a homemade drink at special ocasions. It is not perishable, it stays ok even for years.
Emily says
Huh, I always thought that Americans (including my ‘Merican husband) called jam jelly. Am I missing something?!
Andrea says
“Jam” is when you smash the fruit and seeds all together and it’s kind of chunky still. “Jelly” is when you only use the fruit juice so it’s perfectly clear and smoother — no seeds or fruit chunks. 🙂
Stel says
Thanks, now we know as well!
Chris says
Well, if you buy the jam/jelly with sugar and not high fructose corn syrup, it cost even more. 🙂 So yours is healthier as well.
Andrea says
Good point Chris — I guess I never thought of the high fructose corn syrup “issue”. My homemade jam definitely doesn’t have any of that 🙂
Jen says
Thank you so much for this post! I have been trying to figure out what to do for my parents this year for Christmas- sounds like I have a very inexpensive but thoughtful idea now!
Andrea says
Good idea Jen — and if you want to cross off a bunch of people from your shopping list, make a few different types of jam and give each person a little variety. Throw in some fancy crackers and maybe (if you enjoy baking) add a loaf of fresh bread at the last minute 🙂
LoriB says
Right on, Andrea. Thanks for the jam making encouragement. I love that you shared the inversion canning method as well as freezing the fruit or juice to do it later. That’s what makes the process so much easier. I have never had a ” fail” when making jam. Love to give as gifts…its something that folks love and I don’t feel like I’m wasting my gift giving dollars on more stuff. Also, its nice to give something that I’ve made with my own hands.
Andrea says
Thanks Lori — I have never had a fail when making jam either — maybe that’s another reason I enjoy making it so much!
shelly says
I have used your microwavable jam recipe and made strawberry,blackberry and red raspberry and it’s wonderful and easy.
Andrea says
Yay — glad the microwave method works for you too 🙂