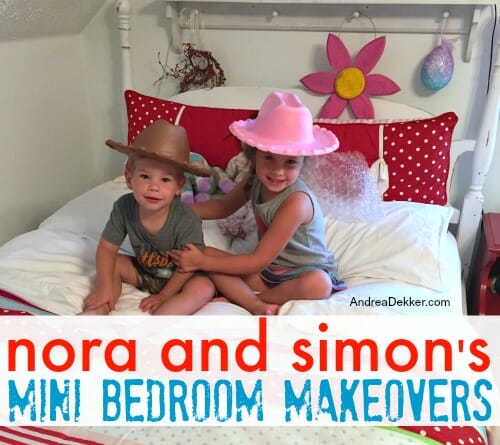
A couple weeks ago, I shared how we completely changed the look and feel of our master bedroom for FREE… and last week, I shared James’ freebie nursery makeover. So since I don’t want to leave anyone out, I’m sharing Nora and Simon’s freebie mini bedroom makeovers today.
I’m grouping their rooms together because we didn’t make as many changes in their rooms (and I didn’t feel like writing a 4th post!)
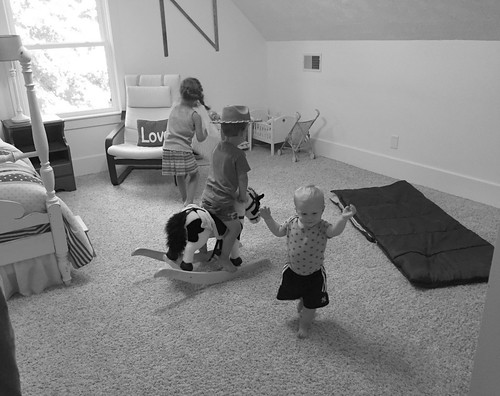
As you might already know, both Nora and Simon’s bedrooms are upstairs, off the playroom… so as you can imagine, their bedrooms basically become extensions of the playroom (especially since both of their bedrooms are pretty good size)
Even though most of the toys stay in the playroom, Nora has her doll stuff in her room and Simon has a small toy cabinet in his room as well — and for the past year, it’s been working pretty well to have them play in the playroom OR in their bedrooms.
The only “problem” is that their bedrooms have started to feel a little cramped when we have lots of toys out or when we have friends over.
I decided that we could get by with a lot LESS furniture in their rooms, so during my blogging break, we did a whole house purge and sold a bunch of their bedroom furniture on Craigslist.
Their rooms don’t necessarily look as cute or as “put-together” as they did before, but they have much more floor space to run around and play — and right now, that’s much more important than cute-looking rooms 🙂
.
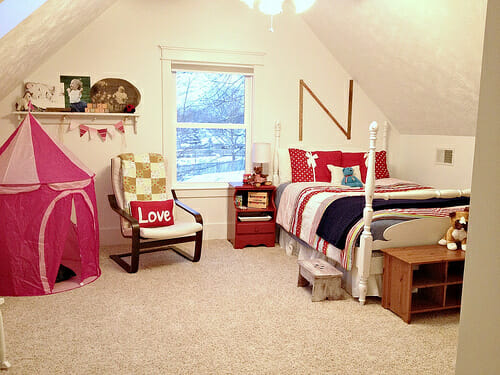
Nora’s Before and After Photos
The photos below are of our most recent mini makeover. You can read about the full makeover we did a couple years ago (and see the “before” bright purple walls and carpeting) in this post!
THE WINDOW WALL:
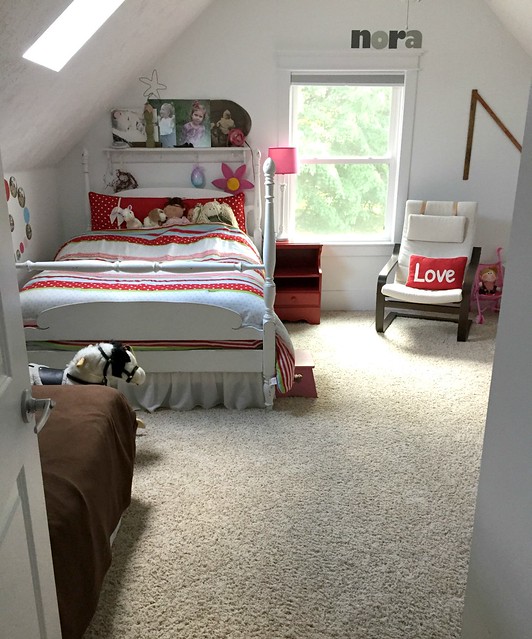
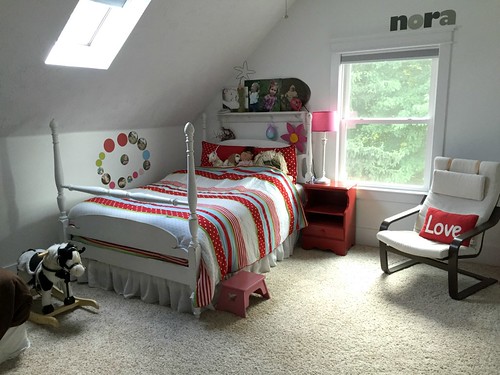
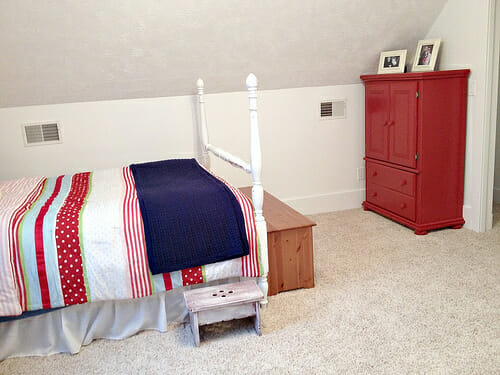
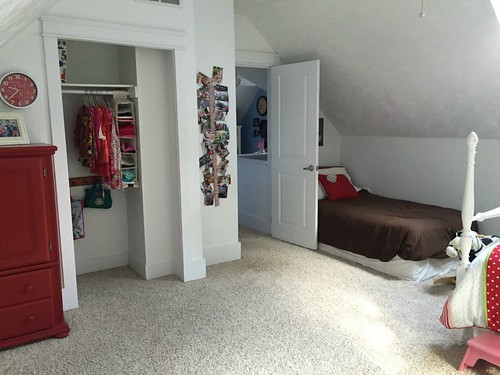
We have always had Nora’s bed on the far side of the room — but we recently shifted it over to the other side for 2 reasons. First, it makes the room feel more open (in our opinion). The second reason is because she insists on sleeping with her door half open — so when we shifted her bed to the other side of the room, it was then BEHIND her door. Now, even when the door is open halfway, she can’t see out into the hallway or playroom!
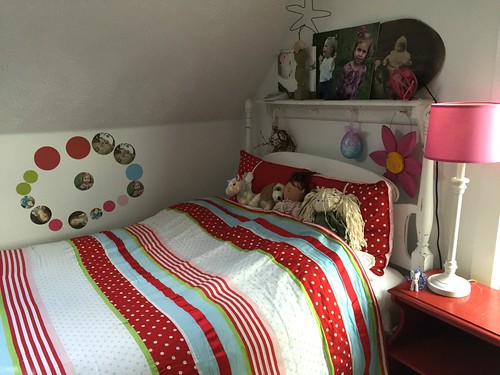
Here are a few more “after” pictures of this wall (from different angles).
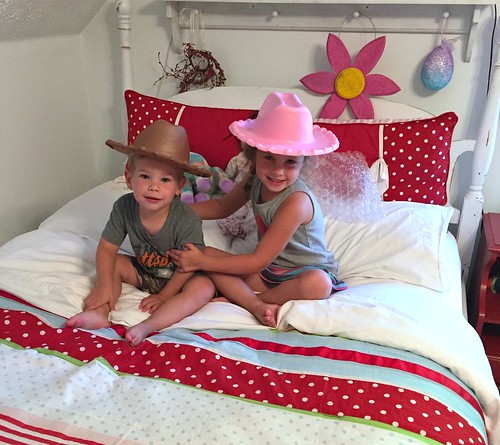
I should mention that Nora makes her own bed (and does a pretty darn good job of it) and has started decorating her room. She moves her pictures and stickers and little trinkets around daily and is always excited to show me what she changed 🙂
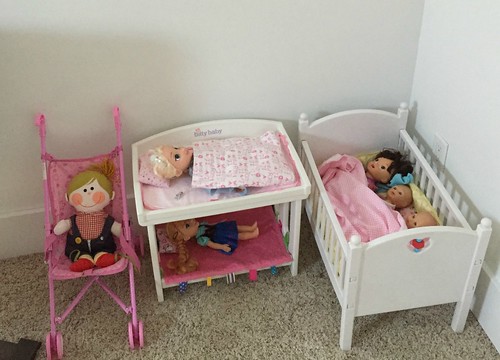
Also, she is thrilled to have a little corner for all her dolls!
.
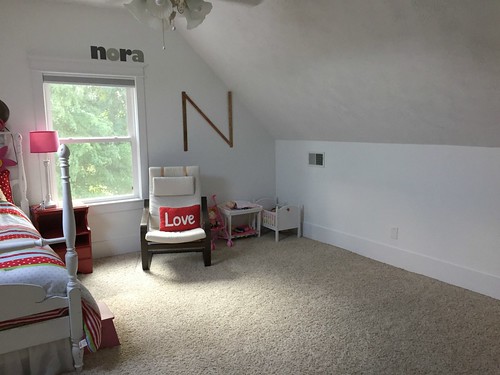
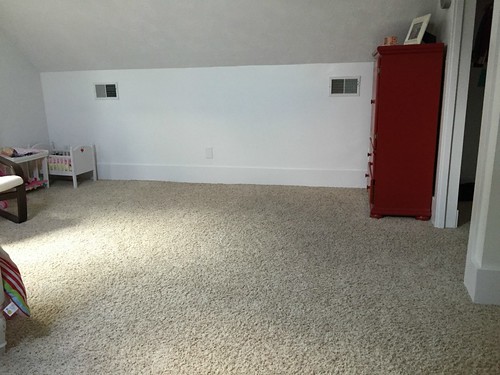
THE SIDE WALL:
It’s hard to get a feel for how large Nora’s room is — but it’s HUGE. It’s way bigger than our master bedroom and almost as many square feet of floorspace as our living room. It feels smaller because of the sloped ceilings, but the kids have tons of room to play in this room now that the bed is moved over to the other side of the room.
.
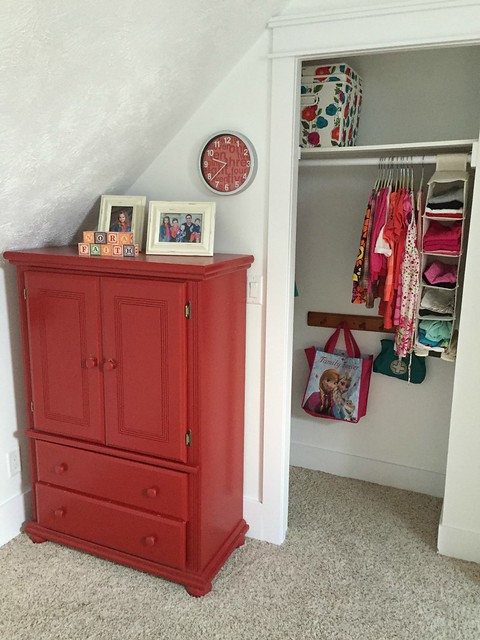
CLOSET AREA:
This area really hasn’t changed much — except that we’ve really pared down her wardrobe! She literally rotates the same 5-8 skirts and shirts EVERY SINGLE WEEK, so we got rid of almost everything else.
To my surprise, she was completely fine with the purge and often encouraged me to get rid of more!
.
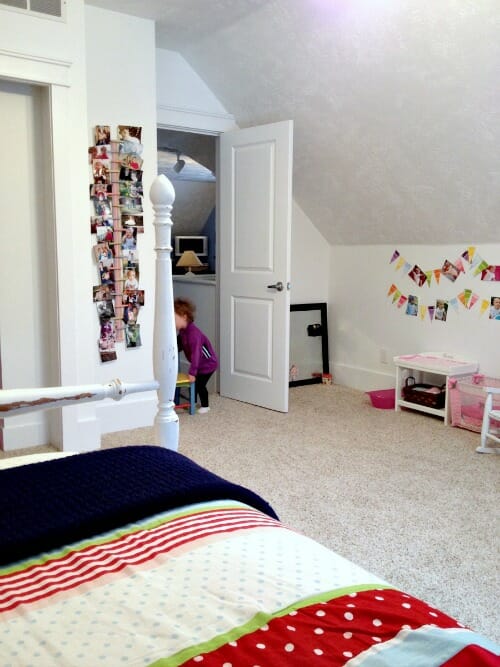
LOOKING BACK AT THE DOOR:
As you might notice in the after picture below, we have another twin bed in Nora’s bedroom!
Our tentative plan is to have Simon move in here with Nora some time in the next 6 months so we can do a total makeover on Simon’s current bedroom.
We think Simon’s room might need to be gutted down to the studs so we can put more insulation in and figure out why his room is so cold in the winter and hot in the summer — and obviously, we can’t have him living in there during that time.
We hope that seeing the bed set up in Nora’s room will encourage a quicker transition… so far, Simon is NOT excited about it 🙂
It took us less than 30 minutes to rearrange Nora’s furniture, and you should have seen how excited she was. I was a little worried she might get out of bed on the wrong side and bang into the wall — but so far, she hasn’t had any issues.
Her room has been this way for almost a month now, and she still tells everyone about “her new room” and wants to bring everyone up to show them all the changes we made 🙂
.
Simon’s Before and After Photos
This is actually our 2nd mini renovation in Simon’s bedroom. We did the first one last June when we moved Simon upstairs so James could take over the nursery. However, as I mentioned above, Simon’s room is the only room in our home we haven’t fully renovated yet (but we’re hoping to do it this coming spring and/or summer).
If you want to see what this bedroom looked like when we purchased the house (bright blue sponge paint!) you can read about that in this post.
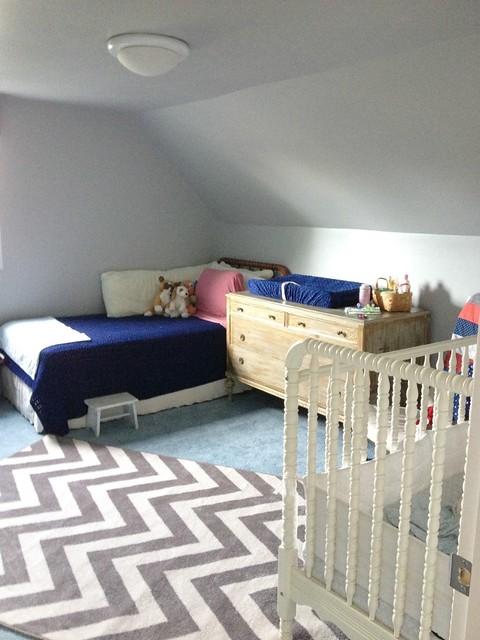
LOOKING BACK AT THE PLAY ROOM:
As I shared a couple weeks ago in our master bedroom renovation post, I gave Simon my white dresser, Simon gave James his changing table, and James gave me his red dresser.
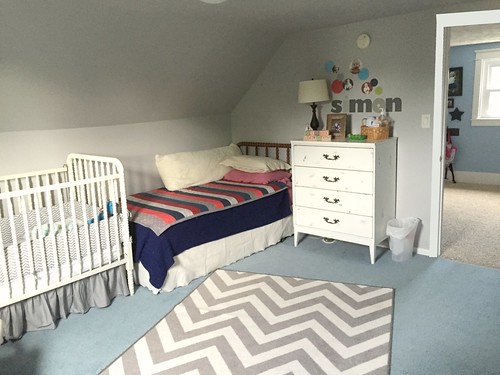
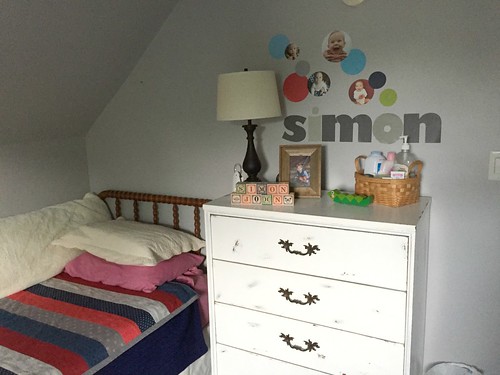
You can see my white dresser in the after pictures — all his clothing, extra diapers, and extra bedding are in that dresser (we actually don’t keep anything in Simon’s walk in closet)
And you might notice we have ANOTHER twin bed in here 🙂
Yes, we have 2 of the exact same twin beds — mainly because I got them for free and will eventually use them both when Simon and James share a bedroom.
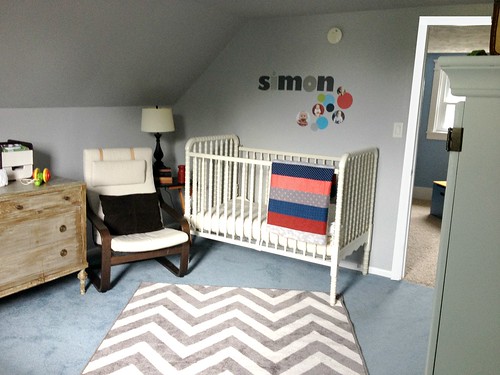
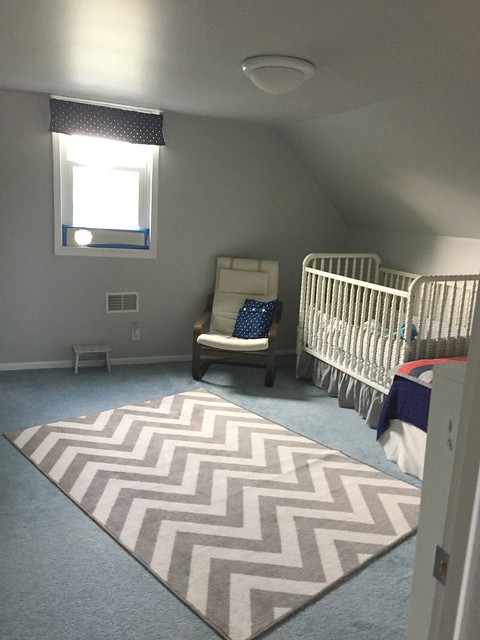
Also, Simon’s crib is still in his room because he almost always chooses to sleep in the crib. Right now, we really don’t care that he sleeps in the crib — but it will be nice when we can go back down to one crib (and it will create even more playing space in this room!)
.
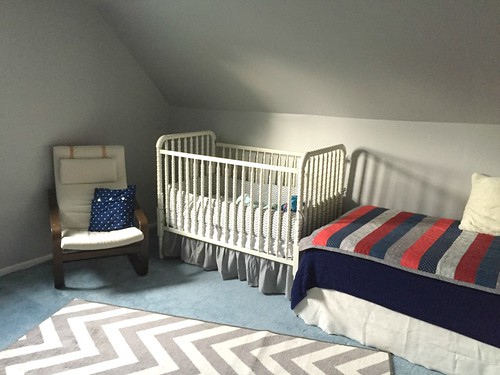
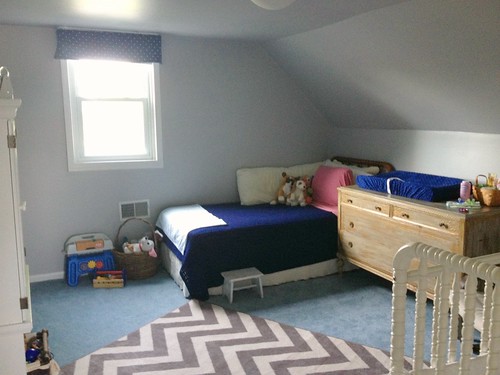
THE SIDE WALL:
It looks a little weird to have the crib and the bed both shoved over against the side wall, but since our main goal is to give them more play space, this new arrangements did the trick.
.
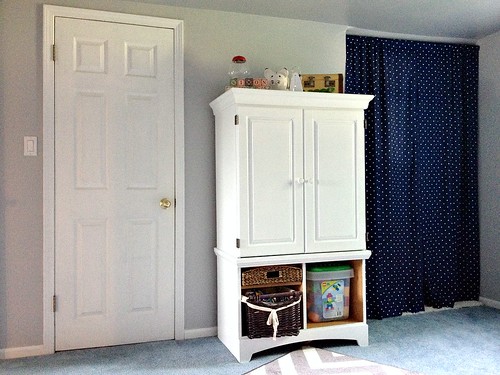
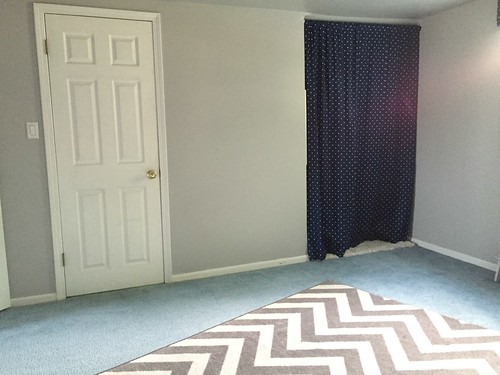
THE CLOSET WALL:
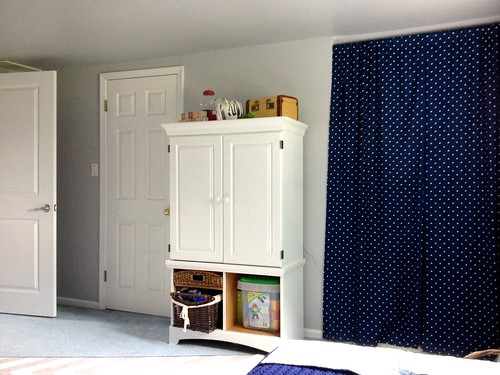
As you can see below, we sold the cute white armoire to create LOTS more floor space.
I was initially a little sad to get rid of that cabinet — but it was big and bulky and we currently have no use for it. I’m happy the kids have more room to play, and that we have one less thing cluttering up our home!
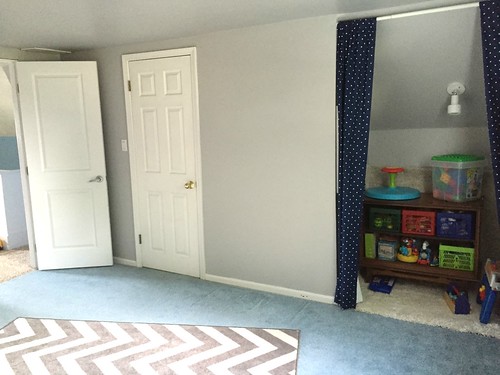
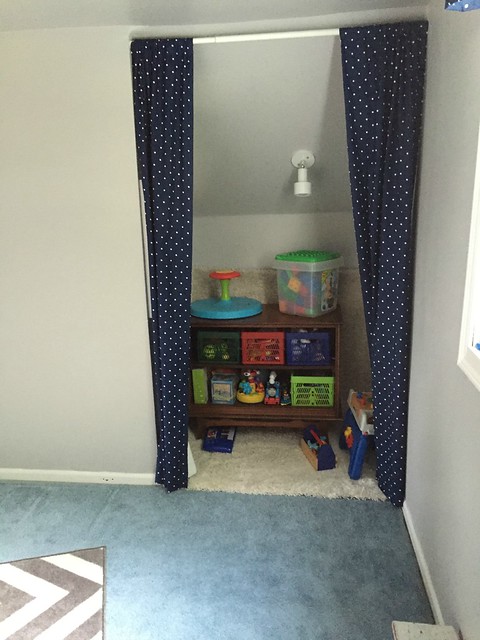
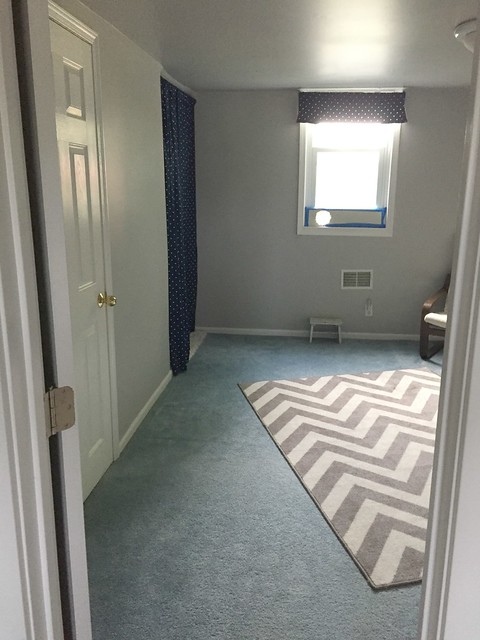
My intention with the blue curtains was to create a fun tent or hide-out for the kids, but they really didn’t use it all that much. So instead, we put a little shelving unit back there and now keep a whole bunch of toys hidden behind the curtain!
I LOVE this new arrangement!
Thanks to a quick rearrangement of furniture, we now have lots more floor space to play in Simon’s room, and our toys are nicely hidden behind curtains!
.
As I mentioned a couple weeks ago, we did all 4 of our bedroom “makeovers” in one afternoon. It was a crazy couple of hours and there were a few moments when I thought this might have been a very stupid decision on my part. But now, almost a month later, we are all enjoying our “new-t0-us” rooms so much more, and we actually MADE MONEY in the process since I sold so many of our things on Craigslist!
More space, more fun, more money, less stuff — definitely a winning situation all around!



Heidi says
Very nice change! Looks wonderful and didn’t cost a penny, perfect 😀
Regarding the temp issues in Simon’s room, you may want to check the ceiling insulation first. My brother is a contractor and discovered his house was too hot or too cold due to terrible insulation and a crummy seal job in the ceiling, not the walls. He fixed it and it is now cool in the summer and warm in the winter and didn’t need to tear the walls out. You guys may already know to check there, but I figured it couldn’t hurt to mention it 😉
Keep up the great work!
Andrea says
Thanks Heidi — and yes, we know about checking the ceiling insulation too. Unfortunately, our house is considered “a story and a half” not a full “two story” so there is no attic above his room. This means, his ceiling is RIGHT under the actually roof and shingles — so I have a feeling that’s one reason it’s so hot up there. We do eventually plan to completely gut parts of his room down to the studs to see what the potential issues are. When we do that, we’ll for sure take a peek at the ceiling to see what kind of insulation is up there.
I’m already dreading that project as it will be SOOOOOOOOO messy and dusty!
Karen says
Absolutely adorable. My grandmother used to move furniture around so much my grandfather would have to hunt the house to find his favorite chair!
Andrea says
Thanks Karen 🙂
Maria says
The kids’ rooms look absolutely adorable and a lot more spacious, which as you say is great for when they have friends over. The closet in Simon’s room is a great idea for keeping toys organized, making clean up time a breeze. Also, loved the way you have the kids’ names and photos on the walls – so cute!
Andrea says
Thanks Maria — we do have a lot more room to play now! And I also love the wall stickers with their name and pictures. They are so fun to move around, I never have to worry about them falling down or breaking or hurting a child, and they are cute!
Crystal H says
The little nook with the curtain in Simons room will make a fantastic place for a desk when he gets older. Love the mini makeovers and I agree, sometimes function has to beat out “cute” when it comes to kids rooms especially!
Andrea says
Funny you say that — it actually WAS a little built-in desk nook when we bought the house. We have no need for a desk right now, but toy storage is fabulous!