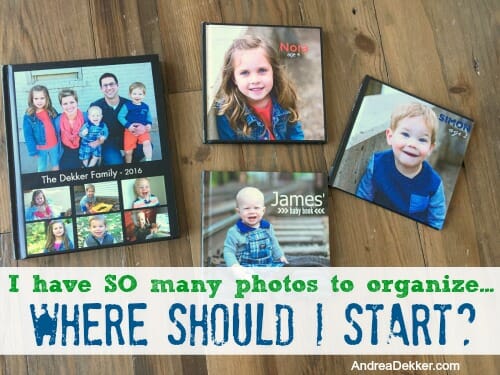
Over the course of my career helping other people get organized, I can confidently say that clothes clutter and paper clutter are the top 2 areas people struggle with.
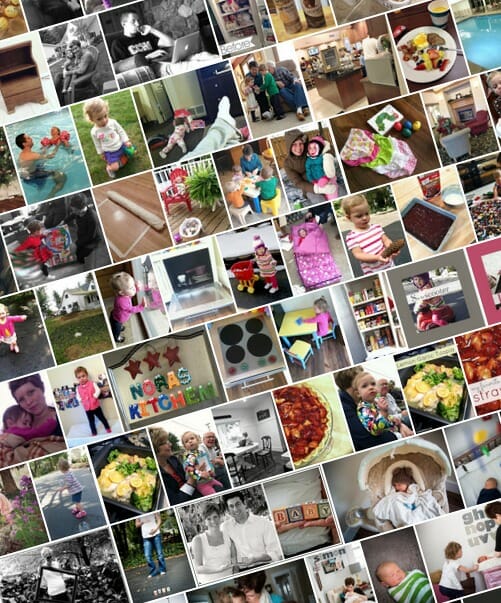
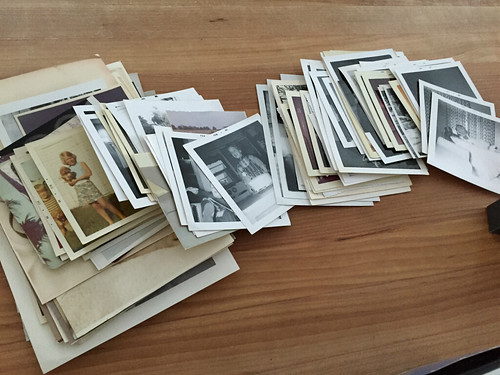
And when it comes to paper clutter, photos are usually part of the problem (sometimes most of the problem).
We tend to be overly sentimental about photos… and want to keep EVERY SINGLE ONE OF THEM.
We want to display them… but we don’t know which ones to display and we don’t have a good system for rotating new photos in.
We want to digitize, backup, and preserve them… but that task just seems way too overwhelming.
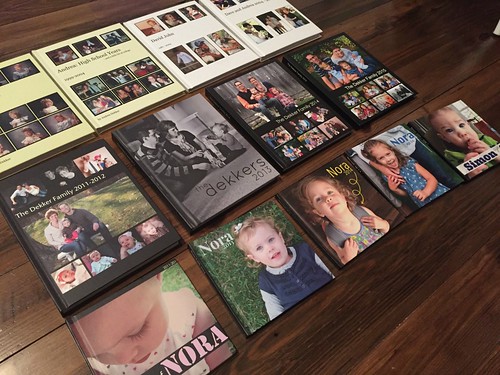
We want to get them organized into books so we can actually enjoy them… but wow, where on earth should we start?
.
Since I often talk about our digital photo books and how I have chosen to organize our photos, it’s not a huge surprise that I get A LOT of questions and emails regarding photo storage and organization.
On average, I get at least 2 or 3 emails a week from women who are completely overwhelmed with the idea of digitizing ALL their photos for the last 30, 40, 50, 60, or even 70 years.
They want to do it all, do it all perfectly, and do it all ASAP… but they have no idea where to start, so they do nothing.
Yup, that DOES sound overwhelming to me!
To be perfectly honest, when Dave and I set out to digitize all our childhood pictures (roughly 18-20 years of pictures for both of us) it seemed very VERY overwhelming to me too.
I knew we needed some sort of system to make the process go faster… but I didn’t really know what that process would look like or what would be the most efficient.
We honestly weren’t exactly sure where to start… but we started, and we kept at it until we finished.
I am confident that the way we digitized and organized our photos 10 years ago is NOT the best way for everyone else to digitize and organize photos today, but since I’m always asked what WE did, I thought I’d share that first…
How WE Digitized and Organized Our Photos:
PURGE:
Dave and I each took our stack of childhood pictures and went through them one-by-one. We pulled out doubles, triples, blurry photos, washed out photos, most photos of scenery, and any photos we just didn’t like or want or know who was in them.
We probably each got rid of at least 30% of our photos by doing this (and yes, we actually threw them in the trash).
SORT:
Then we quickly put them in chronological order as best as we could (we did NOT take tons of time to do this or worry about getting it perfectly right).
DIGITIZE:
Next, we started the process of scanning the photos into our computer. We literally just labeled the pictures 001, 002, 003, etc. so they stayed in chronological order.
This was a relatively slow process because it was 10 years ago and we didn’t have a very nice scanner. I’m sure it would go MUCH faster with something nicer and newer.
ORGANIZE:
Once the photos were scanned in, I grouped them into a few main categories on our computer:
- baby photos
- elementary school
- middle school
- high school and beyond
I made files for Dave’s pictures and files for my pictures and simply stored them there.
PRINT:
Once all our photos were scanned in and filed, then I made one digital book for Dave and two digital books for me (I had more photos than he did).
PURGE AGAIN
My parents requested that I give my baby pictures back to them (and Dave and I each saved a handful of our most favorite shots) but other than that, we threw out the actual photos.
I realize not everyone would have done that — but in my opinion, the reason we digitized our photos was to reduce the amount of stuff we had to store.
And it felt SO good to pitch all those pictures!
.
My Advice For Anyone Who Doesn’t Know Where To Start:
If you’d like to finally start getting your photos digitized and better organized — either just as a safety precaution in case your photos are destroyed or to someday create digital photo albums — here is what I would suggest.
Start with THIS YEAR’S photos… and don’t worry about anything else.
I don’t care if you have 20, 30, 40, 50, 60, or more years worth of photos to digitize, you won’t accomplish anything unless you get started, and in my opinion, the most logical place to start is the current year.
You can’t change the fact that your past photos are not organized, but you CAN start getting more organized with this year’s photos. PLUS, by starting now, all the memories will be fresh in your mind so it will be easier and faster to organize them.
Once you get started, you’ll probably notice that you get into a routine or develop a pattern or a system that works well for you. You’ll figure out how you want to divvy up the photos (by year, by month, by event, by person, etc.) and where you want to store them (your computer, a portable hard drive, on Flickr, etc.)
These routines, patterns, and systems will help you work faster and be more efficient… so when you do decide to go back to previous years’ photos, you’ll already know what to do and it won’t seem nearly as overwhelming.
If you feel like you have your current year’s photos under control, then go back to last year’s photos and start organizing those (all while making sure you stay current with your current year’s photos).
Then go back one more year, and one more year, and one more year. It will take a while, but if you continue to make steady progress, you will finish eventually!
.
A Few More Thoughts:
Just because a lot of people digitize their photos, doesn’t mean YOU should. If it’s something you really want to do, then I think you should try my tips in this post. However, if you really don’t care, I don’t think it’s worth stressing or worrying about. My digital photos books are my ONE and ONLY “hobby” right now. I enjoy making them, I have a really great system so it hardly takes me any time, and my kids love looking at them. If you have other hobbies, don’t feel bad that you don’t have your photos organized.
Photos are not as “precious” as they once were. We take hundreds and thousands of pictures every year… unlike my grandparents who only took a handful of pictures over their entire lifetime. They saved EVERY picture because they could. Please do NOT feel bad purging some (or many) of the pictures you have. You should only keep the pictures you love… believe me, it’s very freeing to toss the ones you don’t love!
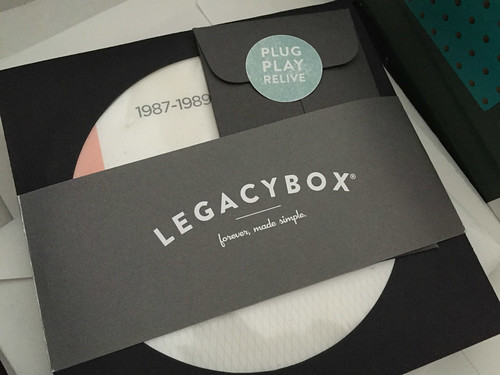
Remember you can always pay someone else to digitize your photos for you. It’s not cheap, but companies like LegacyBox will do it for you in a matter of weeks and simply send you a USB drive with all your photos on it. We did this for both our parents’ old photos and it was a really slick system. I would highly recommend it if you don’t want to do it yourself.
.
More Photo Organizing Resources:
If you’re looking for more information about how we organize our photos, what program we use to print our digital books, or any other photo-related question, you can browse through every post I’ve ever written about photos organization here.
.
I know my advice to simply “start now” and “start with the current year” might not be the most ingenious advice you’ve ever heard — but I feel very confident it will work.
Push all your overwhelming thoughts and feelings about the photos from past years out of your brain and simply focus on this year’s photos — you might be surprised how quick and easy it is once you actually get going… and once you get going, it might just be hard for you to stop!

Brittany says
I’m starting the process of doing this now. Just curious , how many photos do you have on each page ( and the size of them?). Are you using larger digital photo albums? I’ve used 8.5×11 and feel they are too small.
Andrea says
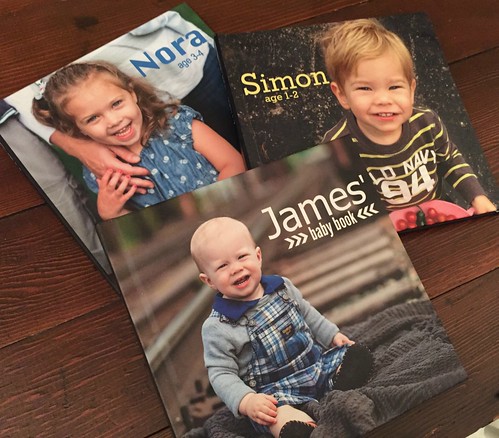
I don’t have a ‘set’ system for how many photos per page. Sometimes just one big picture, sometimes 6 or 9 smaller pictures. Also, I do the 8.5 x 11 and feel it’s a good size for our family albums. I use the 7×7 for the kids album and that seems to work well for us too!
Linda says
Organizing our digital photos and making photo books has been on my to do list for several years. I love your idea of making a year book, which is what I’m going to do for my husband and I. We travel extensively (2 month long trips a year) and I have A LOT of photos from each trip. I just haven’t had a chunk of time to work on them. Last week I found out I need to have open heart surgery next week for a congenital heart defect I never knew I had. Suddenly I’ve been presented with the chunk of time I’ve been waiting for as my recuperation period is going to be 2-3 months. Since I need to remain fairly inactive for the first month, I’m going to FINALLY get those photo books done! I was hoping for a less traumatic way to have a chunk of time, but this will have to do and I’m actually happy to have a perfect project to focus on during my recovery.
Andrea says
oh wow!
well, I hope your heart surgery goes well and that you enjoy going through all your photos during your recuperation period!
Amy says
I’m curious if you use the Photos program in your Mac now or if you are still using iPhoto? I haven’t switched things over yet mostly because I haven’t looked into it. What are your thoughts?
Andrea says
yes, my computer kind of switched me over without me even realizing it a couple years ago already. I still have photos through 2015 in iPhotos… but I’ve started to love Photos too. Very similar once you get used to it.
Pixie508 says
My husband and I have digitized our photos going back to when we first got digital cameras (sometime around 2005 based on my files, lol). And we’ve got a great organizational system that’s working well for us there. And like you, we do an annual “yearbook” for each of our kids, which I love! We have a photo wall in our stairwell, and that represents about 98% of the photos we actually have printed at this point. And if I pull something out, unless it’s an old original, I throw it out, because I have the digital original.
It’s old photos where the struggle comes in! We’ve (my mom and I) set out to scan all of my grandmother’s pictures. Basically, my mom has 5 siblings, and there are 13 cousins, and we’re all having kids, and… well, you get the point. Everyone can’t have the original pic of Grandma and Grandpa’s wedding, but with scanning them, we can all have the old family photos! So, we’re doing them by album – we labeled them by what they looked like. Some of them, we were able to further sort into sub folders “family vacay 1975” or “so and so’s wedding” or “Easter 1986” – you get the point. Then we got flash drives for everyone and loaded them up. When we’re ready for the next batch, we’ll get them back, and reload with more. My MIL’s brother did the same thing for their family. Eventually, I’ll embark on my parent’s photos… but I’m not ready for that project yet.
Andrea says
This is SUCH a great idea — thanks for sharing!
Dave’s aunt did something similar with his Dad’s old family photos — so now everyone has the photos digitally.
Julia says
I love how practical your tips always are! I have been making photo books on Shutterfly each year for the past few years and love it. I recently made one for 2008-2009 when my husband and I first met and were dating, and plan to work on 2010-2012 next (I started my books with 2013). Then I think I’ll tackle our childhood and pre-“us” photos and make books with them. I truly do love the process even though it can be overwhelming. It was your digital books that gave me the idea to make mine! I’m not very good at scrapbooking, but these books are easy to make. Thank you for your tips and encouragement!
Andrea says
it can seem overwhelming (especially when you’re trying to play “catchup” on past photos) but it sure does feel great when it’s finished! Glad you are liking the Shutterfly books!
Kristin says
Love your tip, just starting with this years photos is a great way to focus. I had all intention of going back each year when changed from scrapbooking to digital family albums back in 2012, but I only every managered to go back 1 year. But since I started my new system in /
2012, I have 6 great photo albums and my photos under control!
Andrea says
yay! that’s great to hear. I feel like getting your “system” figured out is half the mental battle. you can always go back (sometime when you have more time) to do previous years. OR, you can just let them be “undone”!