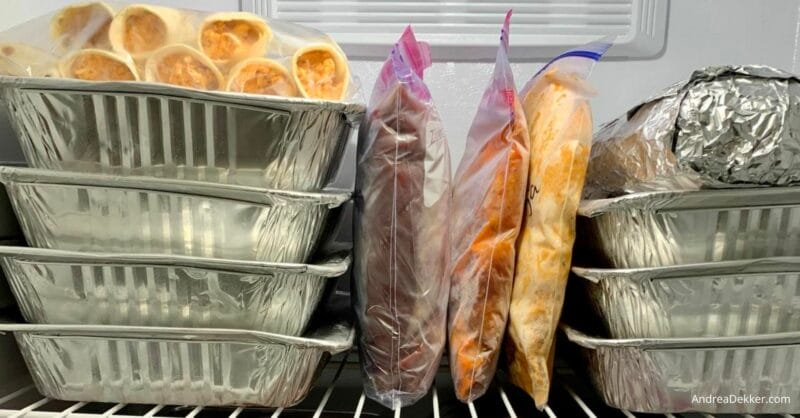
Freezer cooking allows me to save money by stocking up when ingredients are on sale, save time by making double and triple batches of our favorite recipes, and save energy on busy days when I don’t have time to prepare a full meal (I can just grab something from the freezer!)
However, freezer cooking can take up a lot of space and it can require a whole bunch of extra baking pans… which can get pricy (and cluttery).
If lack of space or extra pans has made you hesitant to try freezer cooking, I’ve got 3 simple, frugal, space-saving freezer cooking solutions that you can likely implement immediately to start saving space in your freezer today!
1. Aluminum Foil:
This is my preferred space-saving method for freezing almost any type of casserole, pasta dish, or other meal that will eventually be baked in a pan in the oven.
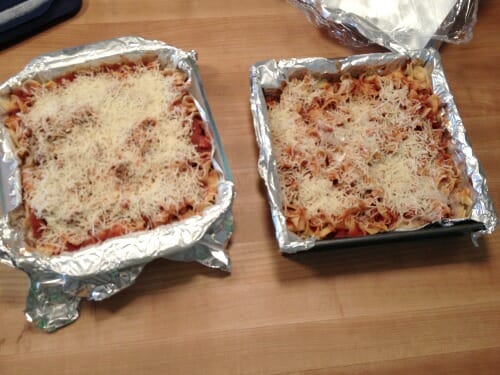
I simply choose the pan I will eventually bake the food in, line it with aluminum foil (make sure the foil hangs over the edges) and assemble the dish. Then I put the dish in the freezer for a couple of hours.
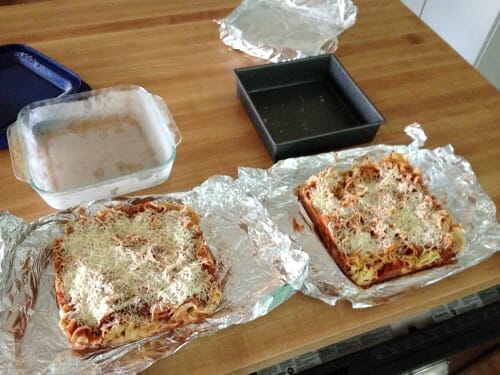
After the meal is completely frozen, I pull the food out of the pan using the aluminum foil hanging over the edges. (My pans are now empty and can be washed and put away — yay!)
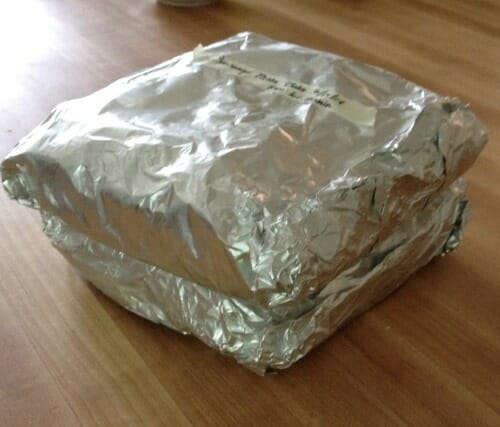
I wrap the “block” of frozen food back up into the aluminum foil and then again with plastic wrap.
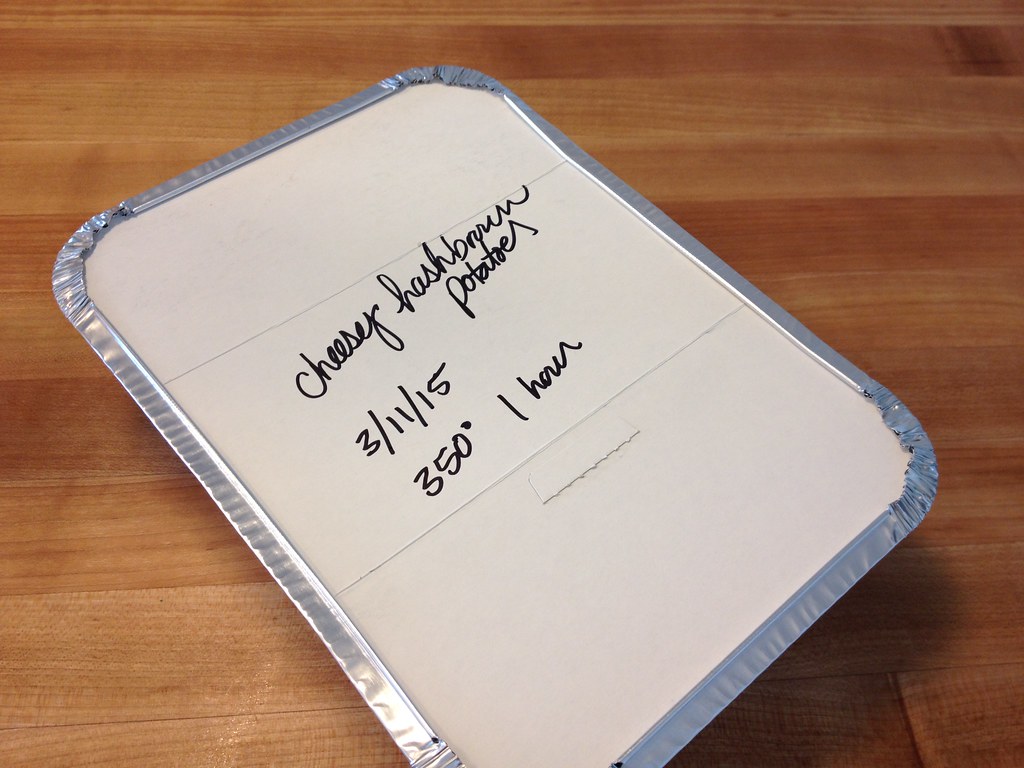
I label the frozen packet with the contents, cooking instructions, the pan I used, and the date. Then I just stack these bundles in the freezer — no pans or wasted space!
When it’s time to bake the food, I simply pop the frozen block of food back into the pan I assembled it in and let it defrost in the refrigerator or on the counter.
Then bake as directed.
2. Zip-Top Bags:
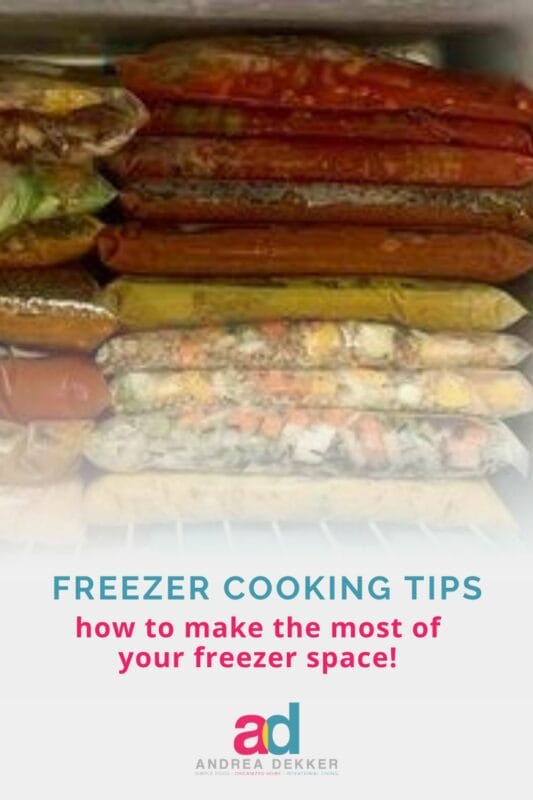
Another one of my favorite space-saving tips is to freeze food in zip-top storage bags. I use this method to freeze so many different types of foods.
I almost always freeze individual burritos and enchiladas in bags as I can simply pull the number of wraps I want out of the bags, add any additional sauce, cheese, or other ingredients, and bake.


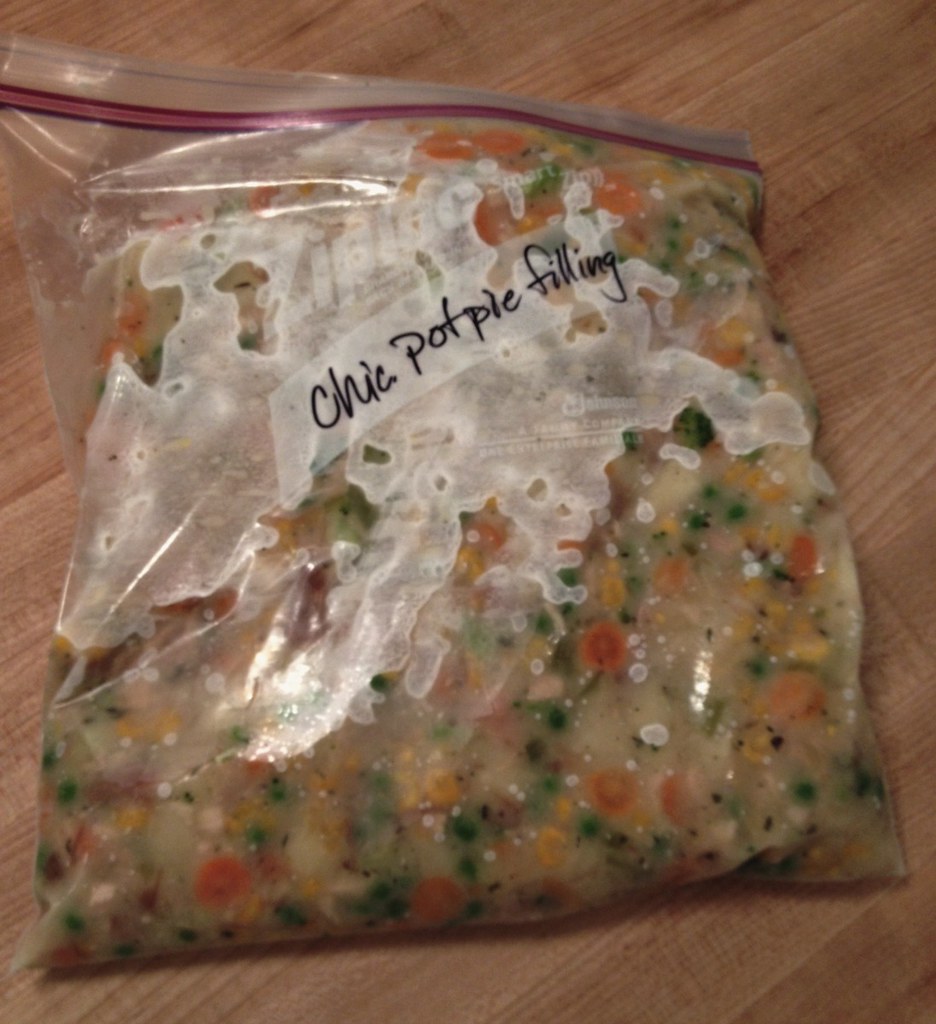
I also freeze soups, stews, slow cooker meals, and even my chicken pot pie filling in zip-top bags (just be sure to defrost them in a bowl or pan because they can sometimes leak.)
Baked goods like cookies, bars, breads, cupcakes and even cakes freeze well in bags too — and they take much less space than freezing them all in individual storage containers. You’ll just want to make sure you let them freeze fully before stacking them so they don’t get smashed or stick together.
Pancakes and waffles also freeze well in zip-top bags and make great quick and easy breakfasts throughout the week.
Another favorite thing to freeze in zip-top bags is individual portions of baked casseroles, lasagna, etc. I’ll cut the already-baked food into squares, put it in the freezer until it’s firm enough to handle, then stick individual servings into sandwich-size zip-top bags. This is perfect for lunches later in the week (or month).

3. Disposable Pans:
Freezing foods in disposable pans isn’t the most space-saving method but they are slightly smaller (and lighter) than traditional pans. Plus, they are a lot less expensive!
The main reason I use disposable pans is because they are the BEST way to give food gifts to others. Just pull the pan out of the freezer and drop it off. They can either put it back in their freezer for later or let it defrost and eat it that night. The recipient doesn’t need to worry about returning my pans, and they don’t need to wash dishes when the meal is over!

I also use disposable pans for big gatherings (if I don’t want to be stuck washing dishes while everyone else is hanging out) and to take food along on vacation (if we’re driving and if we’ll have access to an oven).
I’ve used all three of these super simple methods for years — saving me lots and lots of freezer space and allowing me to use all my favorite baking dishes any time I want.
I haven’t had any issues with freezer-burned food over the years, so it’s something to try if you want to do more freezer cooking but have limited space.
Do you use any of these freezer cooking methods?
Do you have any other space-saving methods to add to my list?
RELATED READING:
- 50 freezable foods that will save you time and money
- 10 of our family’s favorite freezer foods
- How we defrost our deep freezer
- Freezer cooking FAQs

Cathy says
When I’m prepping for RV trips, I buy chicken breasts and take them out of the foam packaging and put into freezer bags as I’ll be using them: 2 to a bag for a meal, cut in strips for fajitas, etc., and stack them flat in the freezer. I’ll also freeze soups and chilis in silicone souper cubes. I freeze and then pop frozen cubes in labeled ziplocs.
Andrea says
love these ideas — thanks for sharing, Cathy!
Moira says
When freezing liquid stuff (e.g., soup), how much room do you leave for the liquid to expand as it freezes? I always have trouble with liquid oozing out of the zip-top bag!
Andrea says
I guess it depends on the size bag or container you’re using — but I’d leave roughly 1/8th of the container “empty” for freezer expansion.
Heather @ My Overflowing Cup says
I have had great success using all of these methods. I can’t think of a thing to add except that I have found that sometimes my casseroles (especially pasta) tend to stick to foil. I will sometimes spray or brush oil on the foil before to prevent sticking. Does that ever happen to you?
Aa. says
Genius!!!! Great ideas!
Julie G. says
I have used the aluminum foil method for a while and really love it! I put my foil-covered “bricks” in gallon ziplock bags and write any instructions on the outside. I end up using the bags over and over, and everything stacks really nicely in the freezer. I do not, however, remove the foil before baking. I just put the “brick” back in the pan with the foil on, let it defrost, and then bake. It makes cleanup much easier!
Andrea says
Good idea Julie. The one issue I’ve had with keeping the aluminum foil on while baking is that it makes cutting and serving the food more of a pain because the foil gets in with the food. Have you had this problem? Or do you use super heavy-duty foil?
Heart and Haven says
I also commonly use freezer bags for homemade soups, broths, spaghetti sauce, freezer crockpot meals, burritos, etc. and it’s worked great! I like how everything lays flat for storage when frozen this way.
I like the suggestion of using the disposable pans when giving food as gifts, or would also work well for potlucks, or dinner with extended family & friends etc. so I won’t have to worry about getting my pan back.
The other suggestion I do is freeze meal “staples” in individual/family size portions. For instance, I usually do once a month shopping in bulk for most of our food. If I buy a 5 lb. package of ground beef, I’ll separate it into 1 lb. sizes in quart sized freezer bags (since most recipes call for 1 lb. of beef for our family size), or when I buy larger packages of chicken breasts/thighs I store them 2 chicken breasts per quart size freezer bag. This method works well to save money on buying in bulk when I don’t always have the time/energy to cook in bulk.
Andrea says
Yes yes yes… I actually did an entire post about freezing those “staple” meal ingredients (you can read it here). I’ve also mention in previous blog posts that freezing those staple ingredients is one of the main reasons I’m able to quickly get food on the table each night. Usually I can pull at least part of my meal from the freezer for faster cooking!!
Amy says
Do you ever have trouble removing the foil from your frozen food when you line your baking pans? Do you use cooking spray before adding the food? I will often get little foil pieces stuck to the food when trying to remove the foil, especially in the corners. I think I need to use more foil so it really hangs over the edges as seen in your pictures.
Andrea says
Hi Amy, I have had trouble once or twice with certain foods. Sometimes I put wax paper in the pan instead of tinfoil if it’s especially sticky/cheesy foods. And yes, I do think using more foil (so it extends far over the edges) has been helpful for me!
MrsD says
Andrea, you are so stinkin’ smart! I love this! 🙂
Ann says
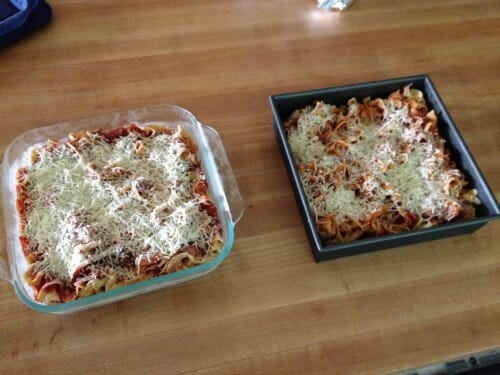
If you (like I) have several similar but not exactly the same size pans, it might be helpful to also label frozen foil-wrapped dishes with which pan to use when baking. For example, my glass square baking dish is slightly larger than my metal one. If I made something in the glass one and tried to bake it in the metal one, I could have problems. Just note this on the tape where you label what it is and what the instructions are. 🙂
Andrea says
yes good point. I don’t have too many pans, so it’s pretty easy for me to instantly tell which pan to put the food back into — but this is a great idea. thanks!