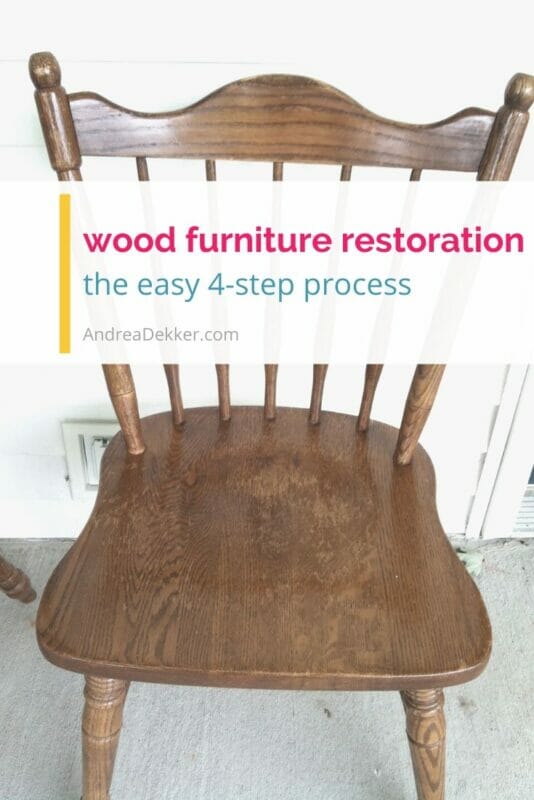
Learn how easy wood furniture restoration can be with this 4-step process. Bring life back to your favorite wood furniture — no elbow grease required!
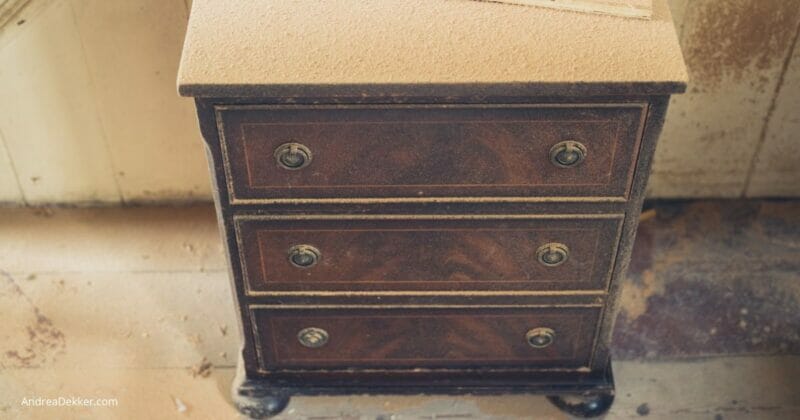
Over the last 14 years, I’ve learned a lot about painting — specifically painting and distressing furniture to give it a new look.
Before we moved to our farmhouse (in 2010) I had a full “paint studio” in our unfinished basement. I spent time almost every day painting, distressing, and selling thrift store furniture on Craigslist (this was way before Marketplace).
It was a fun side hobby for me, and I actually made a pretty good part-time income from it.
I still enjoy finding thrift-store furniture and painting and revitalizing it to fit my farmhouse style… but I no longer sell it.
I’ve thought about getting back into the furniture business someday — maybe turning our outbuilding into a paint studio and showroom — but I have plenty on my plate for now, so that pipe dream will have to wait a bit longer!
In the meantime, I have painted DOZENS of pieces of furniture for our own home, and I LOVE having unique pieces that no one can replicate or buy anywhere else.
In fact, I think I’ve painted or restored almost every piece of furniture in our home!
Painting versus restoring wood furniture
When it comes to furniture, it’s much easier to simply cover over imperfections and problems with paint.
However, there are times when I really like the look of stained wood versus painted wood BUT I don’t want to sand it all down and restain it (seriously, this is a HUGE process.)
Instead, I have a super simple 4-step process for wood furniture restoration that only takes a few minutes and almost no elbow grease!
Easy 4-Step Wood Furniture Restoration
Materials
- vinegar
- olive oil
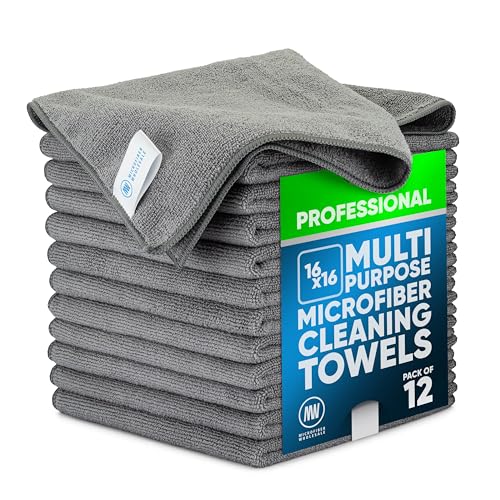
- microfiber cloths
Instructions
1. Wipe down furniture with a damp microfiber cloth to remove, dust, dirt, and debris.
2. Mix 3 parts olive oil and 1 part vinegar in a small bowl (Example: 3 T. oil = 1 T. vinegar).
3. Dip a soft clean rag in the oil/vinegar solution and wipe over the furniture, gently rubbing it in.
4. Let "dry" (about 30 minutes) before you use the furniture or sit on it.
Notes
You won't need to wipe it off unless you have globs of oil in certain areas.
This is only for real wood furniture -- it won't work nearly as well (if at all) on laminate wood or pressed board.
You can use cider or white vinegar and any type of cooking oil you have on hand.
A little goes a long way. I did 2 chairs and a small dresser with only 3T + 1T and still have a little left over.
Recommended Products
As an Amazon Associate and member of other affiliate programs, I earn from qualifying purchases.
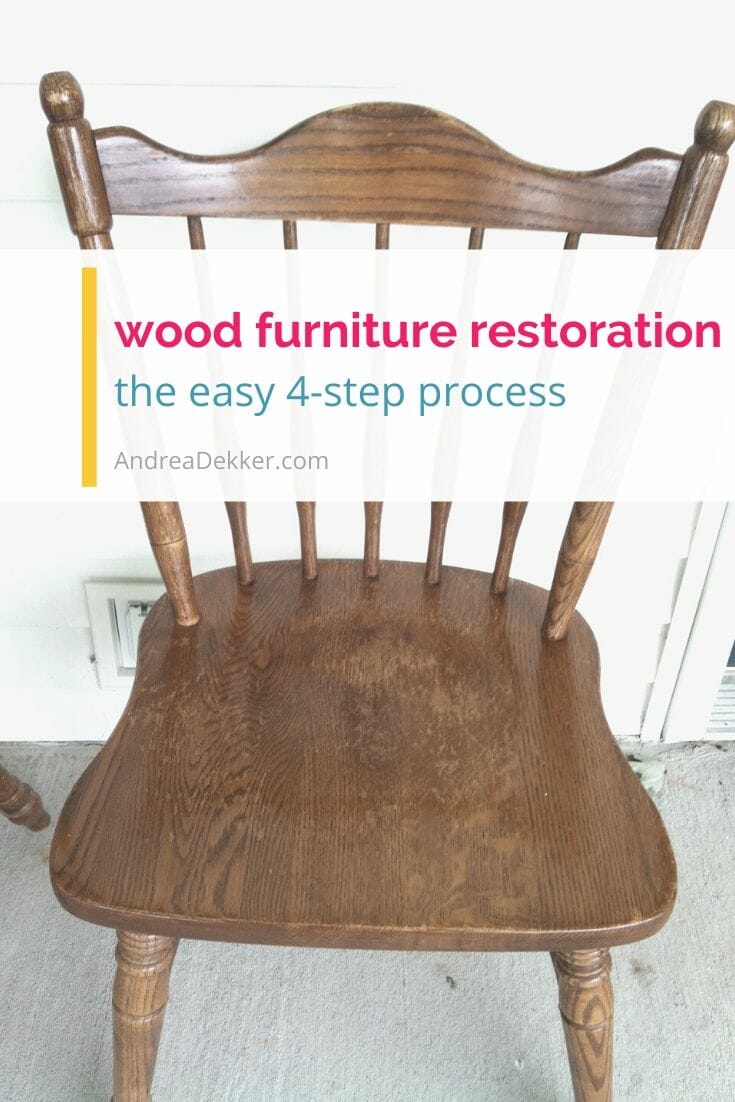
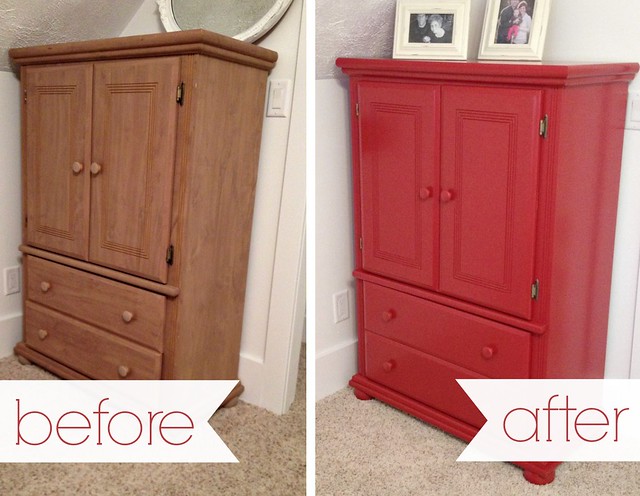
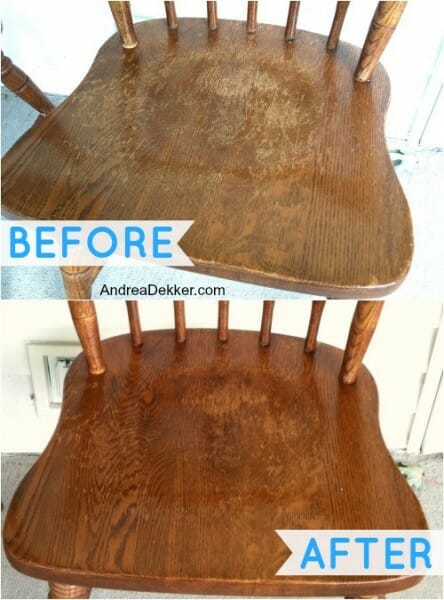
As you can see by the before and after images, this simple process DOES make a big difference.
In just about 30 minutes, the furniture looks a little newer, a little brighter, and a little less worn.
When you consider the cost (a few pennies) and the time involved (less than 5 minutes of hands-on time for the chair above) I’d say it’s totally worth it!
NOTE: if you’re looking for a more in-depth tutorial on how to strip wood furniture (a much more time-intensive process) you might find what you’re looking for in these YouTube videos.
A few more of my wood furniture restoration projects:
- How I turned an old TV cabinet into the cutest play kitchen ever
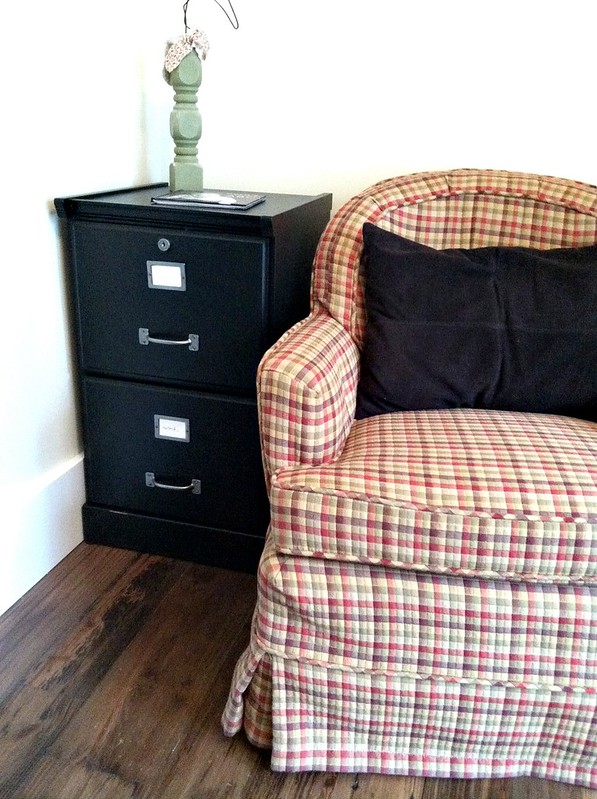
- Our wooden filing cabinet makeover
- My grandma’s highchair restoration project
- How I made the large wooden wall hanging above our couch
- My grandma’s sewing cabinet makeover
- A cute wooden desk I painted at our old house
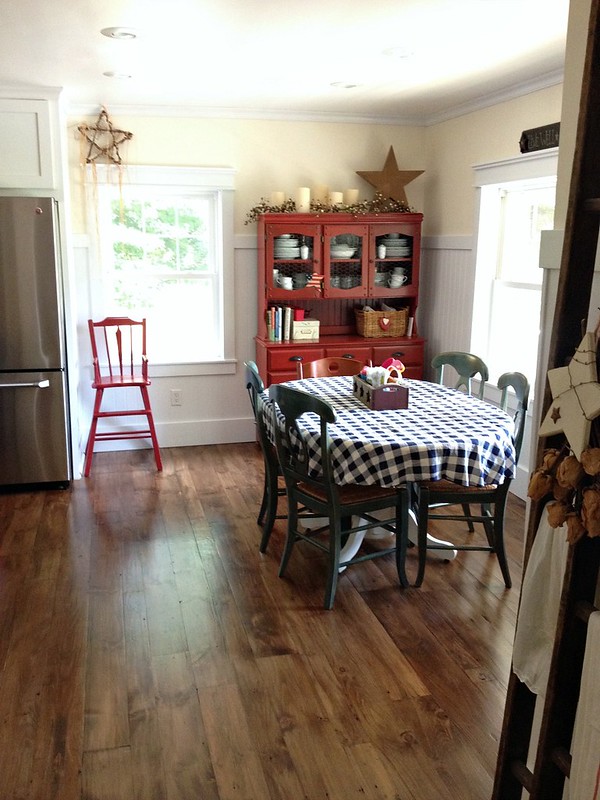
- Our reclaimed barnwood floors
More Painting Resources:
- My favorite farmhouse paint colors
- How to quickly give furniture a distressed look
- How to extend the life of your paintbrushes
Painting and restoring wood furniture is SUCH a great creative outlet and a fantastic way to decorate your home with unique finds that are MUCH less expensive than new pieces!









paulscreationid says
There is a lot of great information in this furniture restoration guide, and it is very easy to follow. A step-by-step process makes it ideal for beginners looking to revitalize old pieces quickly. These tips are great!
Corinne Hilbert says
Hi Andrea, I have a very old smokers station made out of worm wood. Lots of carving. Top, front and sides are beautiful. Inside lined with copper, very distressed and marked from the cigars. I think it’s walnut.?!? The bottom has a large spot, round, whereby someone must have burned it . Do you think your combination will work on it? Wish I could get that burned circle out of it, but for now I hide it with a basket.
Thank you, Corinne
Andrea says
HI Corinne — Wow, that sounds like a cool piece! I’d love to see it 🙂
I’m honestly not sure this wood restoration would work on a large burn spot — I think that would require sanding and restaining (depending on how deep the burn went into the wood).
That said, this method is extremely quick, easy, and essentially free so you could always give it a try and see what it does! Maybe even do a few coats over a week or something and see if it works.
Gayle says
I love everything you did! I have a dresser that has water marks in the drawers and on the back, which appear to be on thin cheap wood. Will this help? Or should I paint them?
Andrea says
Thanks Gayle! I’m not sure it will totally remove the water marks, but it’s worth a try. If it doesn’t work, you can always paint over it!
Paula says
After completing the above process have you restrained the furniture? Is the process above just to clean it up and freshen up the look?
Andrea says
HI Paula,
No, I have not restained the furniture — I just use this process to “revive” it.
Michelle says
Have you tried a product called restor-a-finish? We bought a bottle for $11 from Home Depot and brought our kitchen cabinets back to life after 20 years. They are so pretty and we saved $6000 by not having to paint them.
We wiped the cabinets with mineral spirits and then wiped with restor-a-finish. No more chipped finish and no more orangey finish. They look new again
Andrea says
Wow — this sounds amazing! I have never tried anything like this, but now I want to restore something so I can try it 🙂
Thanks for sharing!
Melissa says
Hi…I intentionally bought missed matched wood chairs for my kitchen. I used your formula…and it worked! Wish I could post a picture. How often would you recommend doing this?
Thank you!
Andrea says
sounds cute — just like my style!
Glad this tip worked for you — I’d say you only need to repeat as you feel necessary. So maybe never again if you like the worn look. Or maybe every 6-8 months. Just your own personal preferences.
Hannah says
Hi Andrea,
I have a lazy susan and a paper towel holder that my now deceased father made years ago. I have held on to them for sentimental reasons despite the fact that they do not match anything in my kitchen (they are both plain brown wood and most of the decor items in my kitchen are black). Do you have any suggestions for how to “make them over” to be black? I know I could do a google search on this, but you’re the first person I thought of when I realized I could MAKE these items match my kitchen… and that I simply don’t know how. I would appreciate any tips and tricks you may have! I did search your page, but came across this post over and over no matter how I worded my search. 🙂
Thanks!
Hannah
Andrea says
Hi Hannah,
I’d say just paint the pieces black to match your other kitchen items. I paint things black ALL the time (it’s my favorite color for wood furniture).
No special tips — just paint one or 2 coats of black and feel free to sand off the edges a bit if you want a more rustic look!
Melissa says
Do you sand the wood before you paint it?
Andrea says
normally no. If I’m just going to paint something, I usually clean it well and then paint right over top. There are situations when I want to sand off some of the distressed areas — then I will sand before painting, but otherwise I don’t sand.
kim murphy says
Sounds like a plan to win the planner…
Lana says
I tried this over the weekend, it worked great! Thanks for the tip!
Dorothy says
I just moved an old buffet into my kitchen and it was looking dry. I tried this an it looks so much better. Then while I was at it, I wiped down my cabinets.
Andrea says
Thanks for sharing Dorothy. So glad this method worked for you too!
Sonia says
This worked really well for me! It also did work relatively well as a cleaning agent (I think it must have been the vinegar in the solution). It picked up quite a lot of dust and dirt in addition to polishing my furniture and shelves. Thanks so much for this!
Andrea says
Yay for shiny clean furniture! Thanks for sharing Sonia 🙂
Evie says
Andrea, thanks for this! In the past, I’ve rubbed my old (ancient) oak furniture with olive oil when it’s looked dried out, but it was only ever really good for a week or two, and even on the first day some parts of the old wood would look dry again. Yesterday after reading your tip I added vinegar to the mix, and I’m excited! Right away I could see that the oil was sinking into the wood better! I guess the vinegar breaks down the surface film that would block absorption. I’ve got my little kit of oil/vinegar/old tee shirt ready to go for today again. This tip is just what I needed! Thanks again!
Evie says
Sorry to reply to myself , but I meant to also say that I’m going to sand the tops of my furniture with a very fine sand paper (or maybe fine steel wool??) and then add a second coat of the oil/vinegar mixture. 🙂
Sue says
You must have great thrift stores by you.. that cabinet would be at least 50.00-75.00 where I live.. LOL
Sue in NJ
Vickie says
We had a cabinet like this and my husband burned it because he said no one would ever want it. I’m going to show him this! Great idea.
Deborah says
Might be a thought to use chaulkboard paint (fridge) or perhaps inside a frame with her name on it. A great project for years to come!
Katie says
Thank you for the tip!!! Can anyone give me a tip for cleaning the wood, with a homemade cleaner before making it shine?
Lisa Schulte says
Plain olive oil by itself works great too!
Tricia @ Our Provident Home says
I used this method on my banister/railing and it was amazing! The wood had a lot of water damage. I think the previous owners dried clothes over it. I used a 1 to 1 ratio of olive oil and white vinegar and now it looks like new. The husband came home from work and asked if I had refinished the wood. Nope. It still has a bit of a rough texture, but the wood looks beautiful even months later. I use the solution everywhere now and a little does go a long way.
I love the kitchen idea! Oh, if I only had little girls instead of boys. (Okay, not “instead”…) Can’t wait to see how it turns out.
Nellie says
Little boys also love to cook.
Luba says
Thank you, Andrea! This suggestion will come in very handy soon. 🙂
five4FiveMeals says
I don’t know about furniture, but mayonnaise gets scuffs out of our 60 year old hardwood floors. I can’t stand the way the stuff smells, but man it works.
Lisa P. says
Mayonnaise is pretty much oil and vinegar (+egg and spices, etc.). I bet Andrea’s way smells a lot better! 😉
Charlene Uchtman says
When a piece of furniture need redoing, or just needs a really good dusting, I just go over it with a stain and sealer combination, wipe off, and make sure it’s not sticky before using it again. I do my old varnished wood work this way too. You can use a natural but a similar color will cover scratches, or you can even go darker. I’ve done this for many years without adverse effects. It’s a great freshener.
Kimberley says
OMGosh…that kitchen is adorable!!! I can’t wait to see what yours looks like!!!
Organize 365 says
This is a great tip. I am going to try it on my bathroom cabinets.
It would also be great when I finish professionally organizing a client’s kitchen. I wash out each drawer and shelf as I go along, but would love to be able to give older wood cabinets as quick wipe down at the end of a job as well.
🙂
Lisa