Last month, I shared an updated version of 3 myths from popular TV organizing shows. I originally published that post back in 2017, but I felt it was helpful to share again since I get SO many questions about the 3 myths I mentioned in that post (I’ll summarize below).
1. Getting organized does NOT require huge amounts of time, energy, or money (you don’t need to hire a professional).
2. Getting organized does NOT require matching bins and fancy labels.
3. Getting organized is NOT a once-and-done sort of deal. It requires daily maintenance.
Read the rest of that article here if you’re interested.
For the record, I still stand by those 3 myths 100%!
As I mentioned in that post, you certainly CAN set aside huge amounts of time and money for your projects, you CAN hire professionals if you want, you CAN use cute bins and matching labels if you want, etc. etc.
But it is NOT necessary to achieve an organized home, nor is it how I personally organize my own home.
.
I like to think I’m fairly practical, frugal, and efficient in all aspects of life — especially when it comes to keeping my home neat and organized. I will rarely ever spend extra time, energy, or money to make a space “cute”. I don’t label anything (except my freezer foods!) I use shoe boxes, milk crates, mis-matched fabric bins and baskets from thrift stores, and any other random container we already have in our home to keep like items together.
Our home looks nice enough, it functions well enough, and it’s organized enough for us to find what we need, when we need it. That’s what’s most important to me.
Of course, I don’t mind if other’s use cute bins or labels, it’s just never been a priority for me — nor have I had a need for labels and/or matching containers.
Until recently!!
How My Pantry Storage Needs Changed Over the past 18 months:
About 18 months ago, I put more of a priority on eating nutritious foods (including TONS more produce) and making more foods from-scratch. I ended up losing all my baby weight (and more) and truly took a whole new outlook on the food I feed myself and my family.
About 9 months ago, I implemented a self-imposed eat-from-the-pantry (and freezer) challenge and essentially used up all the “excess” food in our freezer and pantry over a 5 month period.
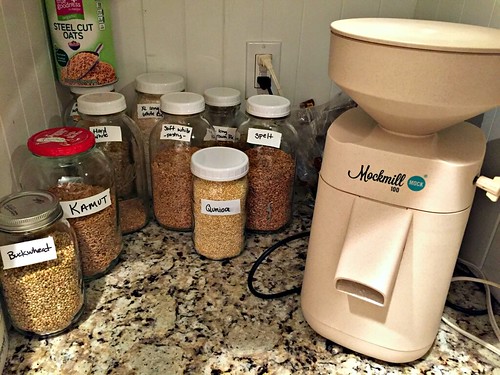
Roughly 7 months ago, I embarked on a completely new food journey — grinding all my own grains and making almost all my own bread products with my stone-ground flour.
After we ate through our pantry stock-pile, and after I started milling my own grain, I realized it was now MUCH MORE economical to buy the vast majority of my pantry staples in bulk (something I hadn’t really done before).
Just after I started milling my own grain and buying in bulk, I received a HUGE surprise Christmas gift — the matching spice jars with cute chalkboard labels I had on my Amazon wish list for several years!
.
Since we now purchase hundreds of dollars worth of bulk grains, rice, beans, spices, lentils, dried fruits, nuts, and more every 6 months or so (from Country Life Natural Foods), and we obviously don’t have the space to store ALL this extra bulk food in our kitchen cabinets, I NEEDED A NEW PANTRY STORAGE SYSTEM… and I needed it SOON!
After a few weeks of CONSTANTLY running down to the basement to get various bulk foods, I quickly realized I needed to come up with a way to store SOME of the bulk items in the kitchen for easy access throughout the day.
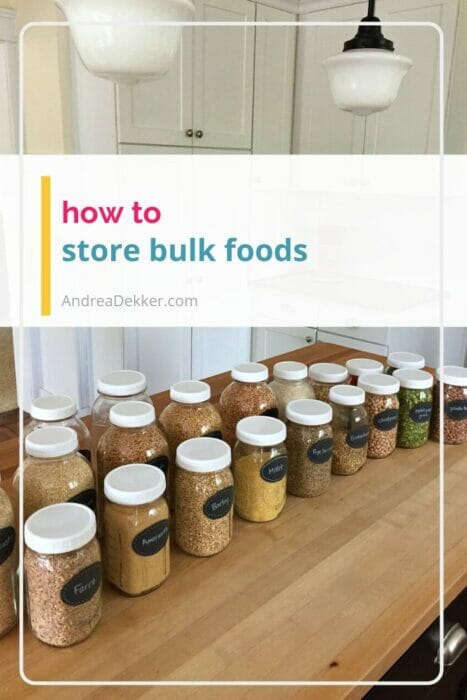
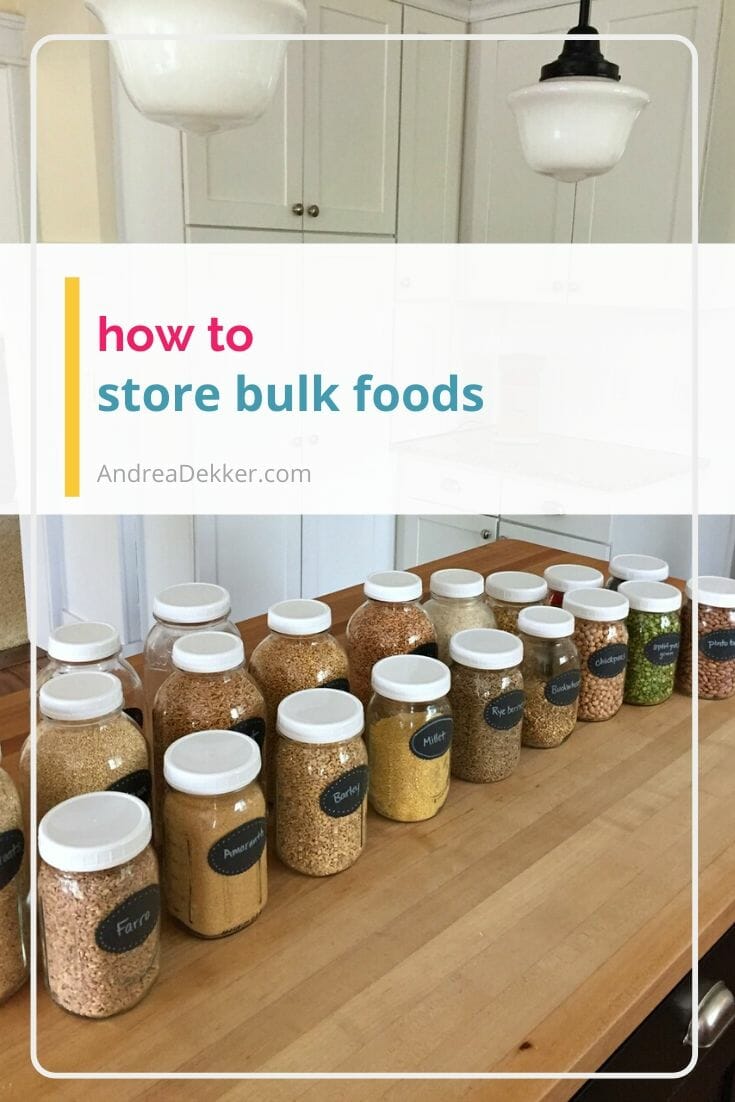
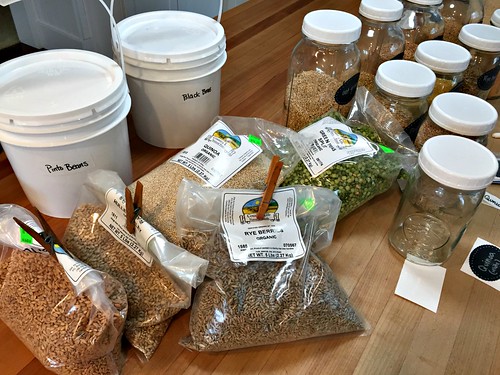
I didn’t want to invest any money into my new pantry storage… so I turned to the huge stash of Mason Jars I had in the basement, along with the reusable white plastic lids I also already had in the house.
This system worked FABULOUSLY well for me — but since all my grains looked so similar, I needed a system for labeling them too.
Thankfully, I had a new roll of post-it tape and a sharpie ready for the task.
And just like that, I had a fully-functional organizational system for our new pantry needs — using ONLY items I already had in the house!
However, the post-it tape eventually became less sticky and the started falling off… which is when I remembered the stash of chalkboard labels I was gifted years ago.
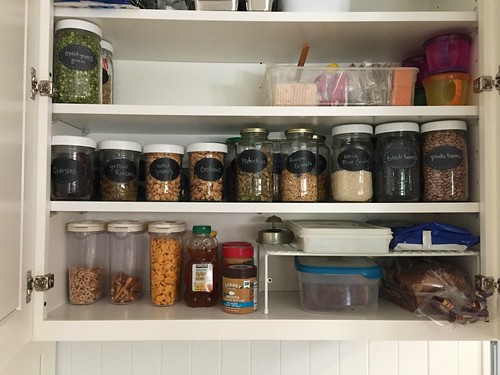
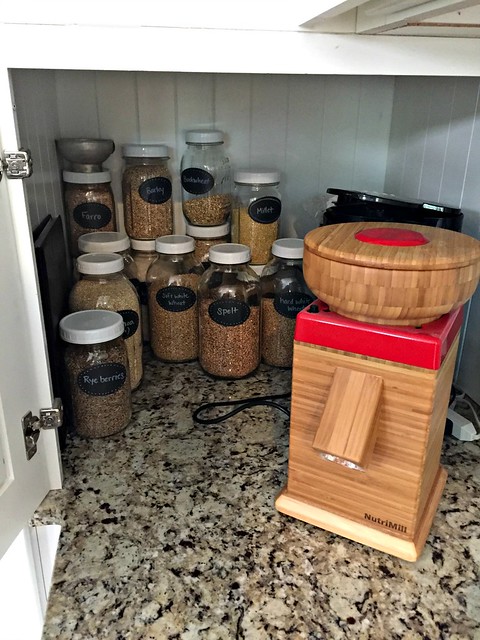
I dug the labels out of our craft bin, and roughly 30 minute later, I had an (almost) Pinterest-worth pantry! It’s honestly not really my style of organization, but I definitely don’t hate looking at these beautifully matching jars every time I open my pantry doors!
I know, I know — it’s totally unnecessary. But let me tell you how much stronger and stickier (in a good way) the chalkboard labels are! They are SO much nicer than my post-it tape.
I no longer have to worry about labels falling off and not knowing which label when with which jar.
And, I can easily wash the label off with a damp cloth if I need to change it. (The jars + labels can be hand washed and the labels will stay on)
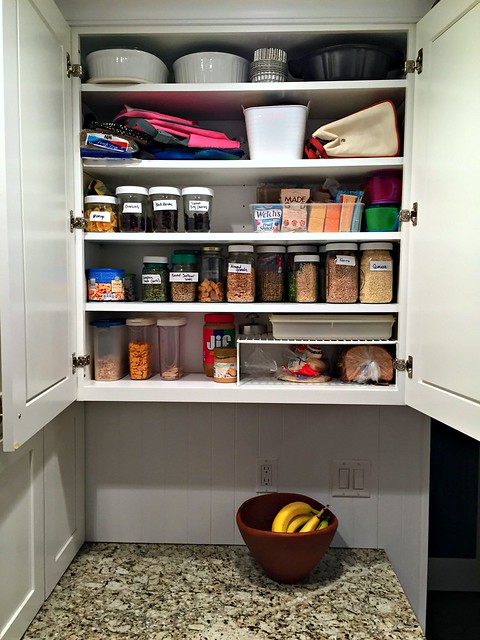
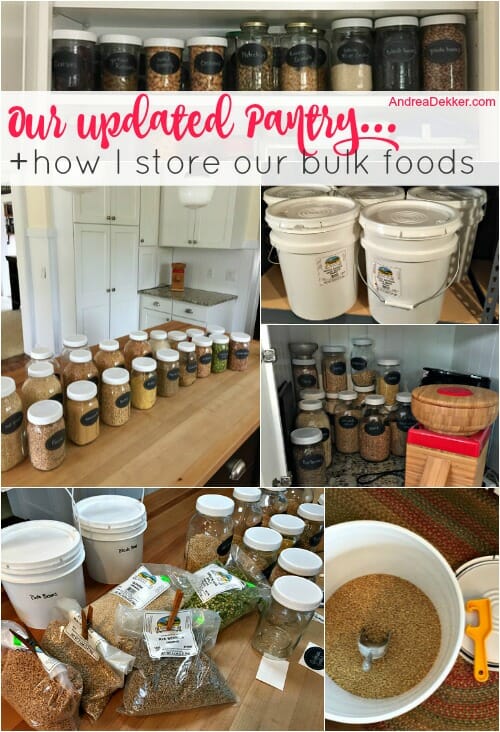
One REALLY nice thing about storing all my bulk pantry staples in similarly sized containers (besides the fact that it looks really nice) is that I can set the shelf height in my pantry to be exactly the height of a mason jar — which means I’m wasting very little space!
.
SO… you’re probably wondering where we store all the bulk items:
Good question!
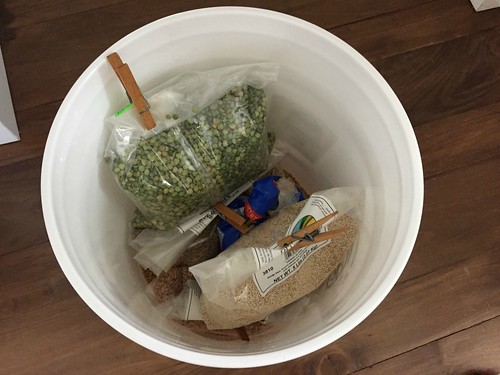
We keep our extra bulk items in food-safe 5-gallon and 1-gallon buckets in the basement. Some of the foods (like hard white wheat berries and oats) I dump directly from the 25 pound bags into the buckets. Other foods (like smaller packages of grains, rice, beans, lentils, and dried fruits) are stored in their original bags inside the buckets.
I then refill the mason jars in my kitchen pantry every couple of weeks, or as needed, which is MUCH more energy-efficient than constantly running down to the basement every time I was cooking or baking.
I also have a couple smaller boxes I use to keep bulk nuts, seeds, spices, and baking supplies in the freezer.
So far, our bulk foods have stayed VERY fresh for many months at a time — and while I’m not sure if I’ll keep using this system for the years to come, it’s the system that works for us for now!
I’m thrilled that I was able to create a functional and practical storage solution for our bulk foods using ONLY items I already had in the house — and, in the process, fully maximize the storage space in our fairly small pantry area!
If you’re interested in any of the supplies I use for our pantry and bulk food storage, I’ve linked to them below (affiliate links).
Also, I’d love to know if you have any great bulk-food storage tips or products!
.
Shop My Supplies:
My Bulk Food and Pantry Organizing Supplies
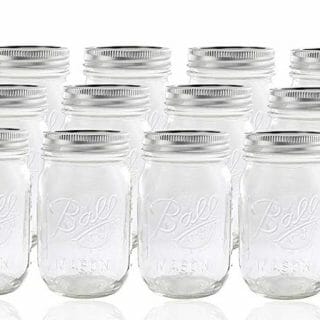
Glass Mason Jars
I like to keep a variety of different sized mason jars on hand for different types of foods.
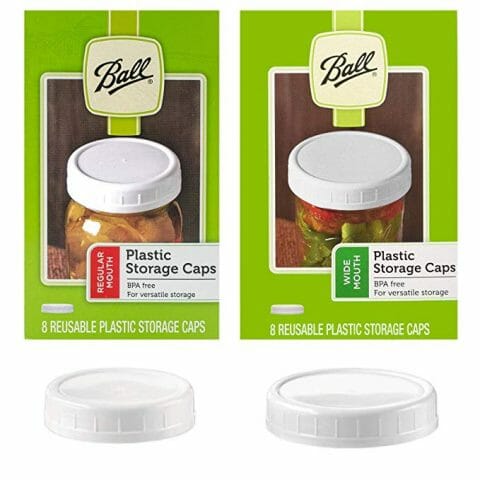
Ball Storage Lids
These plastic lids are PERFECT for bulk pantry storage.
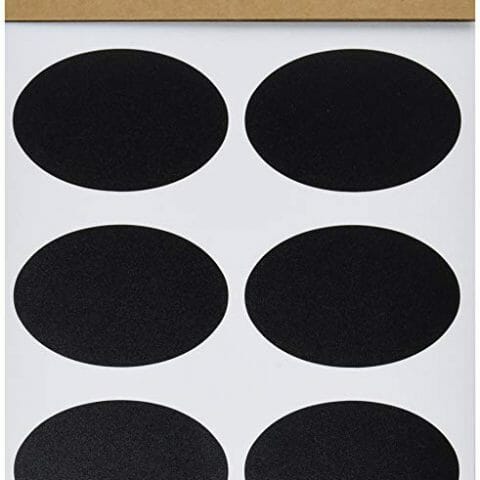
Oval Chalkboard Labels
These are the exact labels I was gifted. So far, they seem VERY durable
Liquid Chalk Markers
This chalk pen is very easy to write with and washes off instantly with a damp cloth.
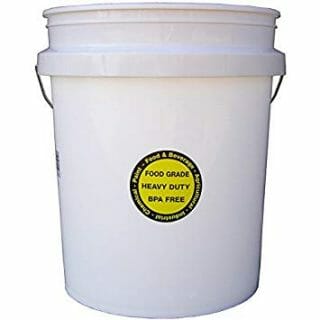
5-Gallon Commercial Food Grade Bucket
We have several of these buckets to store extra bulk items in our basement.










Julia says
Beautiful! We store our grains and bulk foods almost exactly the same way! I have a few gamma kids for my grain pails, and my Mason jars are labeled with masking tape and a sharpie. Definitely not glamorous, but cheap and affective!
Andrea says
yeah, I wanted to get the gamma lids but figured I’d wait and see how badly I wanted to pay extra for them 🙂 I’m thinking I’ll invest in a couple this summer!
Margaret says
Since I live in a town with a great food co-op I am able to let the store be the store–I have jars ranging in size from 1/4 pint (for spices) to 1/2 gallon, and I just take them in–I go there at least once a week, since I also get milk any and any produce I can’t get at the farmers’ market–and refill them. Most of my jars came from garage sales in the late 1980s, and are narrow-mouth, so I also use the old zinc screw-on lids, which I think look cool.
I’m glad this option is available for me, because it does a nice end-run around the storage issue. Re the storage buckets, I consider their long-term safety Not Proven, and I would probably use a paper bag between the food and the plastic if they were otherwise the best option for me. They are also not rodent-proof, although that is probably not an issue for many.
Andrea says
this is awesome — that would be so convenient!
Mary in Maryland says
I get my 5 gallon food grade buckets from the Co-op where I buy my 25 lb bags of beans and grains. (Ten per cent discount for buying a whole bag.) However, the 5 gall buckets are getting too heavy for me to list. Now I’m packing the extras in the empties from tofu–the six pound containers. Upstairs I have my grains and beans in empty half gallon glass orange juice jars lovingly collected in the 70s.
Andrea says
wow — I bet those jars look great!
Evie says
Andrea, I love what you’re doing for the long term good health of your family…and through the blog, for so many other families, too.
I use 5 gallon bucket storage along with mason jars as well as peanut butter jars (haha, plastic on the open overhead shelf so I am not at risk of knocking a glass jar onto my head). Have you seen the twist off lids for the buckets? I absolutely love mine. So worth it, though I see they cost more now than when I first got mine.
My twist off lids are Gamma Seal lids, available from Amazon, U-Line, etc. I see that Home Depot has a similar product that is less expensive, but I have no experience with that brand. https://www.homedepot.com/p/Leaktite-5-gal-Screw-Top-Lid-5GAMMA6/203205720D
Thank you for keeping on keeping on with the blog!
Andrea says
Thanks for the links to the lids — that’s definitely something I’ve considered purchasing over the past few months!
Evie says
Andrea, if you do get some twist off lids, do this when you install the rims on the buckets:
*position the rim,
*put a 2X4 across the top,
*lean your knee on the board right at the center of the bucket, *and use a mallet or a hammer to give medium size whacks at “12:00, 6:00, 3:00, and 9:00,”
*as you are hopping around the rim and sliding the board along,
*working around patiently for three or four full turns until you can see that the rim is flat tight all the way onto the bucket so it can give you a reliable seal…
I know that sounds LOL a tad intense, but it works very well. Time well spent. You don’t want to get it on cockeyed and have to get it off and start over, trust me.
Andrea says
perfect — thanks for the heads up! We actually DO already use a similar method for getting out other lids off (with the wooden board and rotating from the 12, 3, 6, 9 positions!)
JJ says
That looks so good!!! And I love how you use shoe boxes to store things!!! You are very resourceful!!! I LOVE your little nook on the counter!!!
Andrea says
thanks so much! And yes, kids shoe boxes in particular are fantastic for storage because they are nice and small!
Chris says
We have been able to get free food-grade 5-gallon buckets from the Wal-Mart Bakery Dept. I think they get their icing in them. However, my husband works there, so I am not sure if the public can also, but I thought I would pass along the tip. We actually use them outside for other uses. 🙂
Barbara says
Ice cream shops often sell empty large buckets .
Andrea says
oh, good idea! This would be prime time for those too!
Michelle says
We get ours from our local bakery. Once empty, they sell them fairly inexpensive to the public.
They’re a great size and have multiple uses.
Andrea says
yeah, I have a feeling your hubby gets you the “in” on that deal! But… it might not hurt to at least ask!
Machee Crickmore says
My mother in law has gotten some from them. You just have to ask, usually. A good scrubbing and they are good as new!
Andrea says
good to know! thanks!
Melissa says
Andrea,
I would love a good lentil recipe from you.
Thanks for balanced, positive and realistic blogging.
Andrea says
I add them to SO many recipes (often in place of about 50% of the meat called for in the recipe). Earlier this week I made TaterTot Casserole with 1/2 ground beef and 1/2 lentils (with a bunch of mushrooms thrown in as well. Everyone gobbled it up!